*Updated March 2024
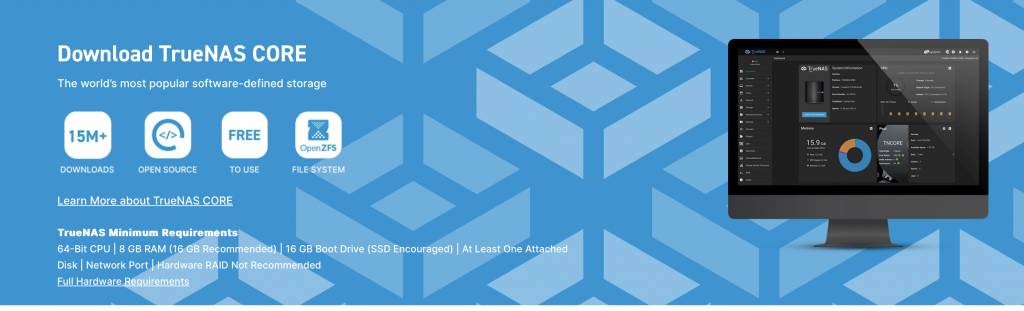
We’re going to walk you through the basic requirements to run the TrueNAS CORE storage operating system, creating the installation media, and installing it onto your system.
Here are the basics of what you’ll need to run TrueNAS:
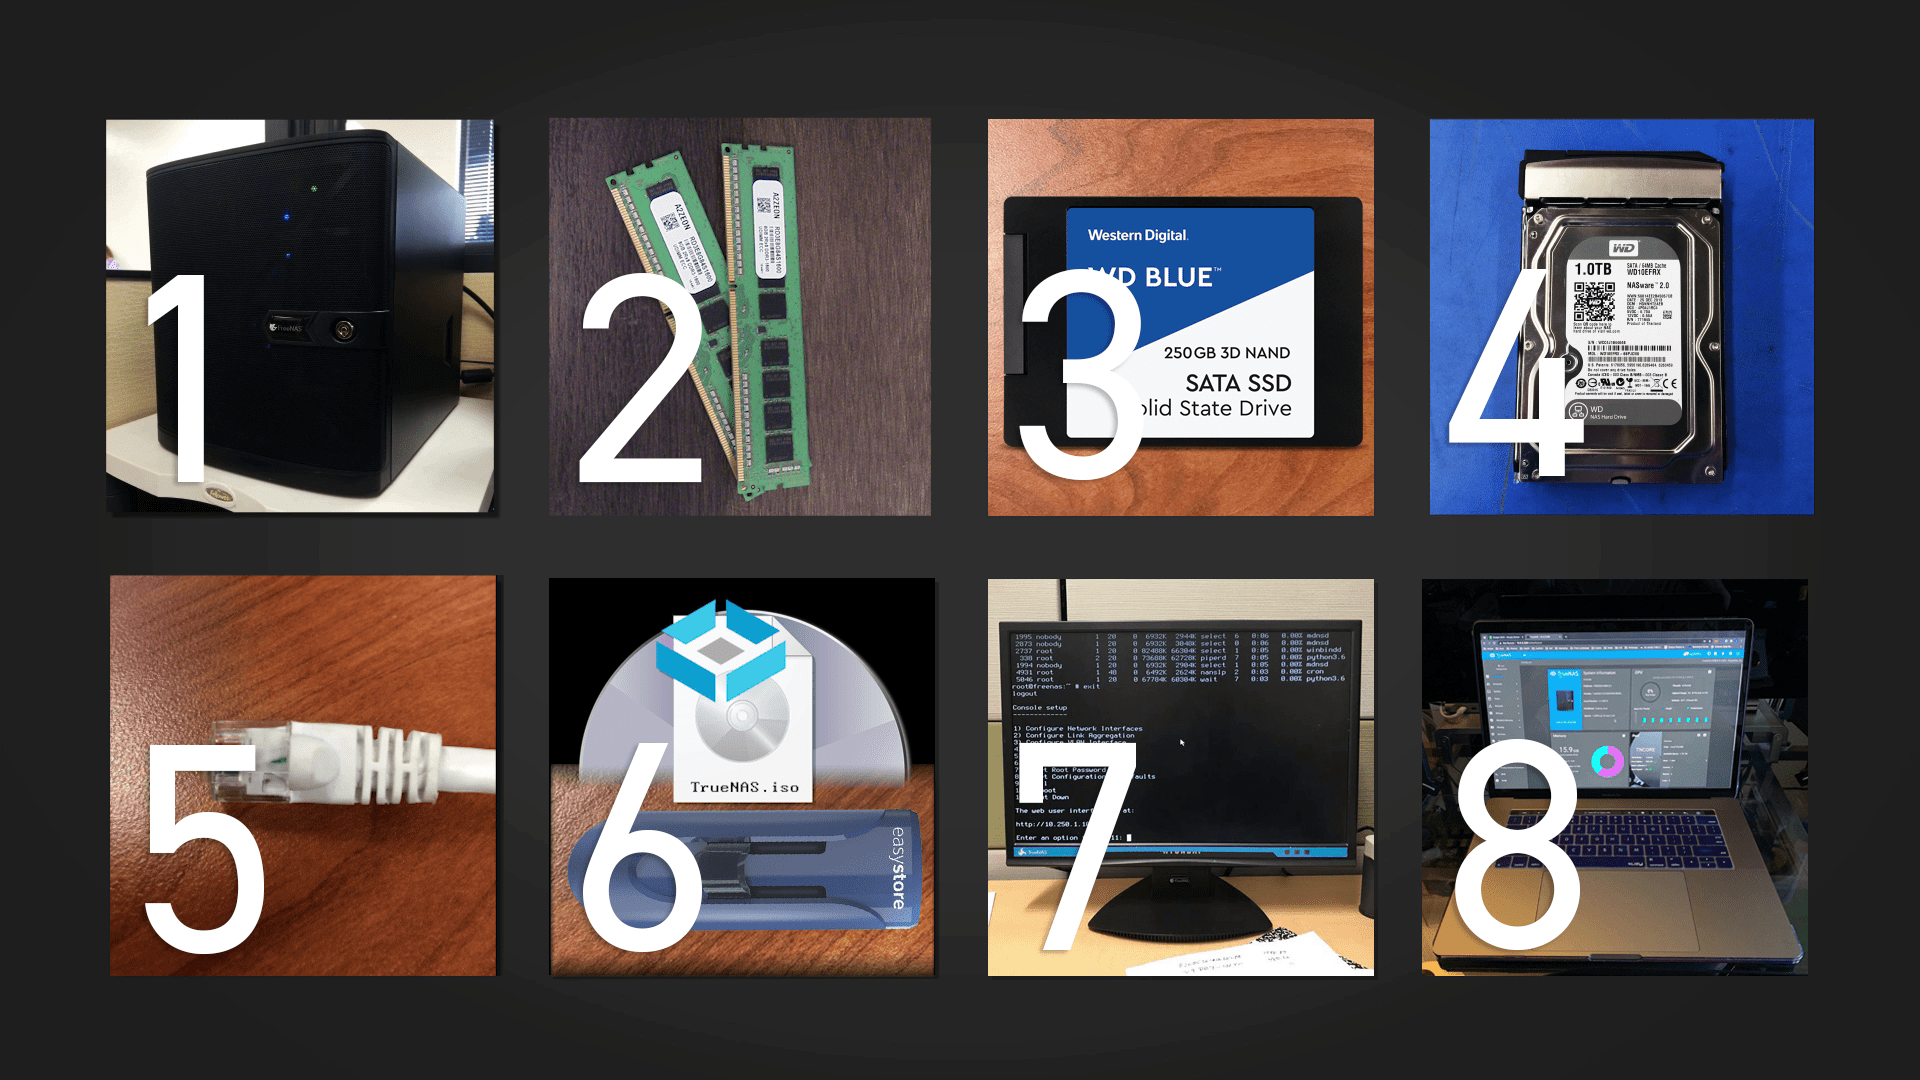
It’s important to understand that TrueNAS needs two devices during the installation process, the install media and the operating system device (boot device). The install media is used to install TrueNAS to the operating system device on a computer.
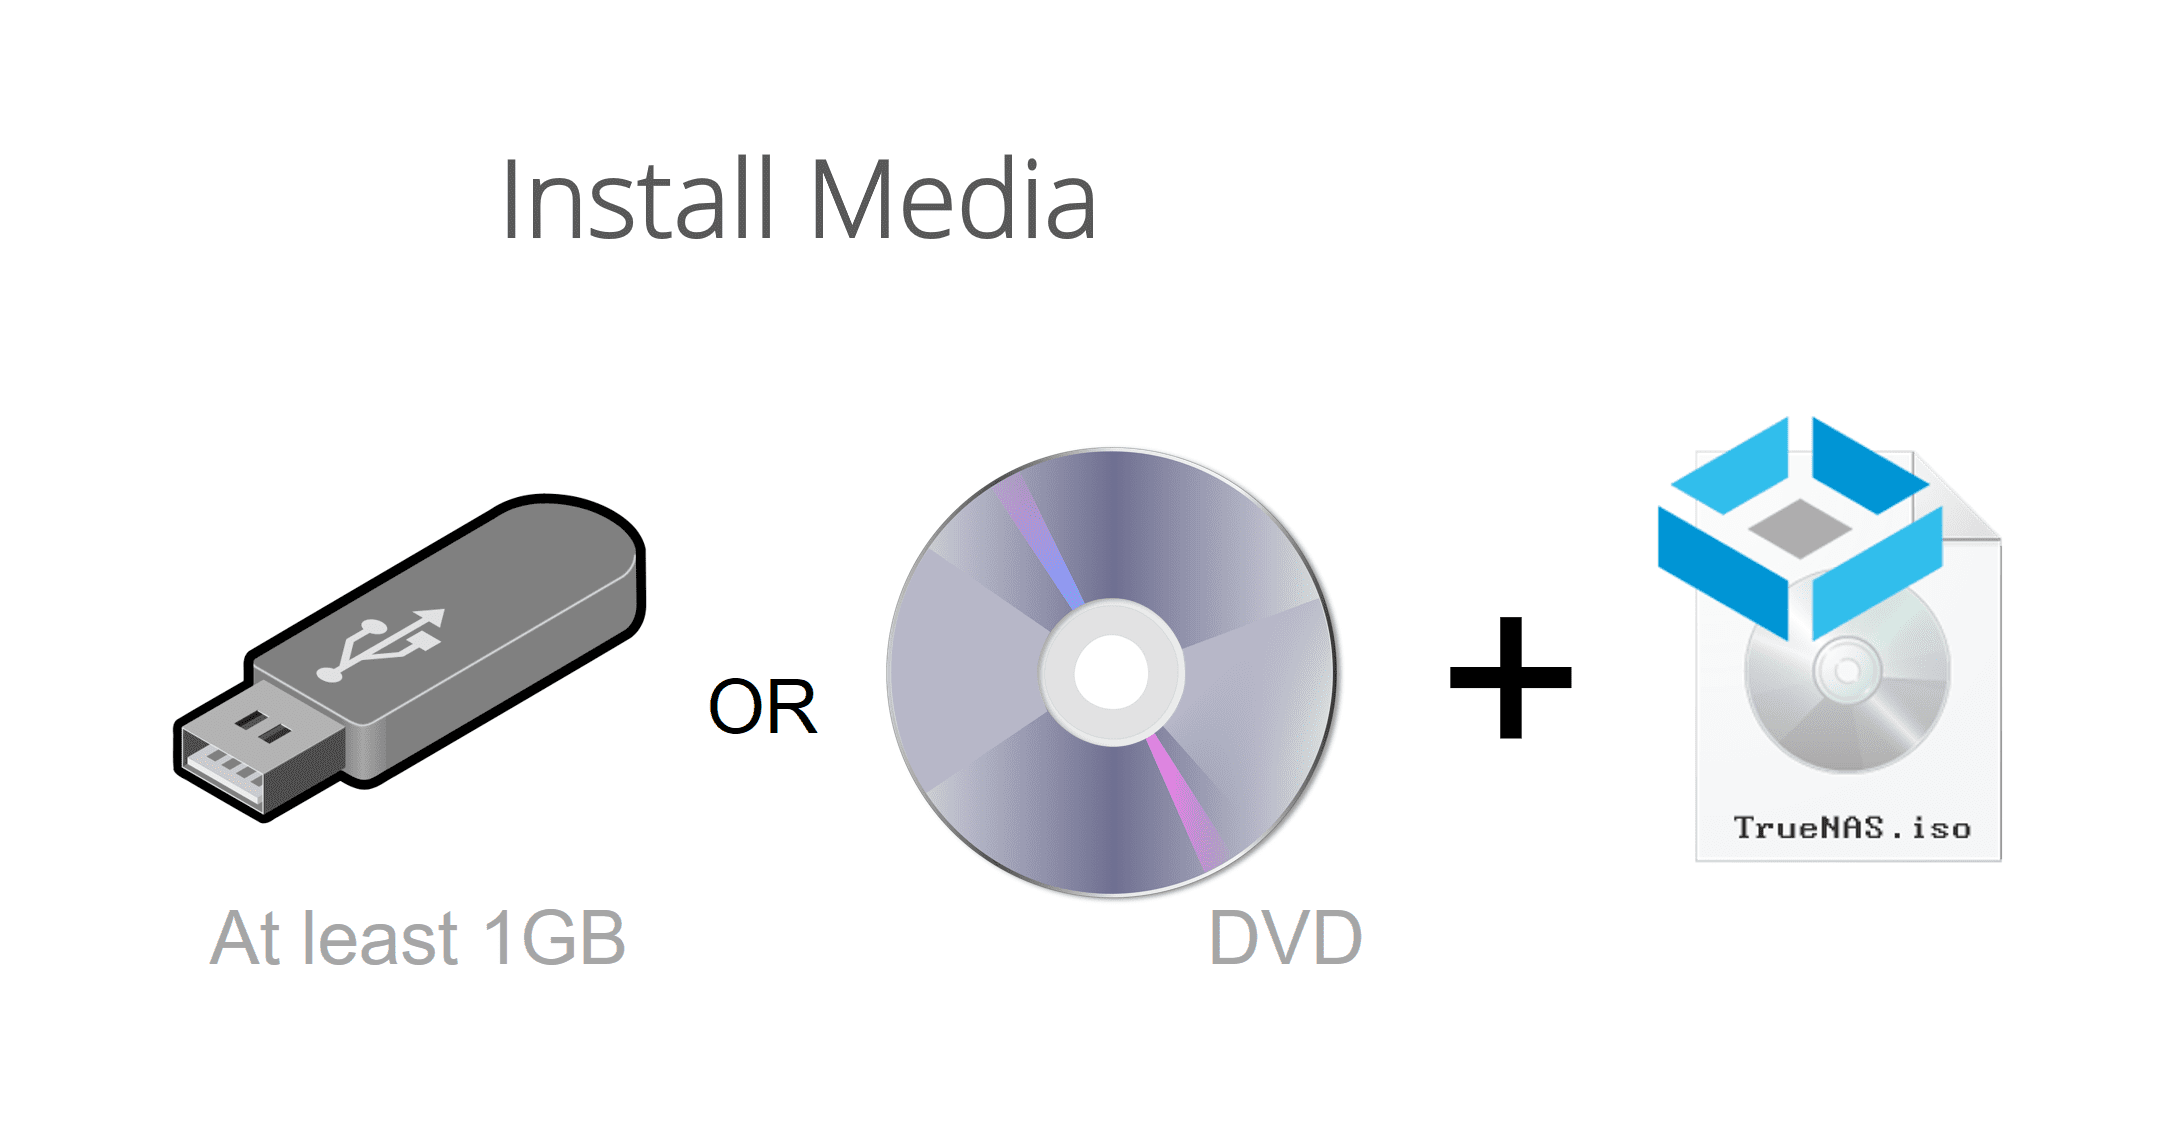
A USB stick or DVD can be used as the install media. In this tutorial, we will be using an 8 GB USB stick as our install media. The minimum size required is 1 GB.
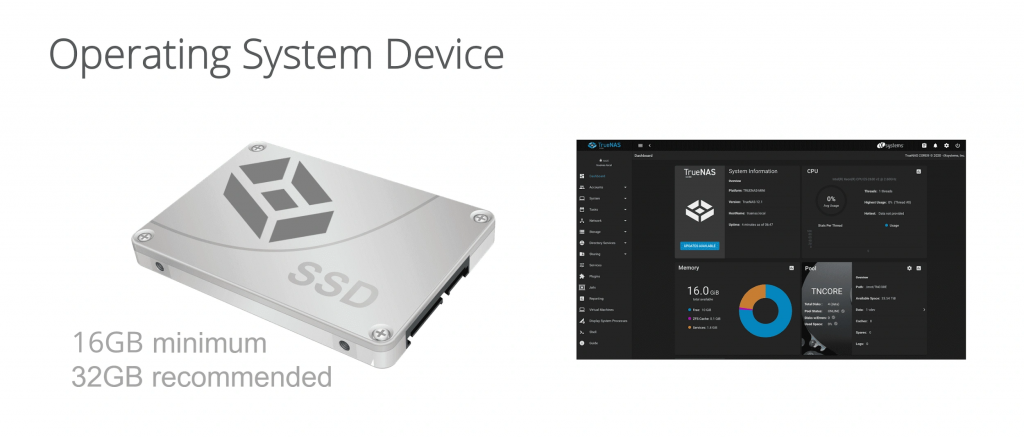
The TrueNAS CORE operating system device can be an SSD or hard drive. The operating system device must have at least 16 GB of space, but we recommend 32 GB or more for operating system device storage capacity to provide room for logging, operating system environments, and future upgrades. An SSD is recommended to improve overall responsiveness as well as the speed of installing further upgrades.
Note that the entire operating system device will be used for the TrueNAS operating system. The drive cannot be used for sharing data through TrueNAS.
TrueNAS reads and writes to the operating system device, so reliability counts. Using a small SSD or hard drive will provide the best longevity. Due to the high write tasks in TrueNAS CORE, USB sticks are not very reliable over the long term. With TrueNAS CORE scheduled to receive continued updates for stability and security, choosing a quality, reliable boot device is the first step towards a well-built TrueNAS system.
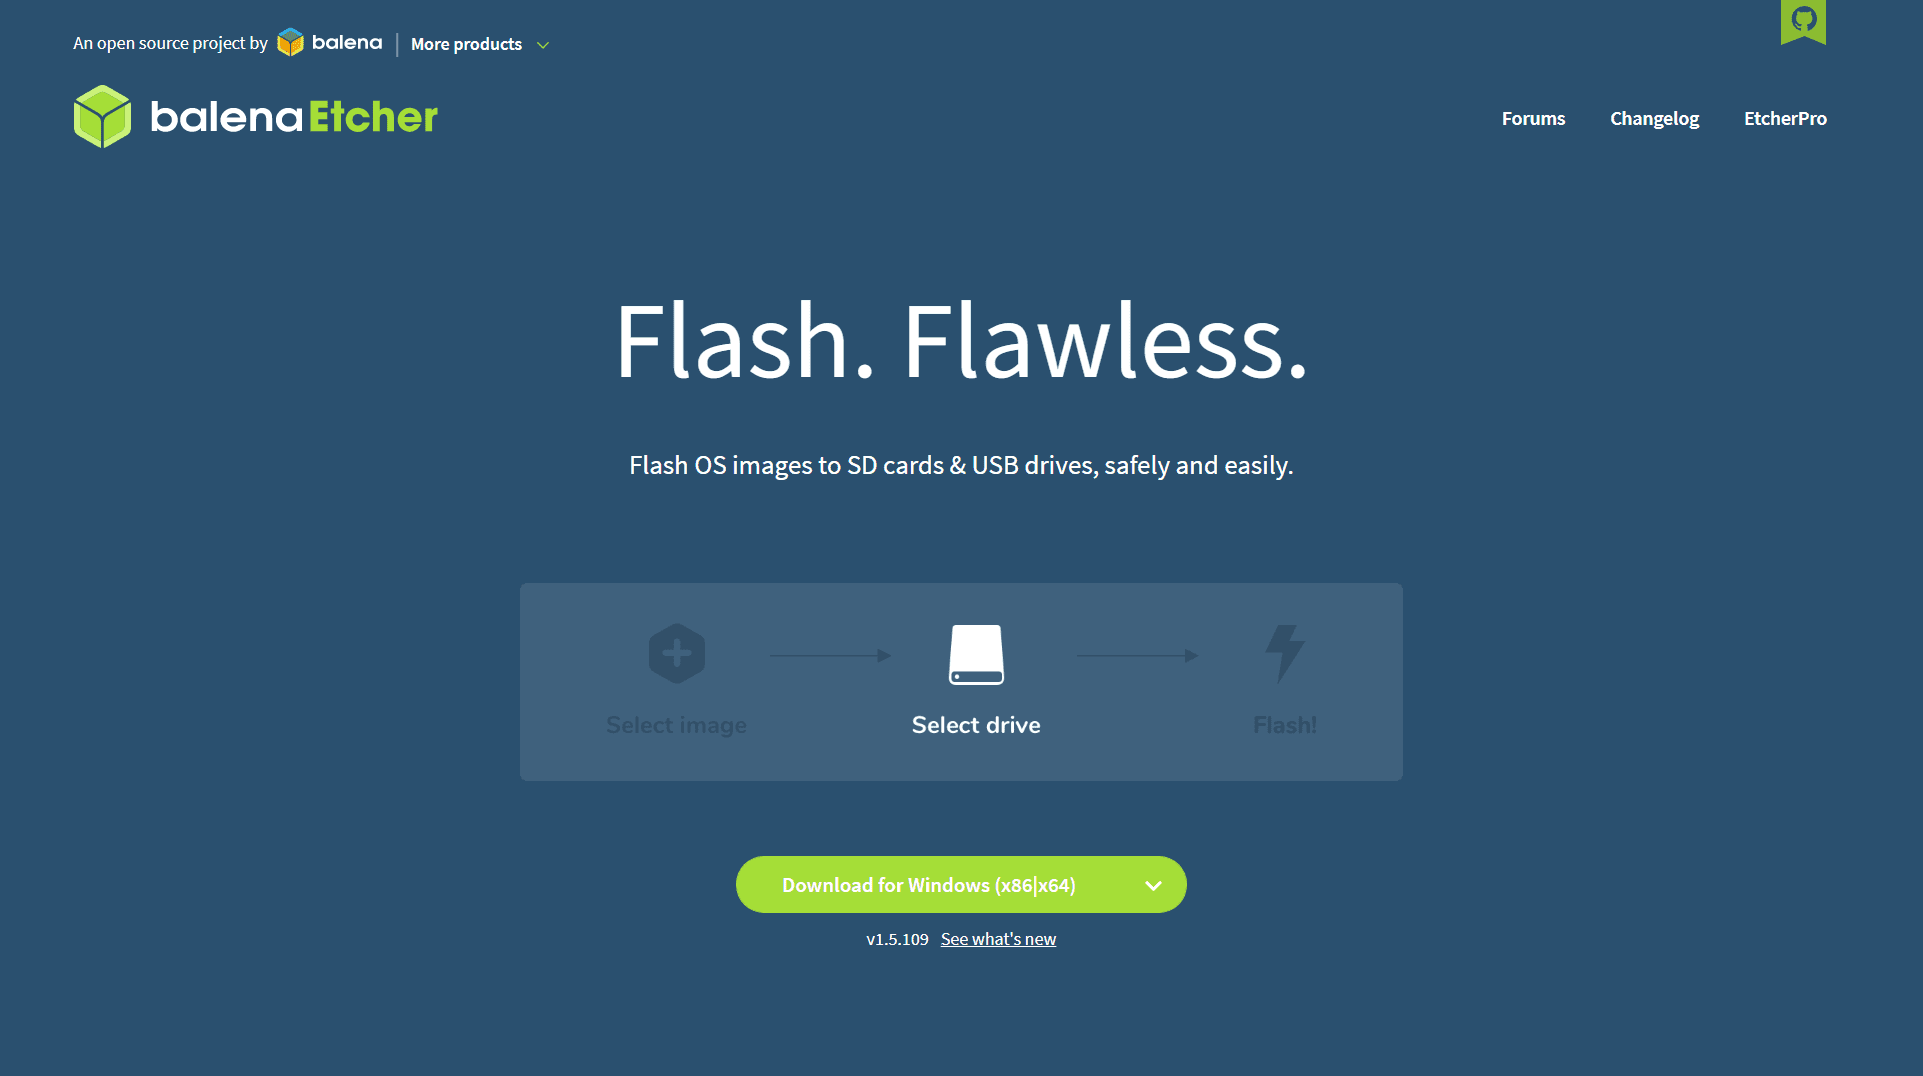
For this example, we will be using a tool called balenaEtcher also known as Etcher. Scroll down the web page and click on the Download button for Etcher. Download, install, and run Etcher.
Now insert your USB stick into your machine. Verify the drive letter by going to “This PC”.
For this example, we will be using a tool called balenaEtcher also known as Etcher. Scroll down the web page and click on the Download button for Etcher. Download, install, and run Etcher.
Now insert your USB stick into your machine. Verify the drive letter by going to “This PC”.
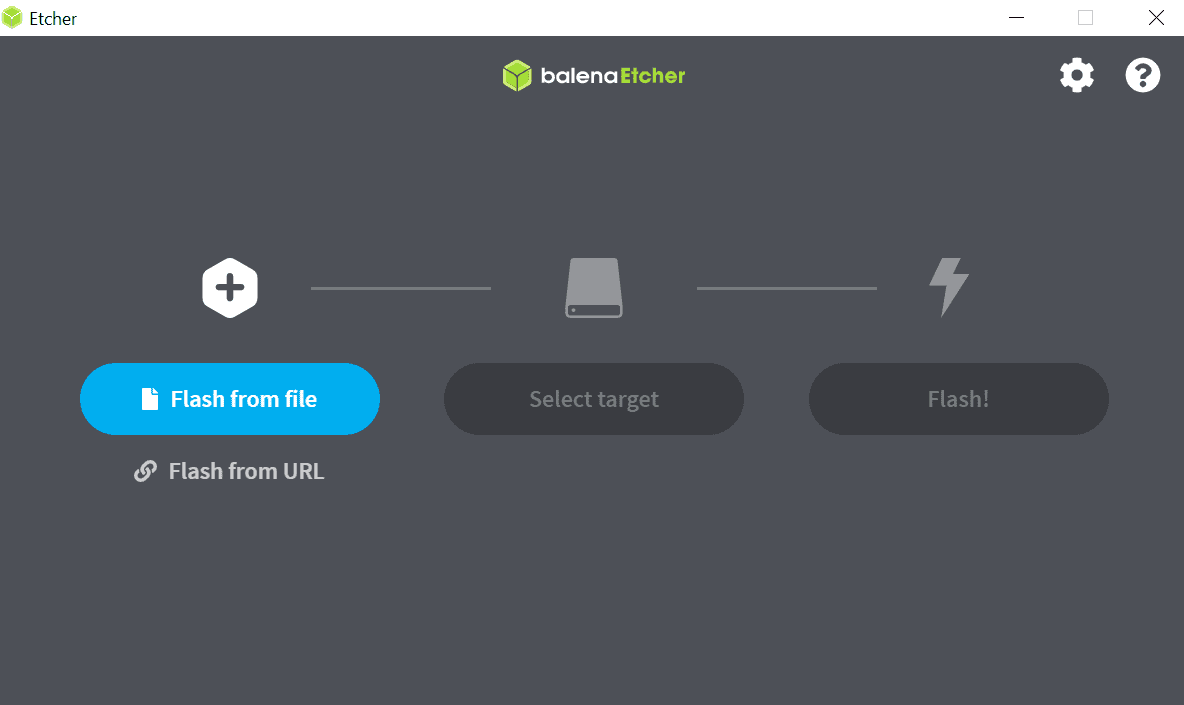
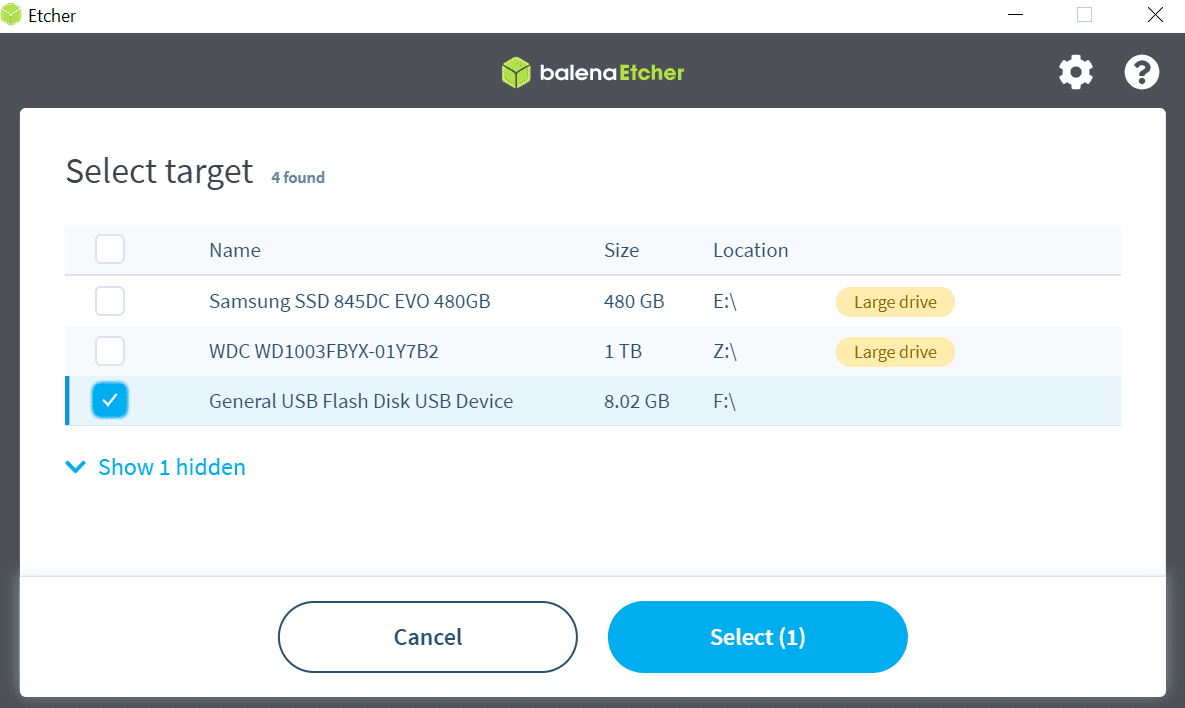
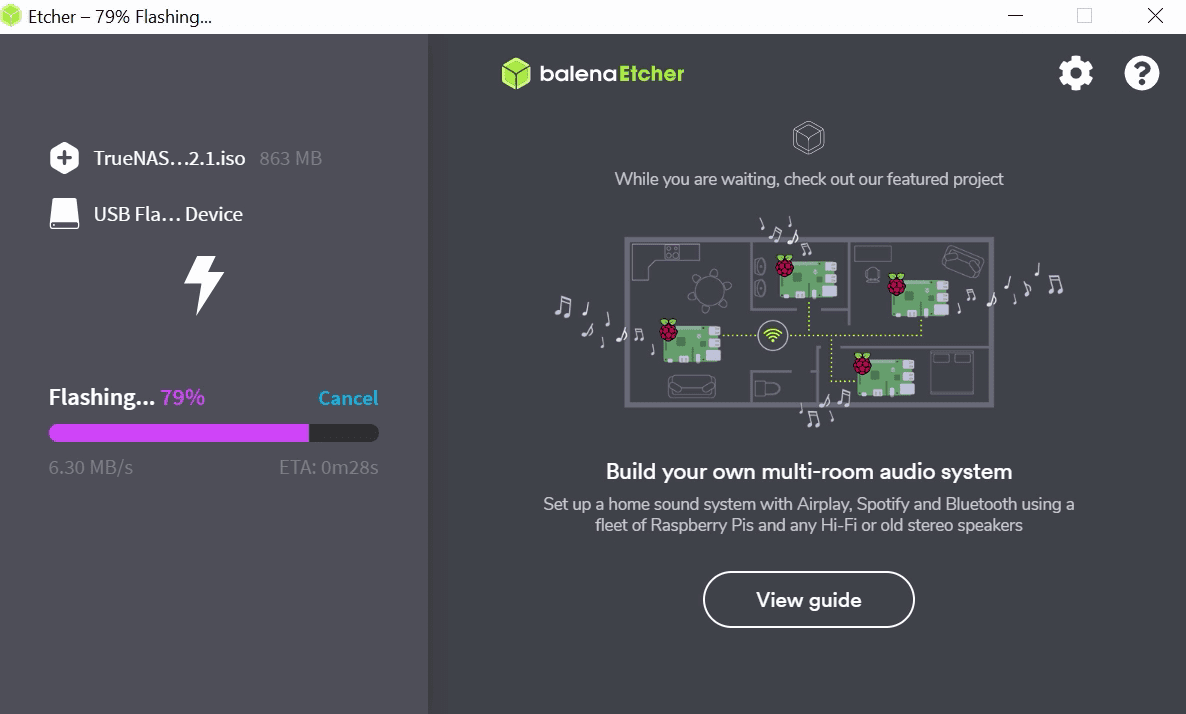
In the Etcher application, click “Flash from file” and browse to the TrueNAS .iso file that you downloaded earlier. If your USB stick is not already selected, click “Select Target” and choose the drive to use as the install media. Remember, this is the install media, not the operating system device. Now, click “Flash!” It takes a few minutes to write the image to the disk. A “Flash Complete!” message is shown when done.

After the installer file has been written to the install media, you’re ready to install TrueNAS.
Now that we’ve gone through the basics of what you need to get started, let’s begin the installation of TrueNAS.
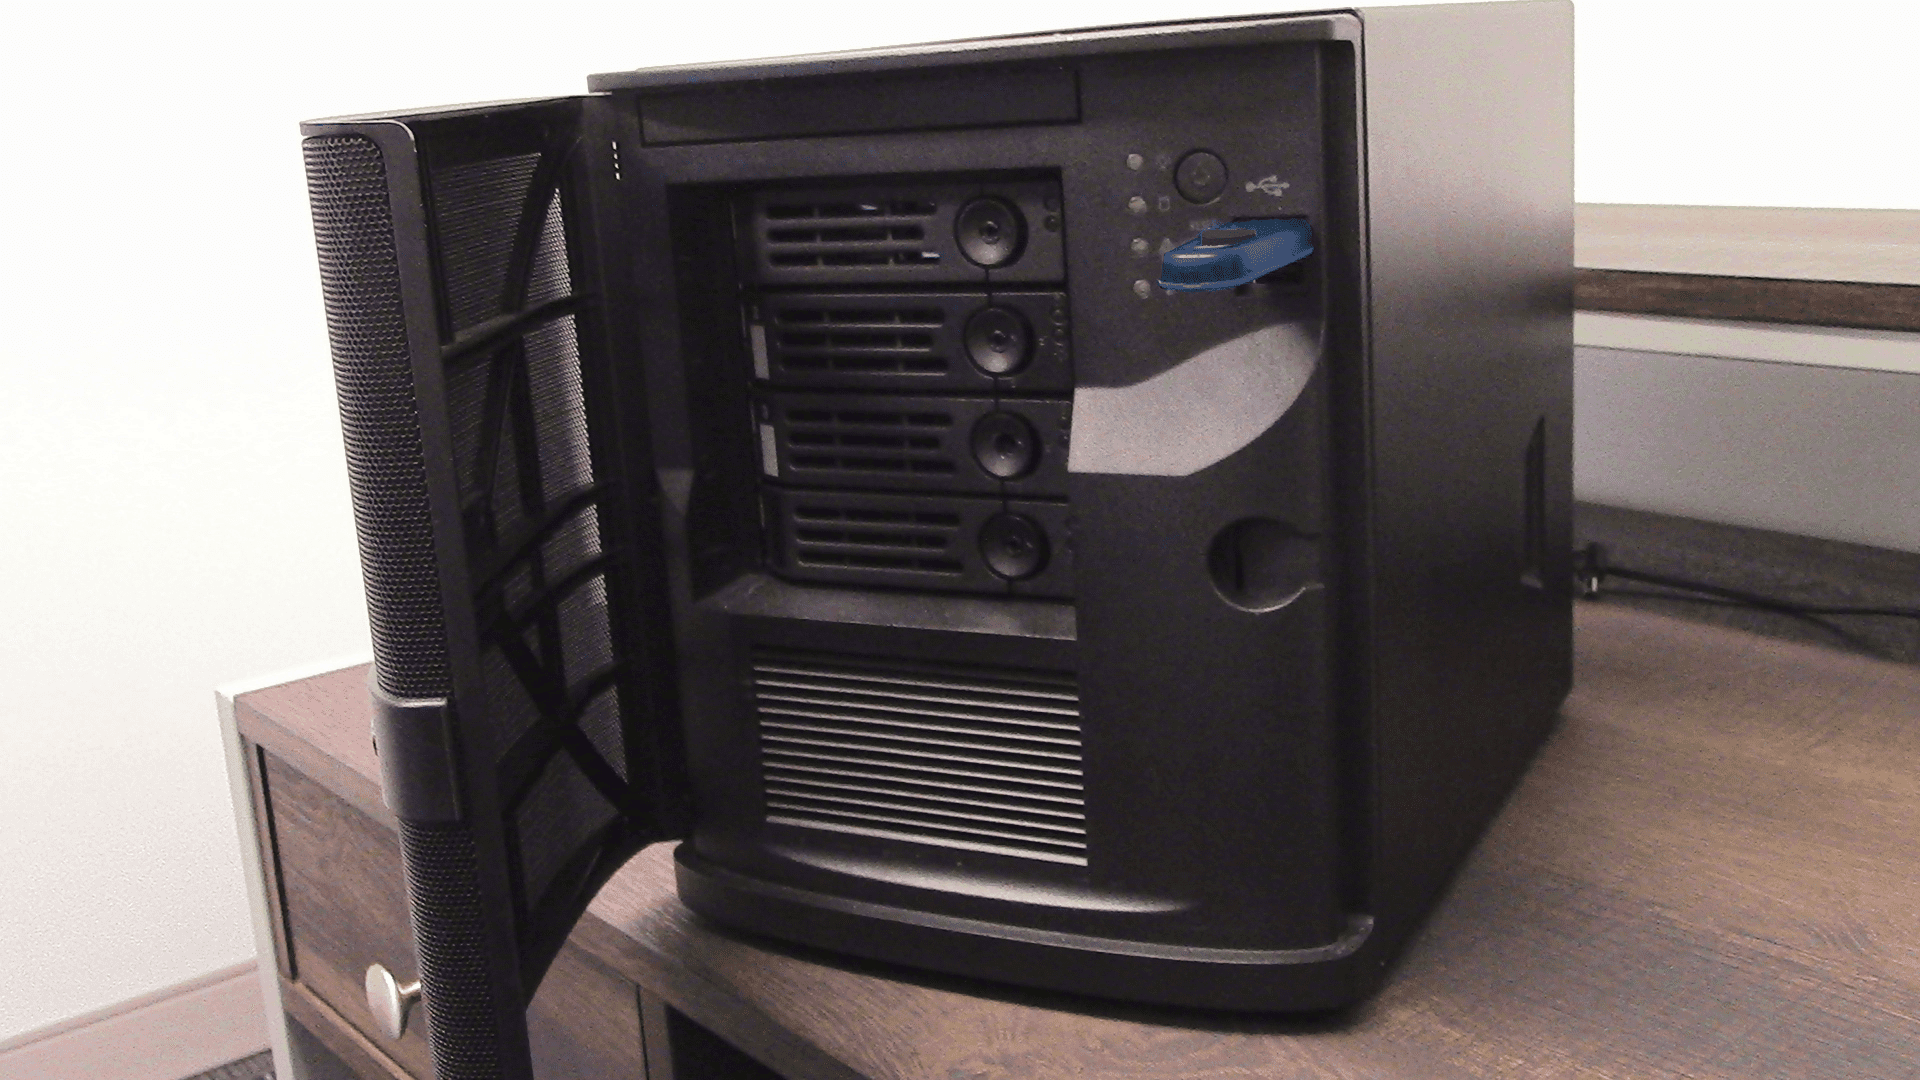
Make sure that both the boot device and the TrueNAS installation media are inserted in the machine that you chose to run TrueNAS.
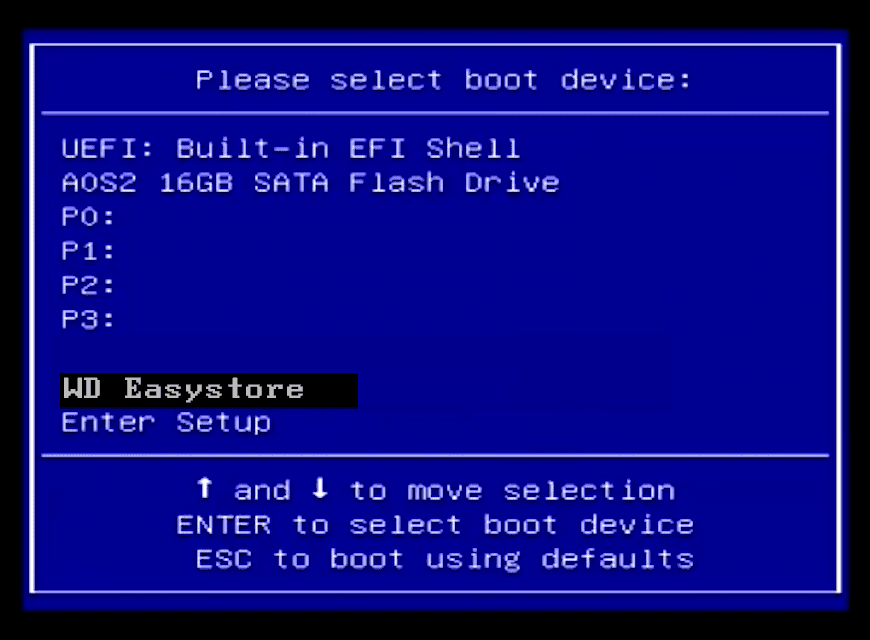
Boot into the BIOS of the system and double-check that your system is set to boot from the device that contains the TrueNAS installation media that you created earlier. After confirming, reboot the system.
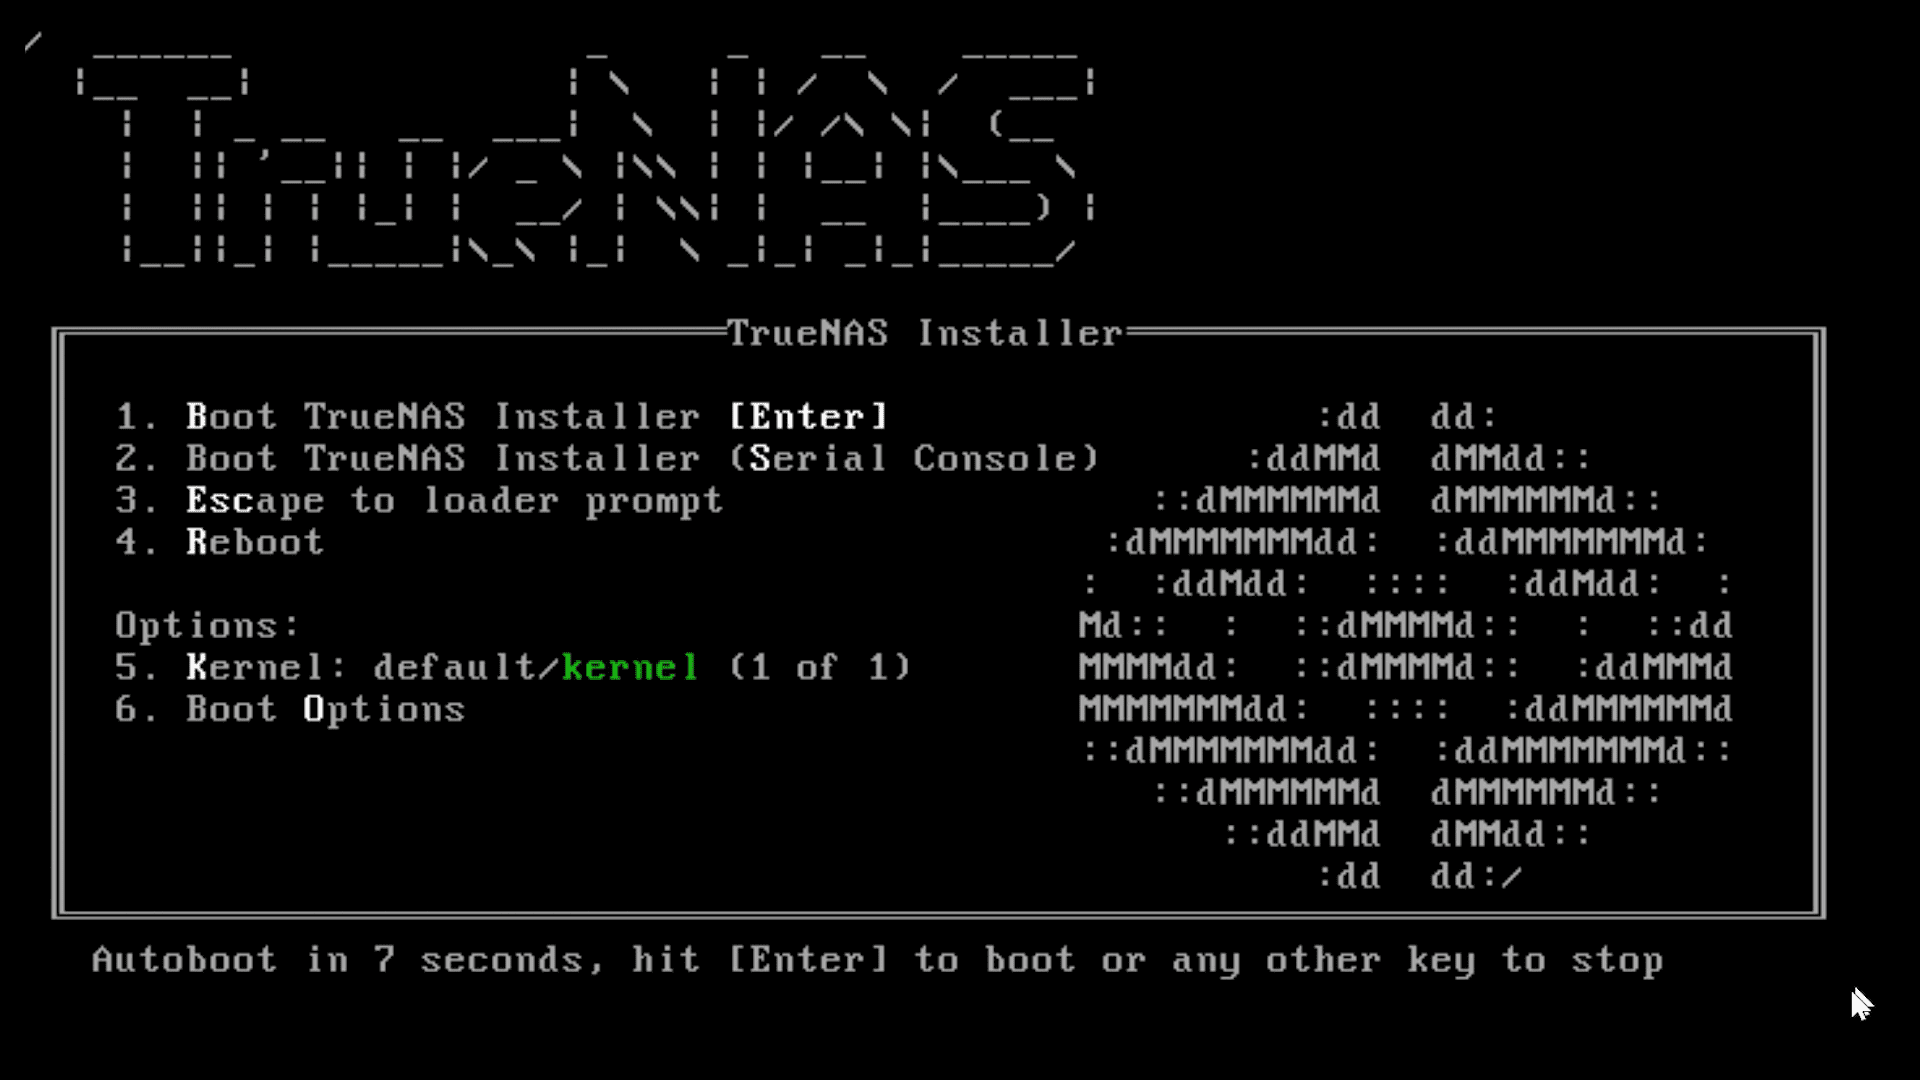
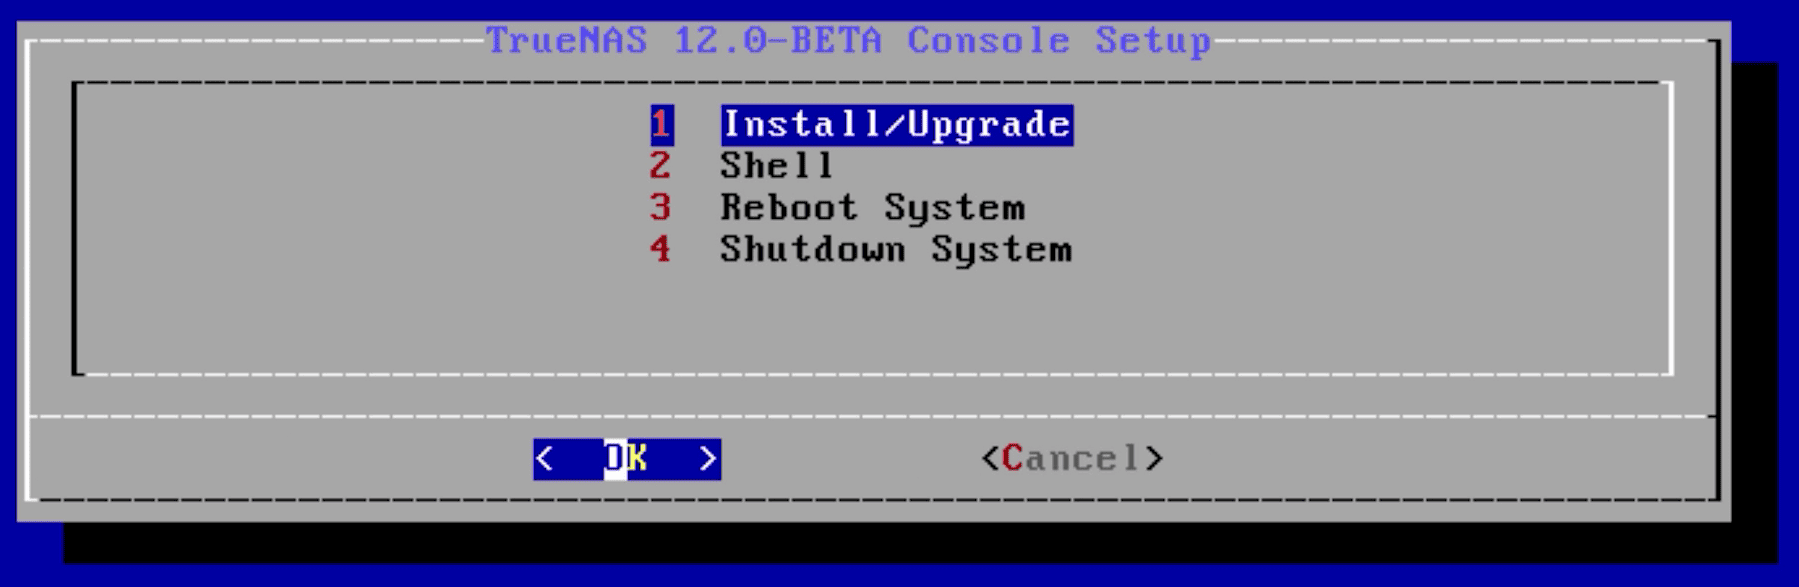
The TrueNAS install menu will be displayed. Choose option 1 on the menu to begin the TrueNAS installation. This will load the Console Setup menu. Hit enter to choose the “Install/Upgrade” option.
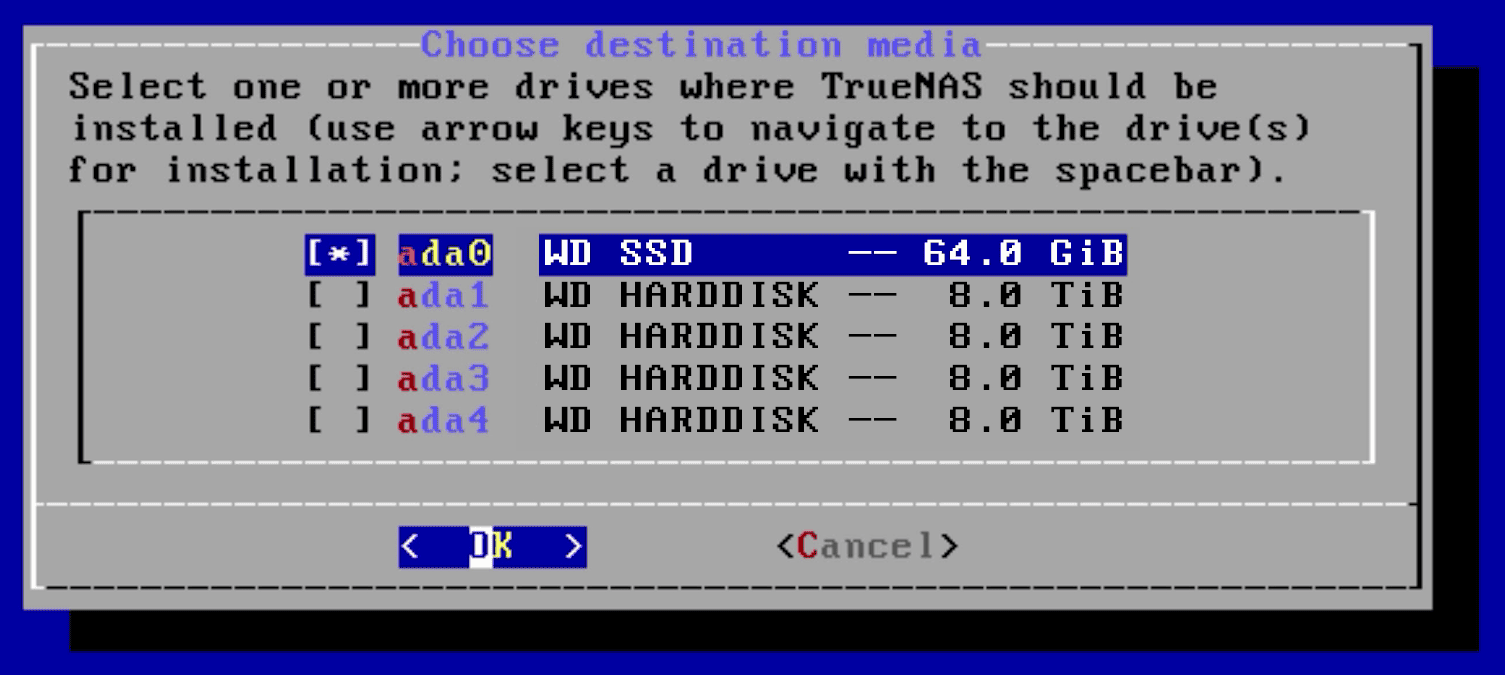
The next menu asks which drive should be used for TrueNAS. Make sure to select the boot device and not the storage disk. This menu will show the size of the disks to make it easier to determine the boot device, which is generally a smaller size than the storage disks (which will be larger). The one you want will likely be the smallest on the list. Note that the names of your drives will be different.
Press the arrow keys to select a drive, and press the spacebar to designate it as the drive you wish to use.
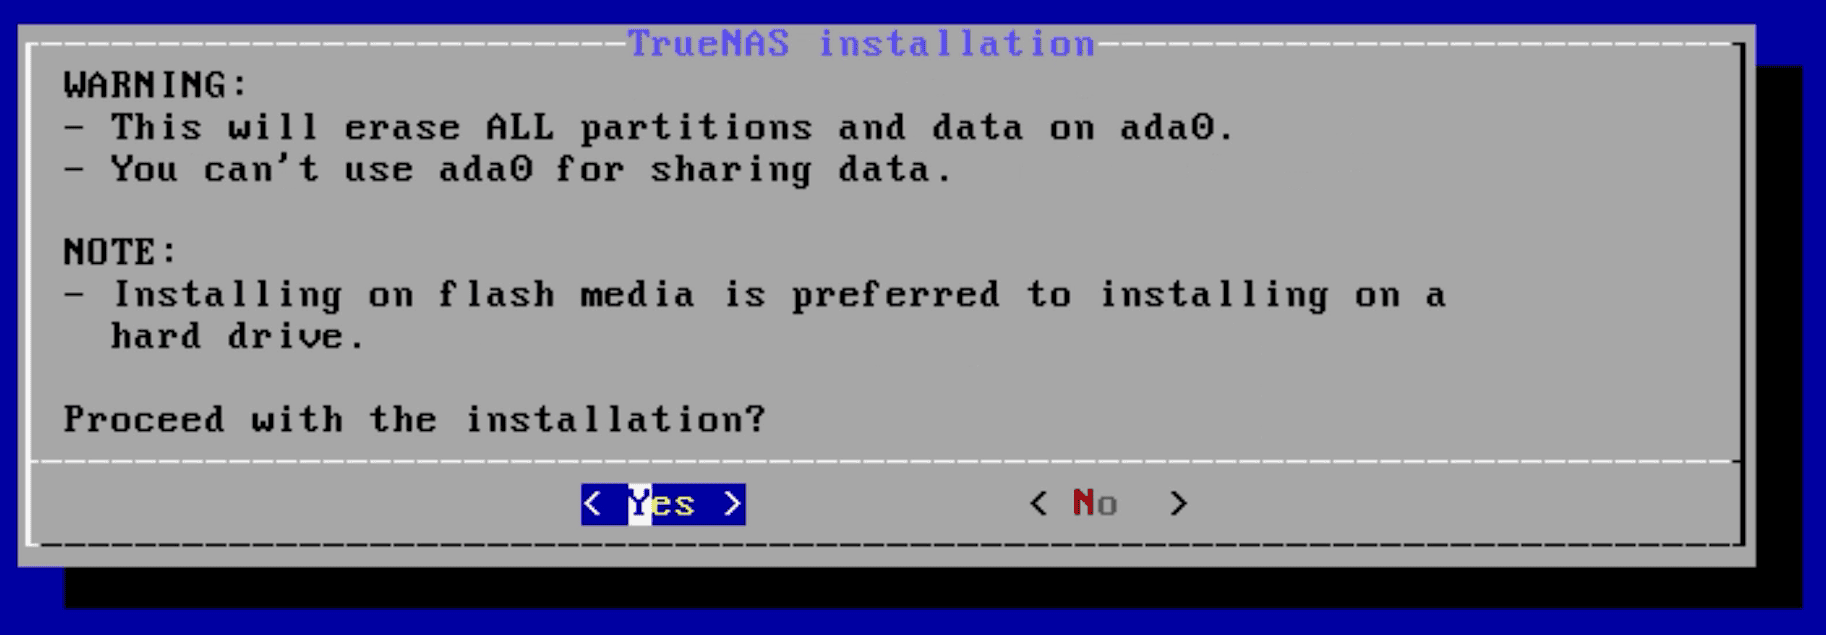
The boot device cannot be used for anything other than the operating system itself. Press OK, then YES, to proceed.
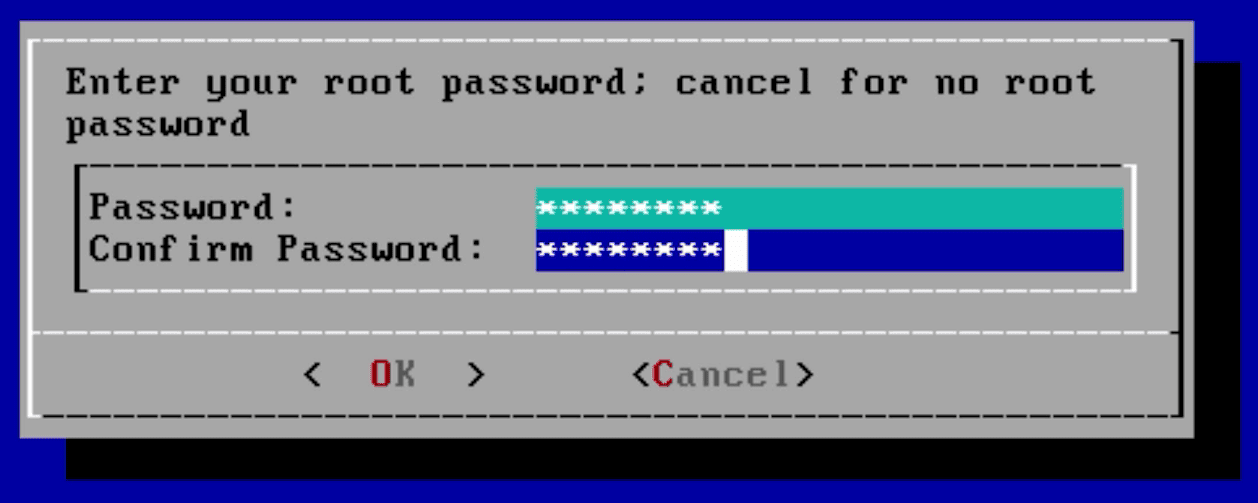
Next, type in and confirm the password that will be used to login to TrueNAS.
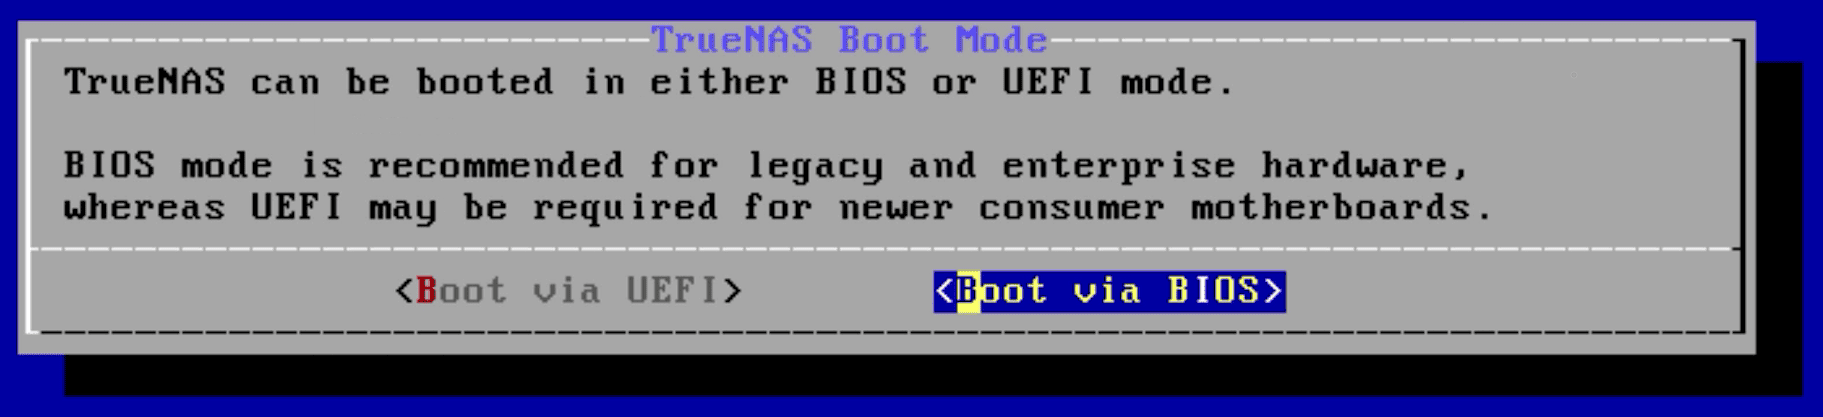
TrueNAS can be booted in either BIOS or UEFI mode. For the purposes of this video, I’ll be choosing BIOS. BIOS works for almost all motherboards and is typically the option to choose for older hardware. Choosing UEFI will require that your motherboard is more modern and UEFI capable.
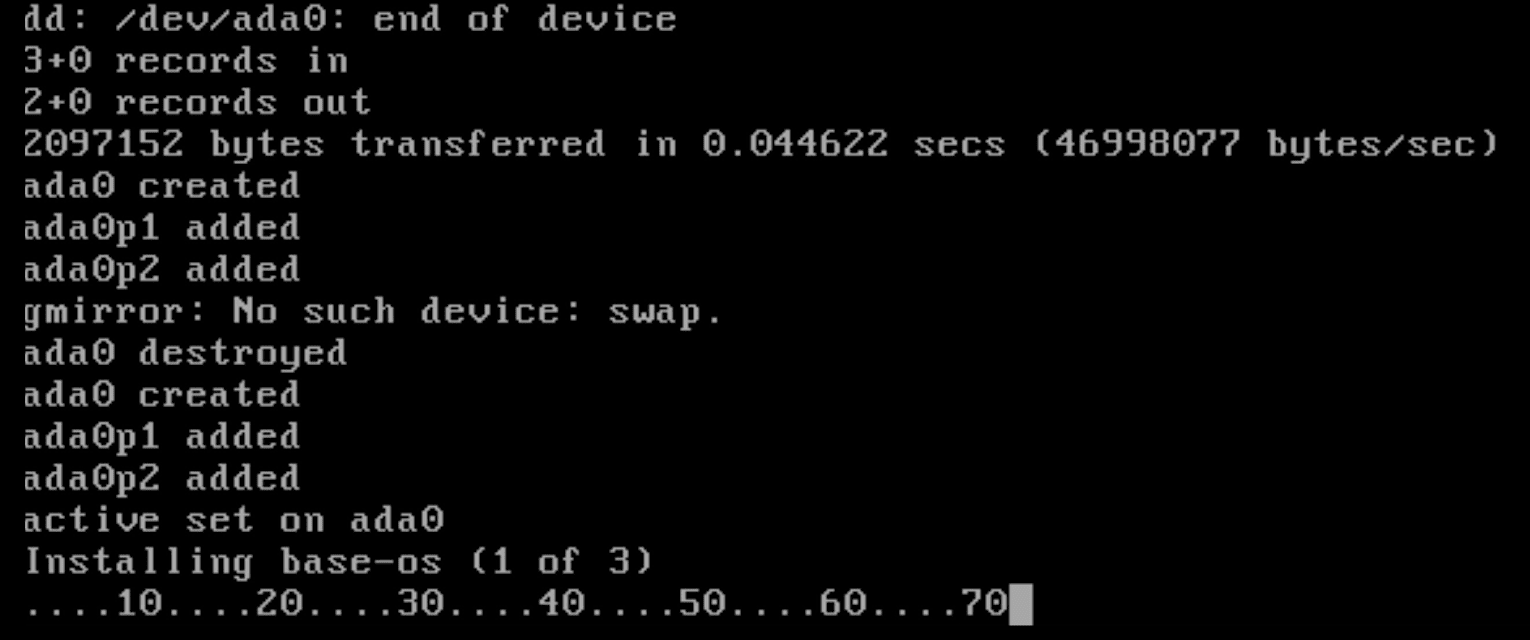
Once chosen, your installation will begin. Wait for a bit, all those commands popping up on the screen are perfectly normal. It should take a few minutes.

A message will appear saying to reboot and remove the installation media. Choose OK to reboot. Remove the installation media from your system. As the system reboots, double-check the BIOS to make sure the boot order now defaults to the boot device.
When the system boots from the boot device, messages will appear as the TrueNAS operating system loads. When it is done loading you will see the “Console setup” menu. At the bottom of this screen, an IP address will be listed.
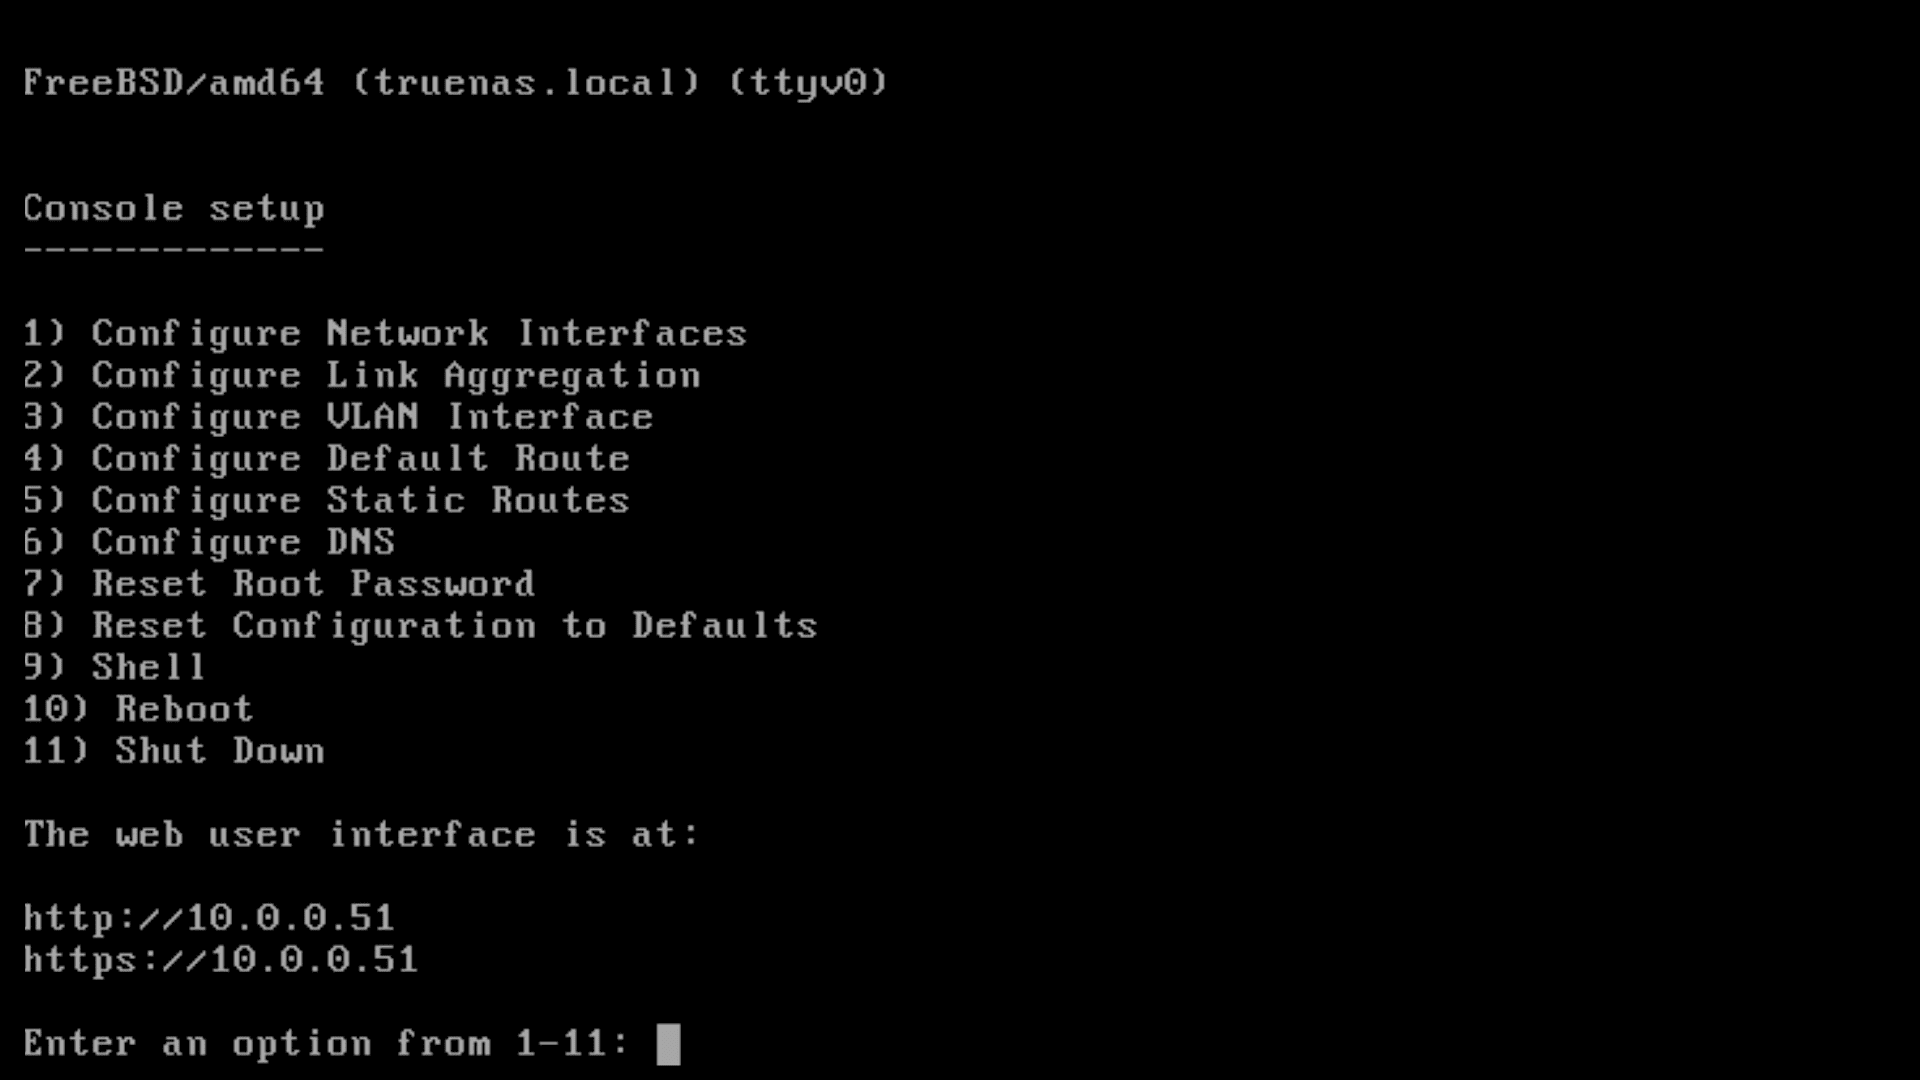
From a separate computer that is connected to the same network, open a web browser and type in that address. If it instead shows “0.0.0.0”, check if the network cable is plugged in, and that the network has a DHCP server.
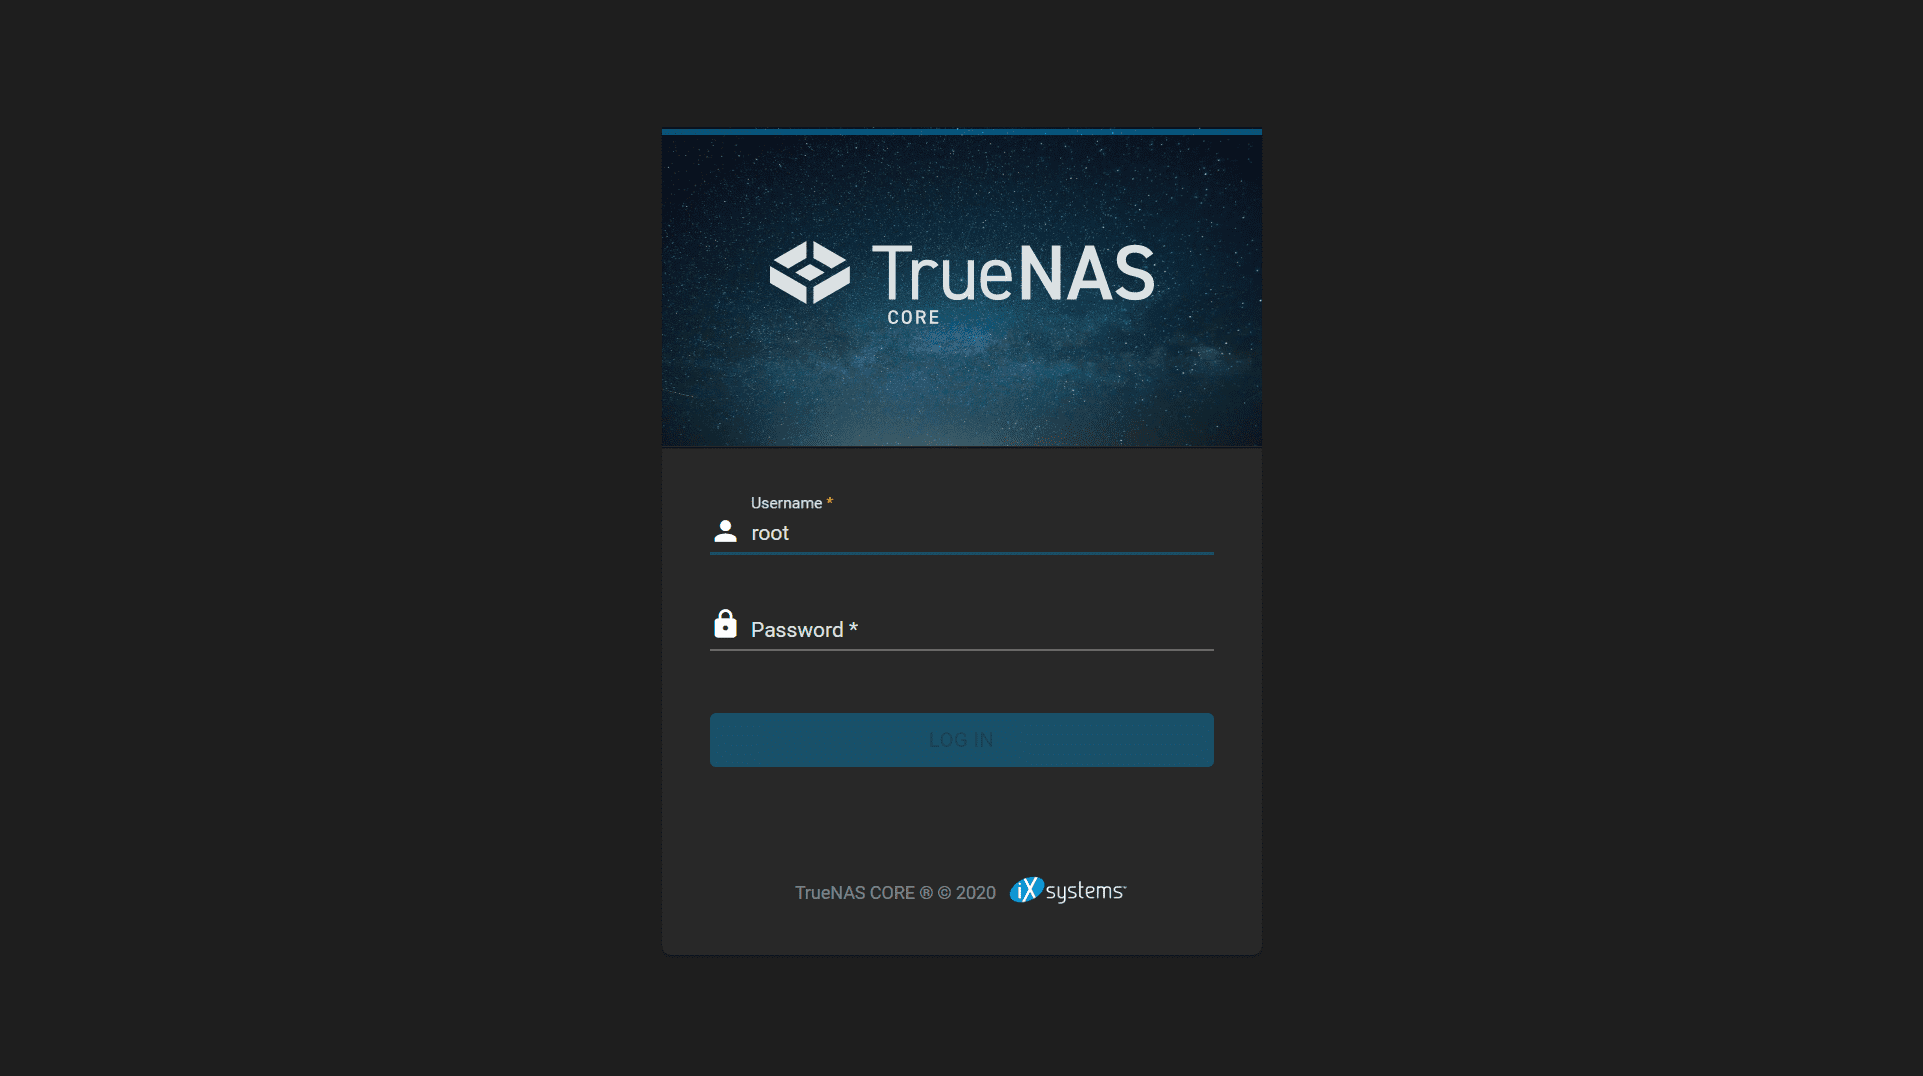
The TrueNAS login menu will appear once the bootup is complete. Type in root for the username and the password you created during the installation.
Once you are logged in, you will have access to the TrueNAS web interface which is used to manage your storage disks, configure access to the stored data, and view the status of the system.
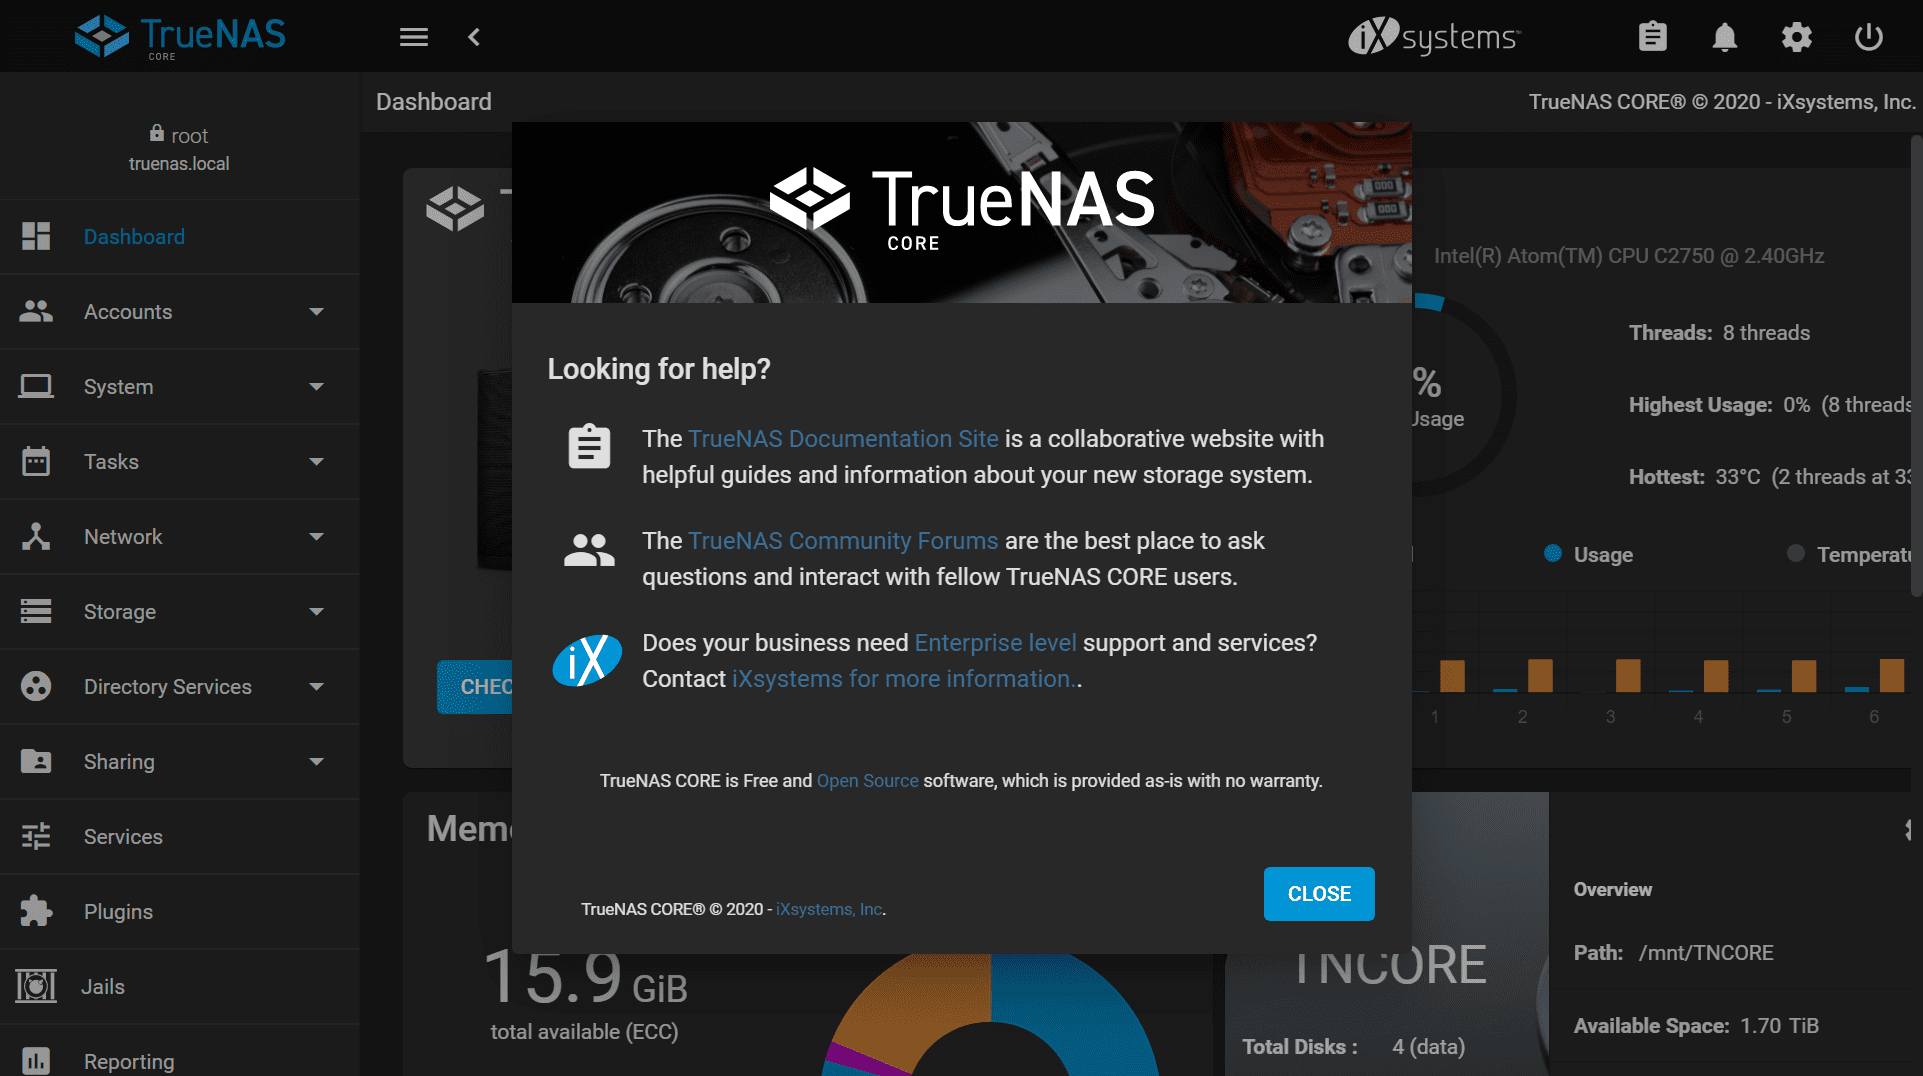
Congratulations! You have just installed TrueNAS. Be sure to check out our other tutorials and videos to learn more about configuring and using TrueNAS.
For comprehensive information on configuring TrueNAS, visit docs.truenas.com.
此内容由惯性聚合(RSS阅读器)自动聚合整理,仅供阅读参考。 原文来自 — 版权归原作者所有。