







有时候我们需要在 Windows 里运行需要后台启动的命令行程序(比如 Caddy,Aria2 或 V2Ray 等)。
此时,一般情况下我们需要开启一个 cmd 或 PowerShell 窗口,运行命令行程序后,最小化窗口,并且不能关闭。
需要关闭或重启该命令行程序时,再在 cmd 或 PowerShell 窗口里手动关闭或重启之。总之,操作起来是比较麻烦的。
那么,有没有一种简单的办法可以将这些命令行程序集成到 Windows 服务里呢?答案是有的。
NSSM – the Non-Sucking Service Manager,使用它可以在 Windows 系统里轻松创建自定义服务,且步骤简单。
下载 NSSM
官网:https://nssm.cc/
下载链接:https://nssm.cc/ci/nssm-2.24-101-g897c7ad.zip
备选链接:https://dl.lamp.sh/files/nssm-2.24-101-g897c7ad.zip
安装 NSSM
解压 nssm-2.24-101-g897c7ad.zip,里面分为 win32 和 win64 两个文件夹。
根据系统的判断,此处以 Windows 10 x64 演示,将文件夹 win64 复制到 D 盘根目录下。
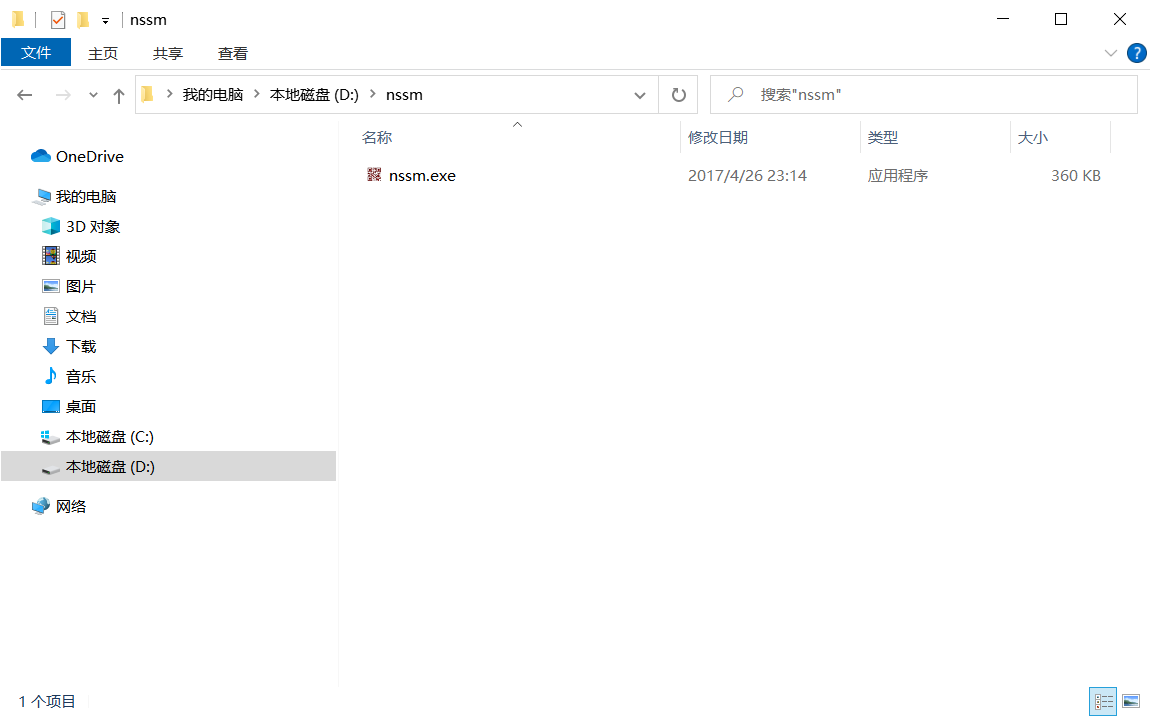
并将文件夹 win64 改名为 nssm,此时的目录结构如下:
至此,就算是安装完毕了。
演示 NSSM 用法
1. 安装 Aria2 v1.35.0
下载 Windows 版 Aria2 v1.35.0,下载链接:https://dl.lamp.sh/files/aria2.rar
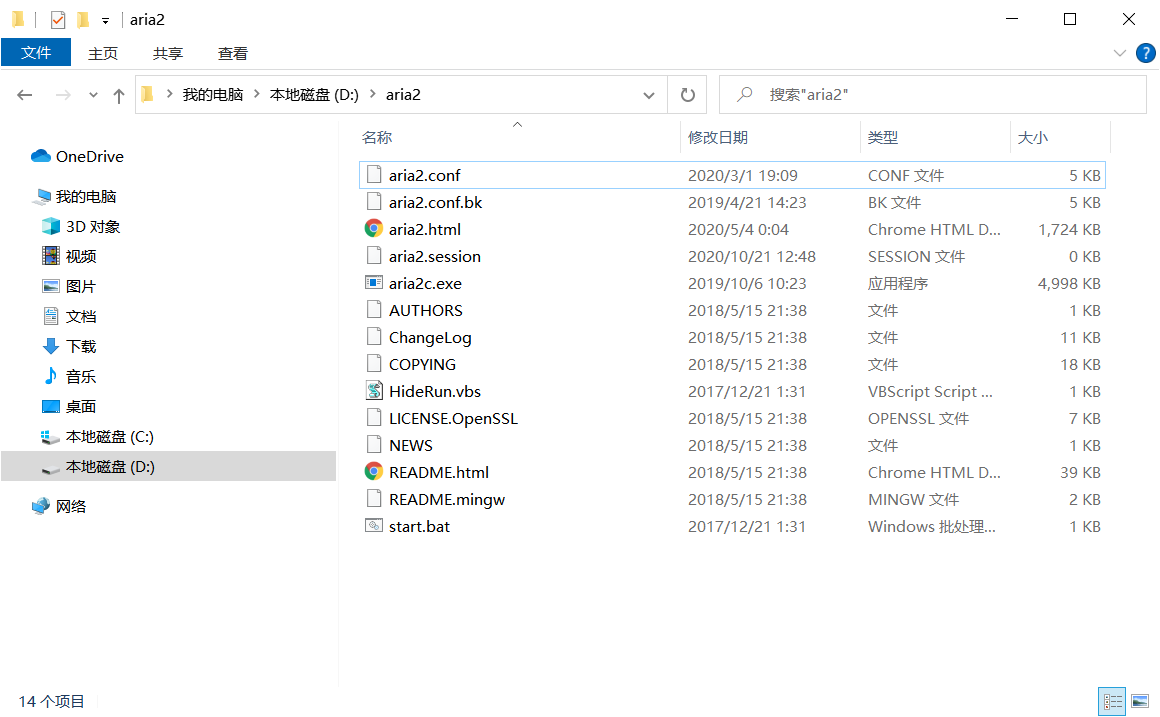
解压 aria2.rar 到 D 盘根目录下。此时的目录结构如下:
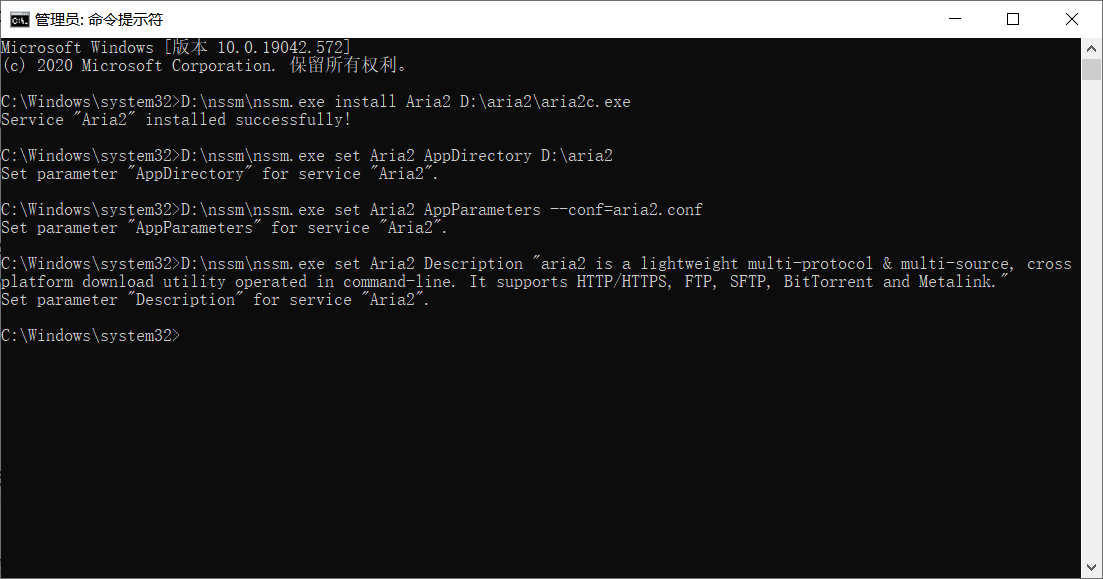
以管理员模式打开 cmd(命令提示符)窗口,输入下列命令即可:
D:\nssm\nssm.exe install Aria2 D:\aria2\aria2c.exe
D:\nssm\nssm.exe set Aria2 AppDirectory D:\aria2
D:\nssm\nssm.exe set Aria2 AppParameters --conf=aria2.conf
D:\nssm\nssm.exe set Aria2 Description "aria2 is a lightweight multi-protocol & multi-source, cross platform download utility operated in command-line. It supports HTTP/HTTPS, FTP, SFTP, BitTorrent and Metalink."
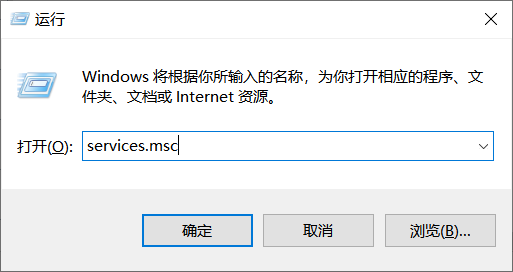
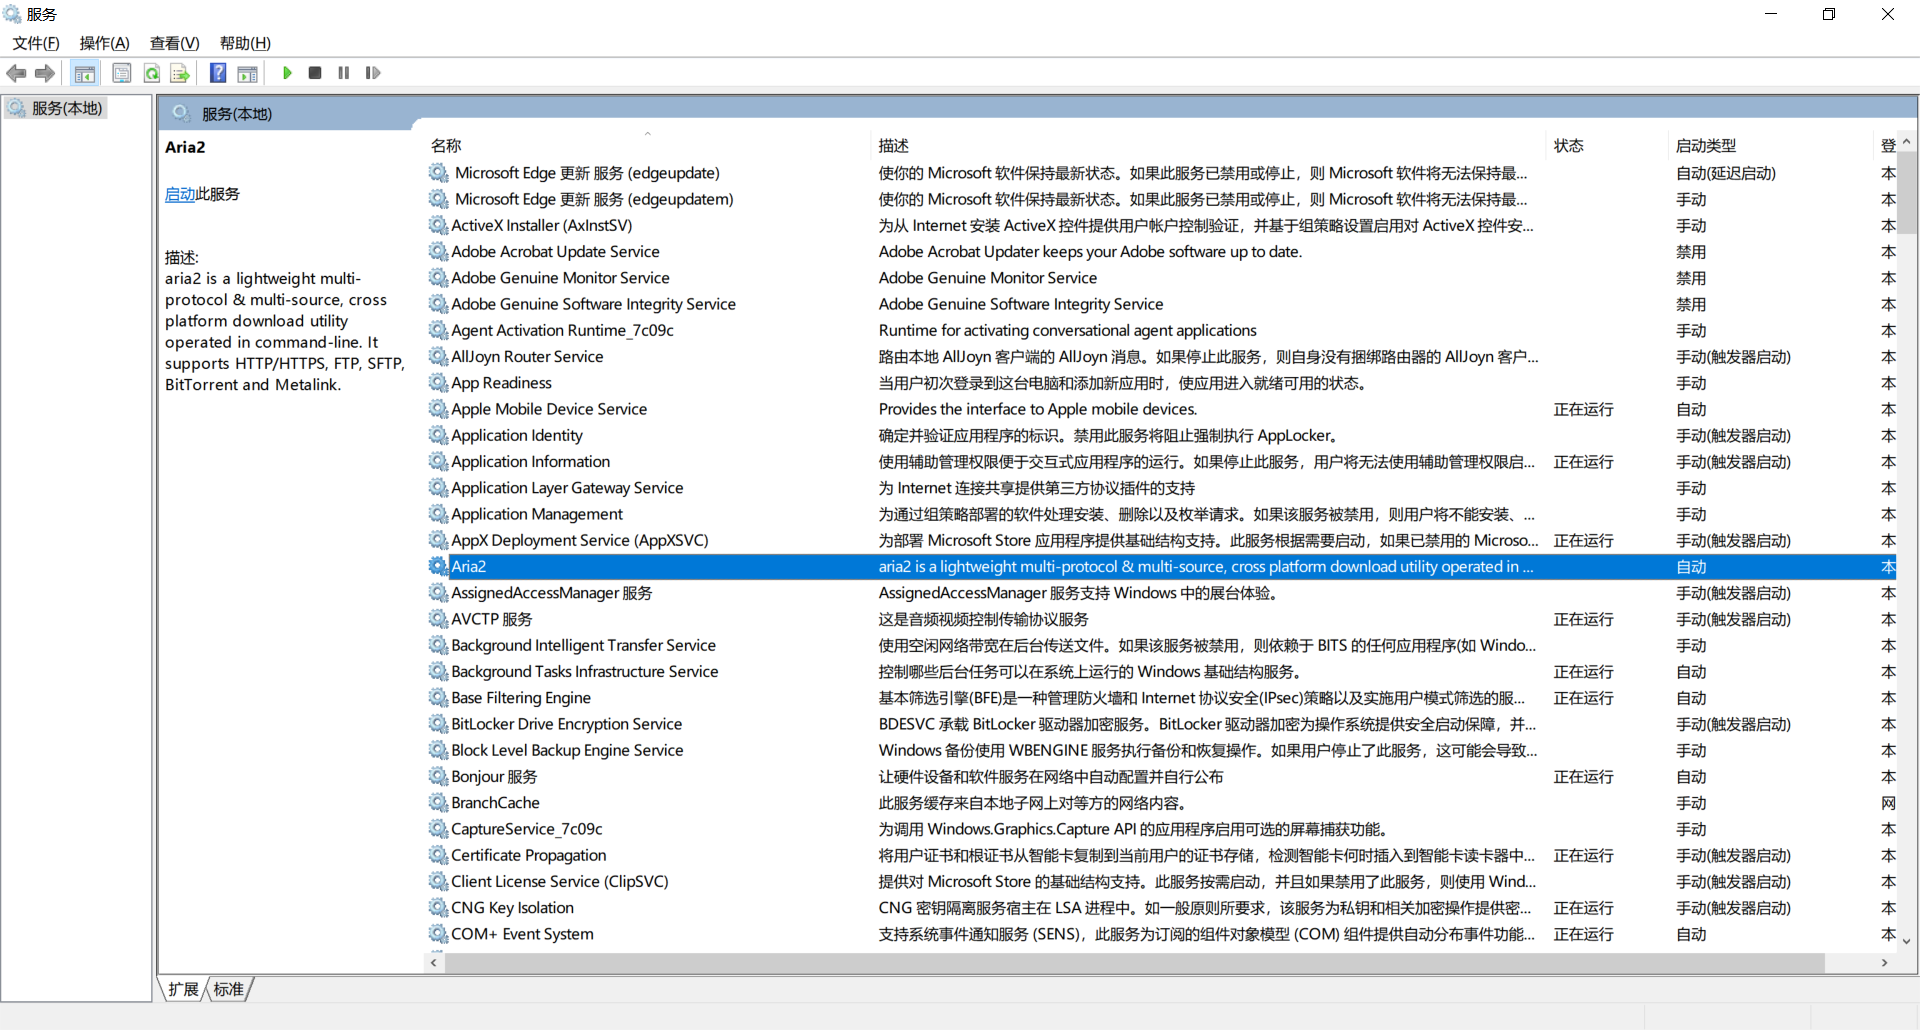
Win + R,输入 services.msc,打开服务窗口。
可以看到 Aria2 服务已经被成功安装。
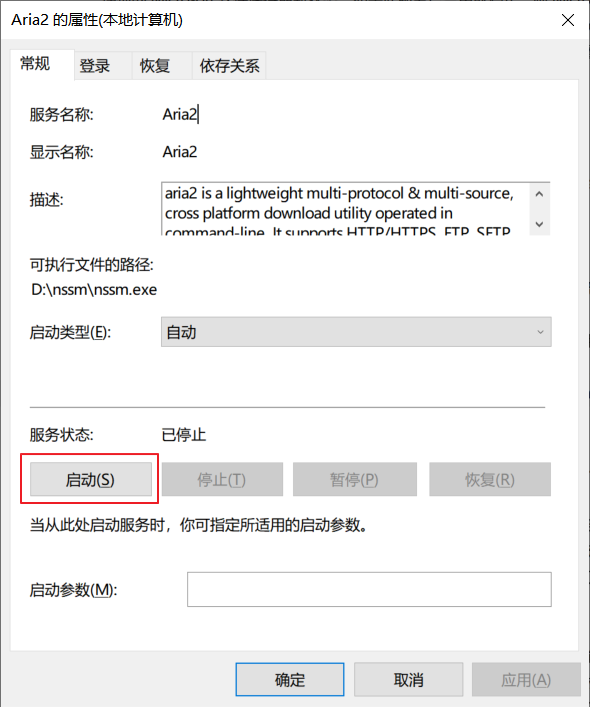
选中 Aria2,右键,属性,可以看到如下图所示,单击【启动】按钮,即可启动 Aria2 服务。
再回到 D:\aria2 目录下,有个 aria2.html(AriaNG),使用浏览器打开该 html 文件,界面如下图所示。
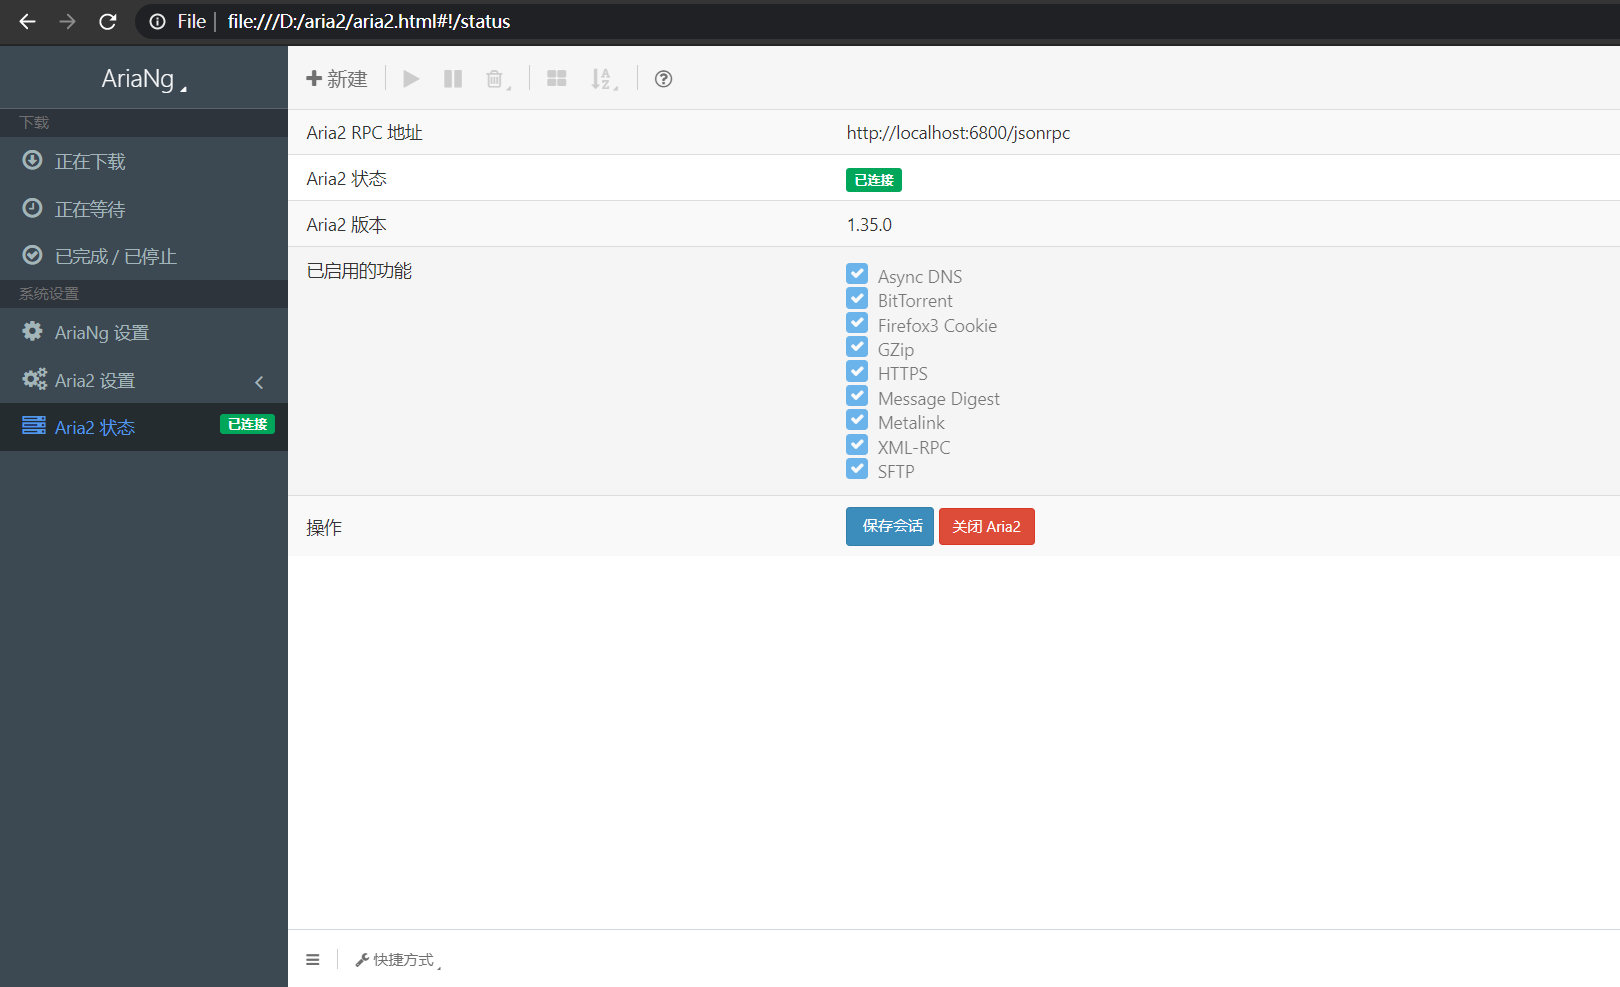
至此,Aria2 v1.35.0 + AriaNG 就已经安装成功了。
2. 安装 Caddy v1.0.5
下载 Windows 版 Caddy v1.0.5。
下载链接(32位):https://dl.lamp.sh/files/caddy_386.exe
下载链接(64位):https://dl.lamp.sh/files/caddy_amd64.exe
此处以下载 caddy_amd64.exe 为例,放到 D 盘 caddy 目录下。此时的目录结构如下:
D:\caddy\caddy_amd64.exe
在 D:\caddy 下新建配置文件 Caddyfile,如何配置,请具体参考网上教程。
此处给个示例:
:80 {
root D:\download
index index.html
log access.log
}
:443 {
root D:\download
tls xxxxxxx.crt xxxxxxx.key
index index.html
log access_ssl.log
}
以管理员模式打开 cmd(命令提示符)窗口,输入下列命令即可:
D:\nssm\nssm.exe install Caddy D:\caddy\caddy_amd64.exe
D:\nssm\nssm.exe set Caddy AppDirectory D:\caddy\
D:\nssm\nssm.exe set Caddy AppParameters -conf Caddyfile
D:\nssm\nssm.exe set Caddy Description "Fast, multi-platform web server with automatic HTTPS"
之后的用法,与上面的 Aria2 如出一辙。
3. 卸载服务
以卸载刚才安装的 Aria2 为例。
首先在 Windows 服务那里,将 Aria2 服务停止。
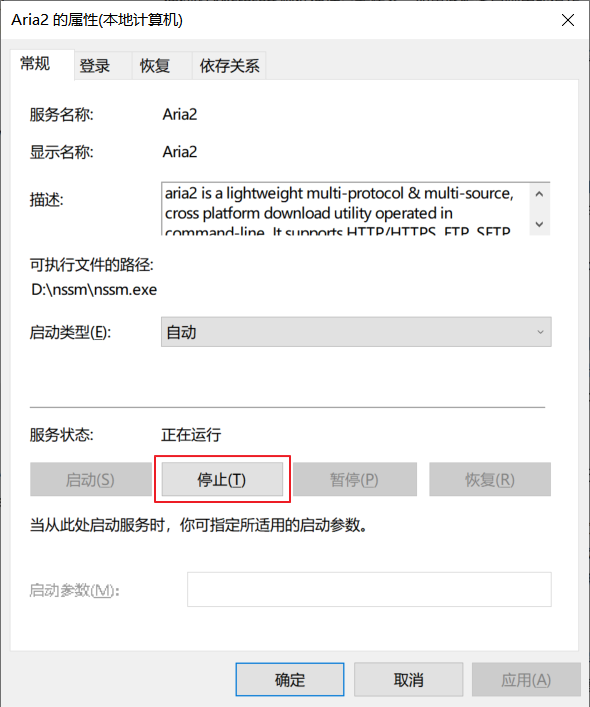
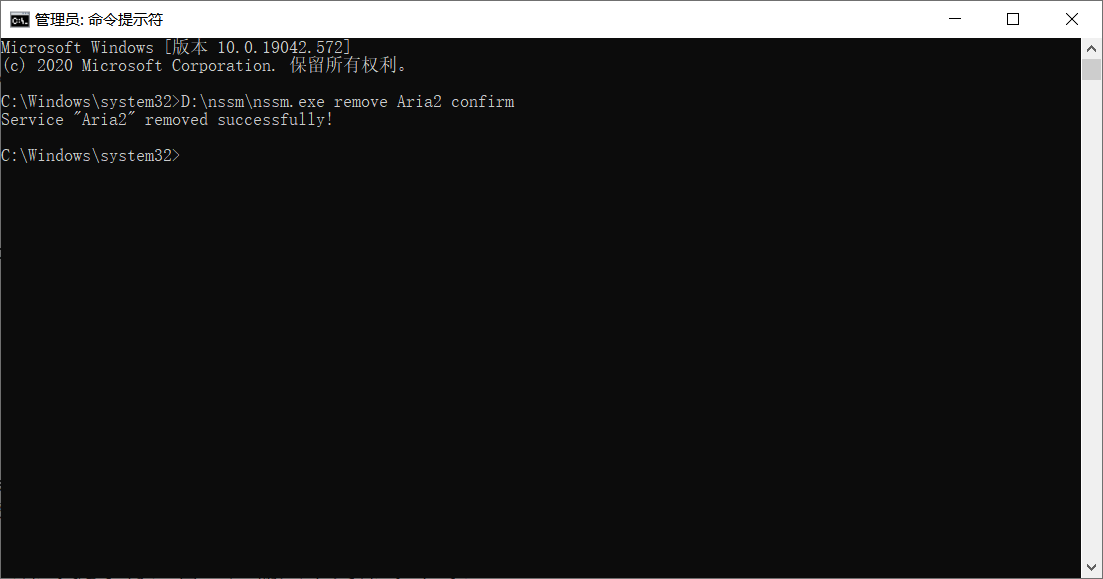
以管理员模式打开 cmd(命令提示符)窗口,输入下列命令即可:
D:\nssm\nssm.exe remove Aria2 confirm
结语
NSSM 其实是将命令行封装成 Windows 服务,从而简化命令行操作,是非常方便的创建自定义服务的工具。
活用该工具,其实有很多种玩法,在此就不一一列举了。
转载请注明:秋水逸冰 » 在 Windows 系统里轻松创建自定义服务