本地部署智能体
OpenClaw,QwenPaw,Hermes Agent …
分类: AI, Tech101, 教程 / 字数: 2264 / 标签: 人工智能, AI, 本地部署, Podman, OpenClaw, QwenPaw, Hermes Agent
本教程将介绍在 macOS 环境下部署 OpenClaw,QwenPaw 和 Hermes Agent。如无特殊说明,macOS 系统下需在终端中执行命令,Windows 系统下需要在 PowerShell 中执行命令。本教程涉及到的软件信息如下:
| 软件 | 版本 |
|---|---|
| Podman | 5.8.2 |
| OpenClaw | 2026.4.16 |
| QwenPaw | 1.1.2 |
| Hermes Agent | 0.10.0 |
为了更好的进行环境隔离,后续我们使用 Podman 安装不同的智能体框架。
提示
在 Windows 系统下,单击开始按钮,搜索 启用或关闭 Windows 功能,在打开的窗口中将 Hyper-V 和 适用于 Linux 的 Windows 子系统 及其子项全部勾选,单击确定,待系统启用功能后重启电脑。
运行如下命令安装 Podman:
为了方便观察 Podman 的运行情况,可选的运行如下命令安装 Podman Desktop:
macOS
brew install podman-desktop
Windows
scoop install podman-desktop
安装完毕后,运行如下命令初始化并启动 Podman:
macOS
podman machine init
podman machine start
Windows
podman machine init
podman machine start
运行如下命令查看 Podman 的安装和运行情况:
更多 Podman 使用方法请参考 Podman 文档。有关 Podman Desktop 的使用方法请参考 Podman Desktop 文档。
克隆 OpenClaw 的源代码至本地:
macOS
git clone git@github.com:openclaw/openclaw.git
Windows
git clone git@github.com:openclaw/openclaw.git
macOS
运行如下命令安装 OpenClaw CLI:
curl -fsSL https://openclaw.ai/install-cli.sh | bash
命令会在 ~/.openclaw 目录下安装 Node 环境和相关依赖。进入 OpenClaw 源代码目录下,运行如下命令构建 Gateway 容器:
export OPENCLAW_DOCKER_APT_PACKAGES="chromium"
./scripts/podman/setup.sh
其中 OPENCLAW_DOCKER_APT_PACKAGES 表示构建 Gateway 容器时使用 apt 命令额外安装的软件包。运行如下命令启动 Gateway 容器:
./scripts/run-openclaw-podman.sh launch
运行如下命令进行配置:
./scripts/run-openclaw-podman.sh launch setup
在配置过程中根据实际情况对模型提供商等选项进行配置。配置如下环境变量来使用宿主机中的 OpenClaw CLI 管理 OpenClaw 容器:
export PATH="$PATH:/Users/leo/.openclaw/bin"
export OPENCLAW_CONTAINER=openclaw
Windows
在合适的目录创建如下文件夹:
mkdir /path/to/openclaw
mkdir /path/to/openclaw/workspace
进入 OpenClaw 源代码目录下,运行如下命令构建 Gateway 容器:
podman build -t openclaw:local -f Dockerfile . --build-arg OPENCLAW_DOCKER_APT_PACKAGES="chromium"
其中 OPENCLAW_DOCKER_APT_PACKAGES 表示构建 Gateway 容器时使用 apt 命令额外安装的软件包。运行如下命令配置并启动 Gateway 容器:
$env:OPENCLAW_CONFIG_DIR = "/path/to/openclaw"
$env:OPENCLAW_WORKSPACE_DIR = "/path/to/openclaw/workspace"

podman compose run --rm --no-deps --entrypoint node openclaw-gateway `
  dist/index.js onboard --mode local --no-install-daemon

podman compose run --rm --no-deps --entrypoint node openclaw-gateway `
  dist/index.js config set --batch-json '[{"path":"gateway.mode","value":"local"},{"path":"gateway.bind","value":"lan"},{"path":"gateway.controlUi.allowedOrigins","value":["http://localhost:18789","http://127.0.0.1:18789"]}]'

podman compose up -d openclaw-gateway
在配置中过程中根据实际情况对模型提供商等选项进行配置。
使用 Podman 安装 OpenClaw 后,重启 Gateway 的命令如下:
macOS
Windows
podman restart openclaw-openclaw-gateway-1
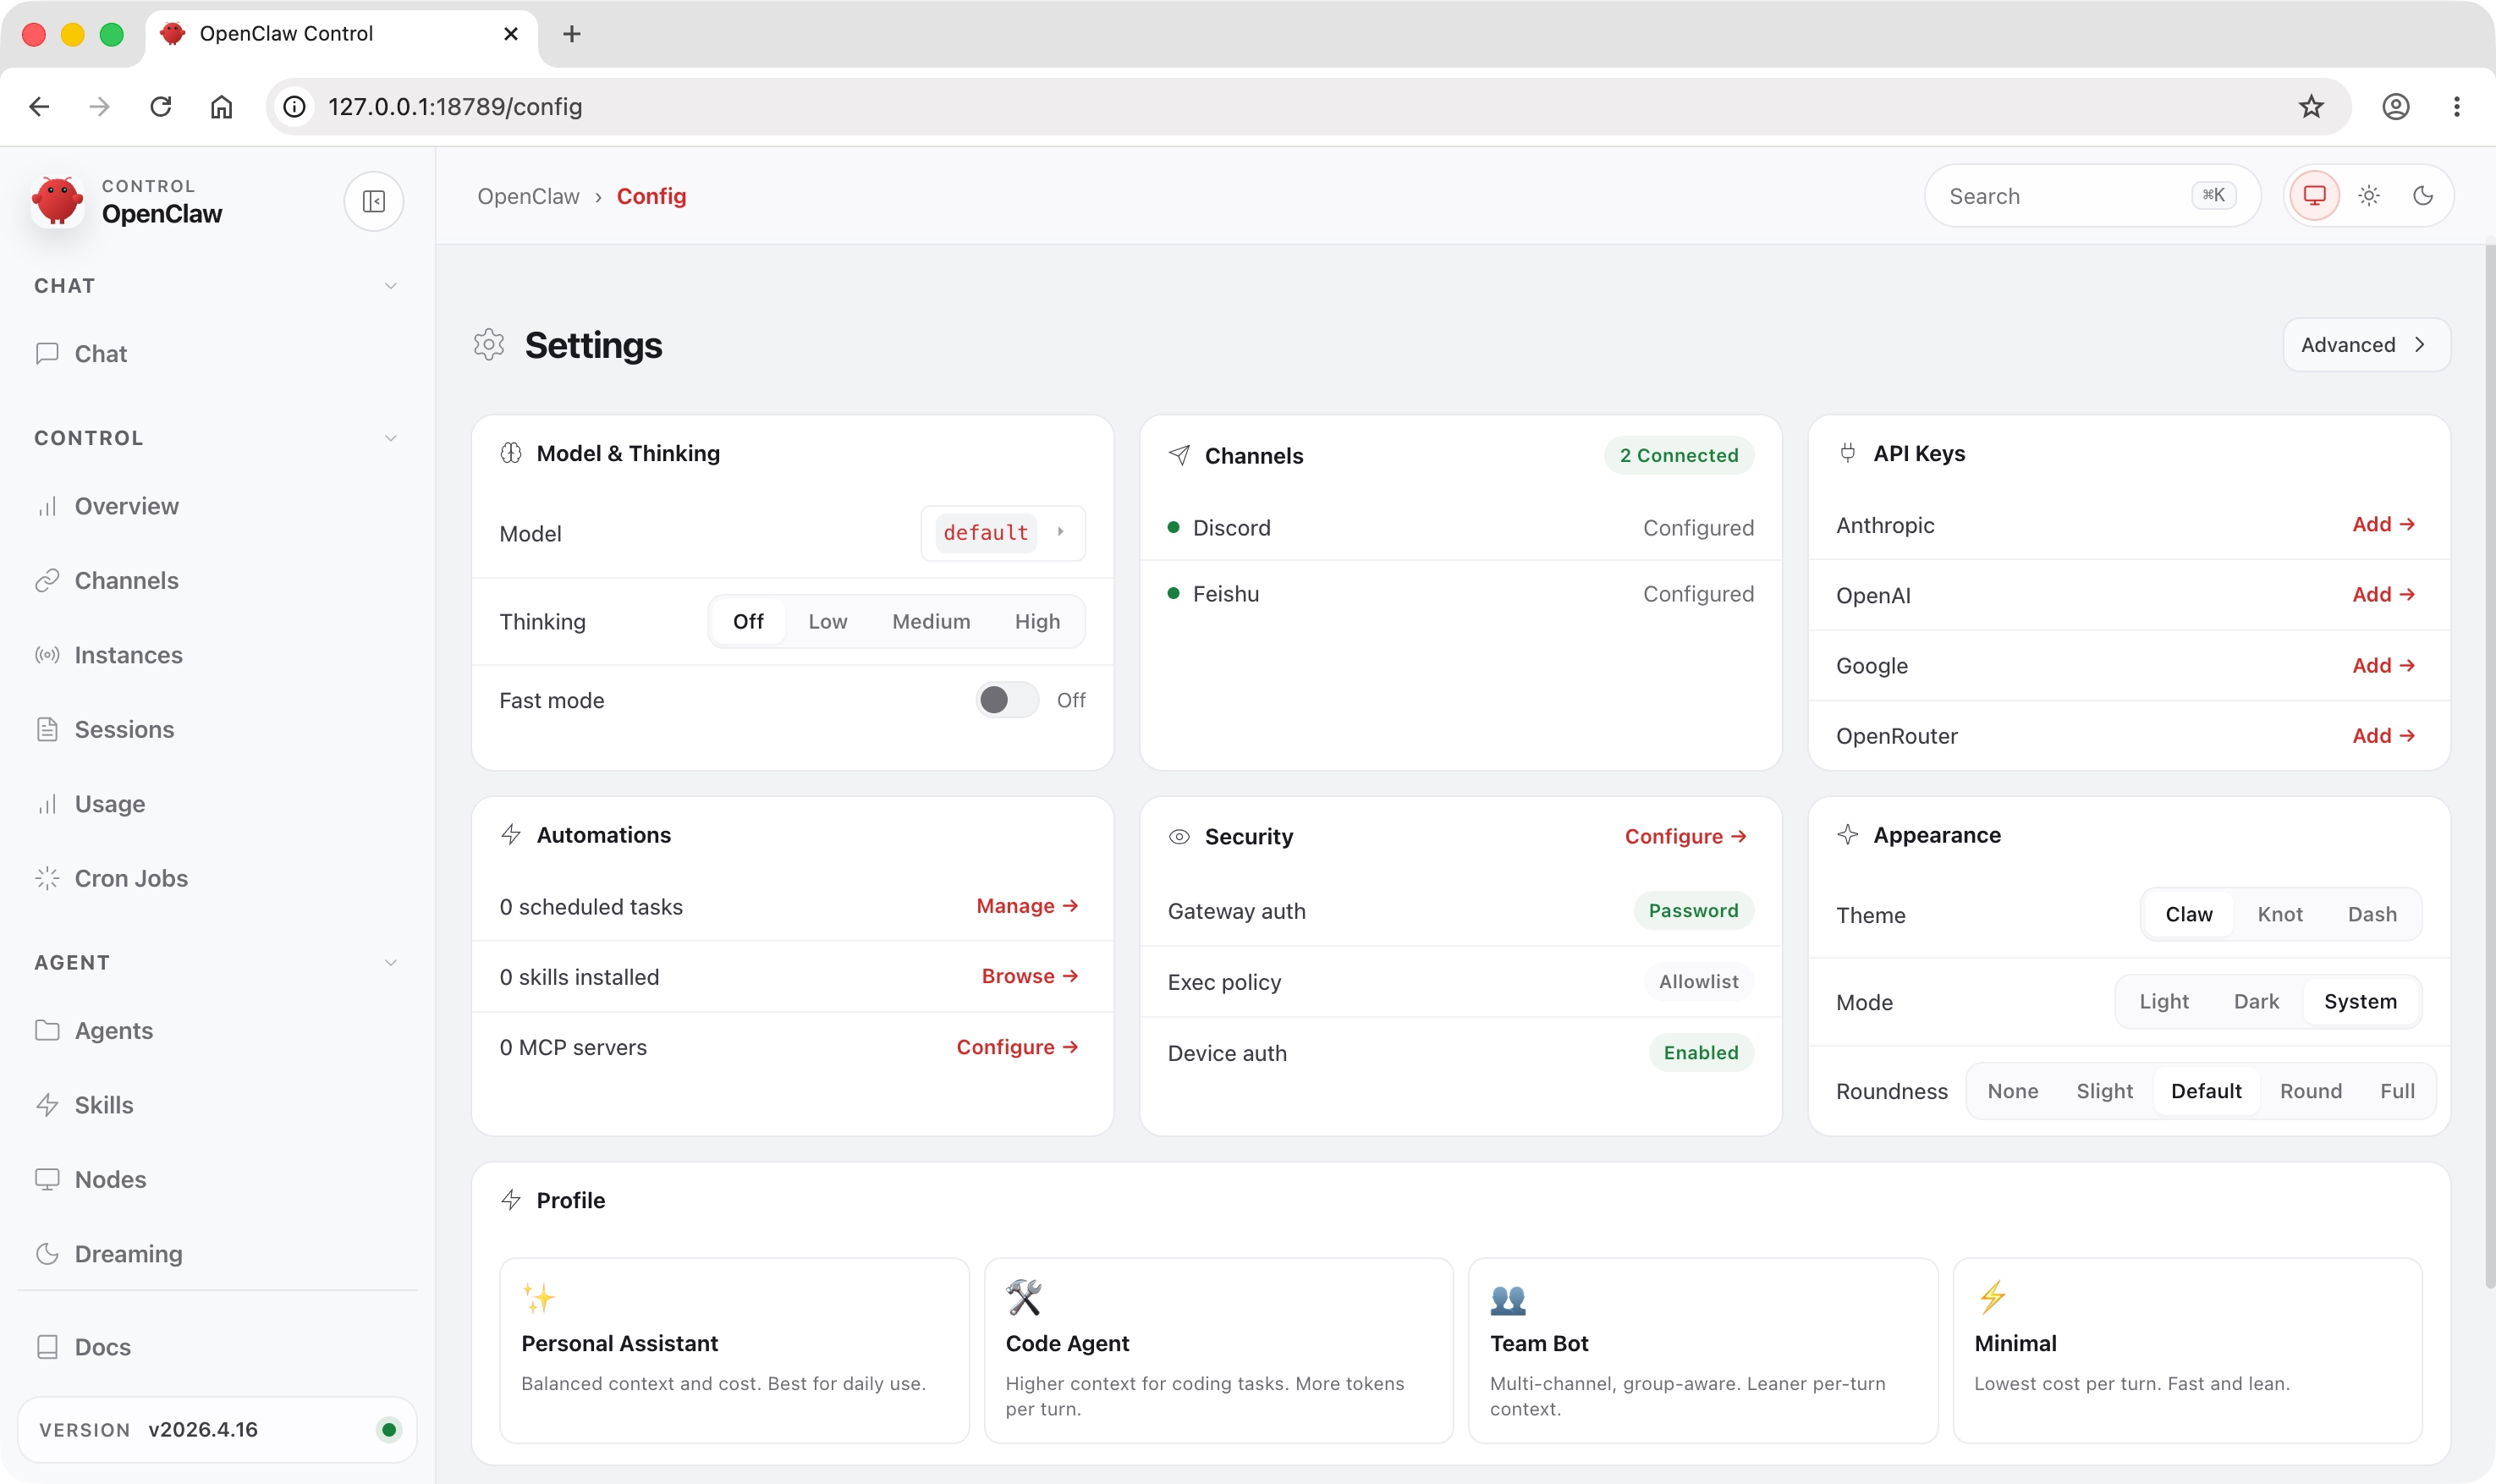
使用浏览器打开 http://127.0.0.1:18789/ 即可进入 OpenClaw 管理页面。更多细节请参考 OpenClaw 文档。
警告
OpenClaw 管理页面虽然支持权限校验,但为了安全起见,请勿将其暴露在公网。
提示
在 Windows 系统下,podman compose 命令需要在 OpenClaw 源代码目录下运行。
运行如下命令配置飞书消息频道:
macOS
openclaw channels login --channel feishu
Windows
podman compose exec openclaw-gateway node dist/index.js channels login --channel feishu
使用飞书 APP 扫描生成的二维码进行后续配置即可。
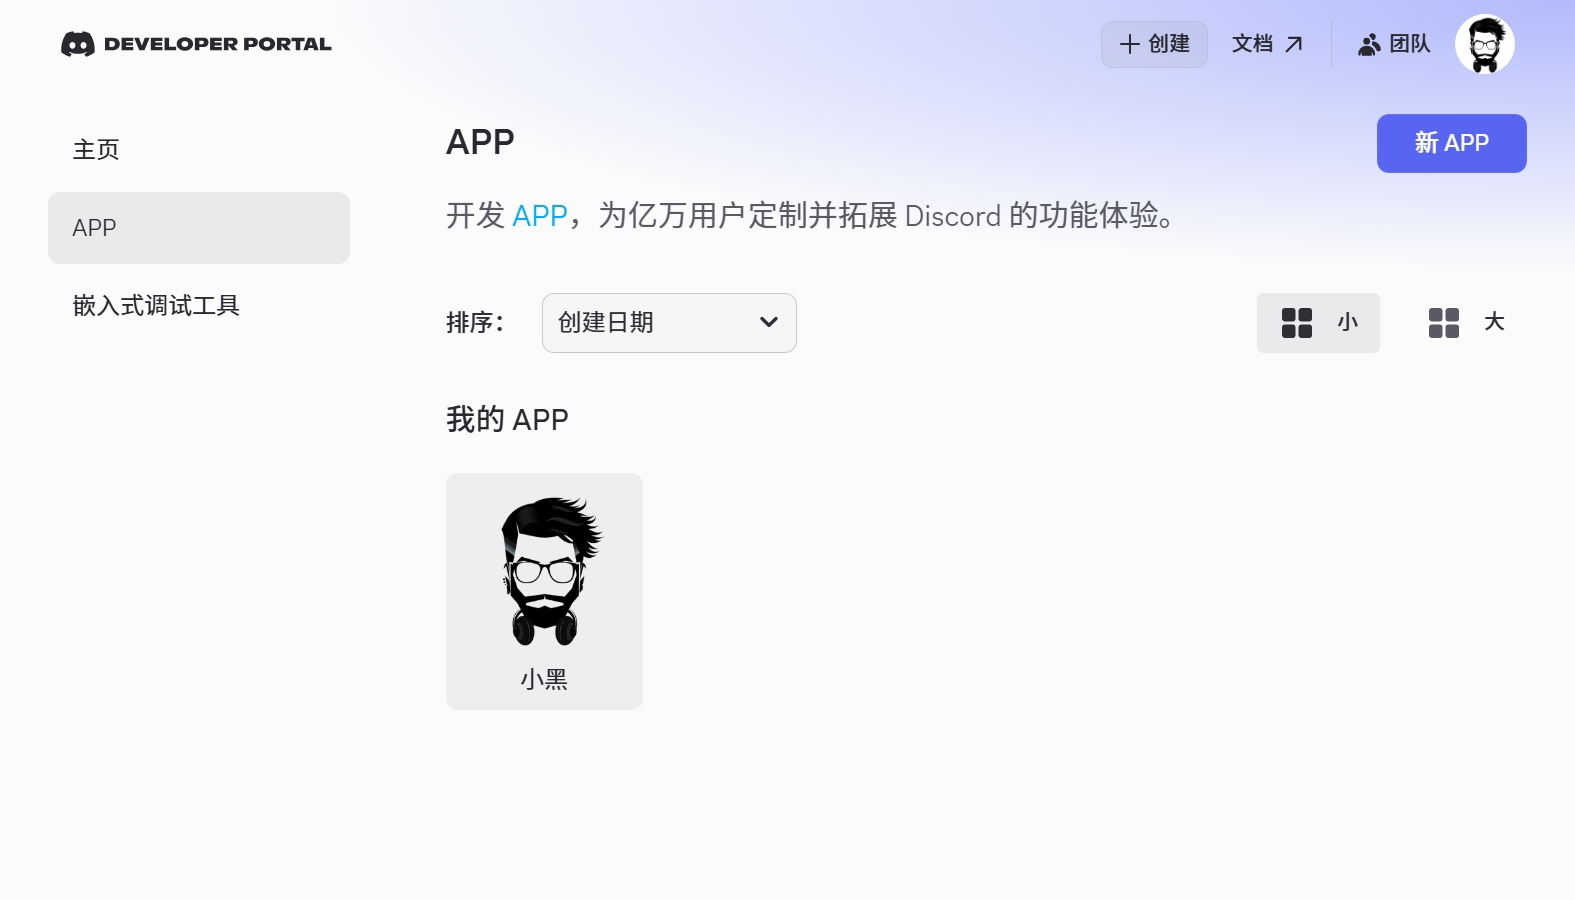
首先在 Discord 中创建一个服务器,进入 Discord 开发者门户,单击 新 APP 按钮创建新的应用,并填写应用名称。
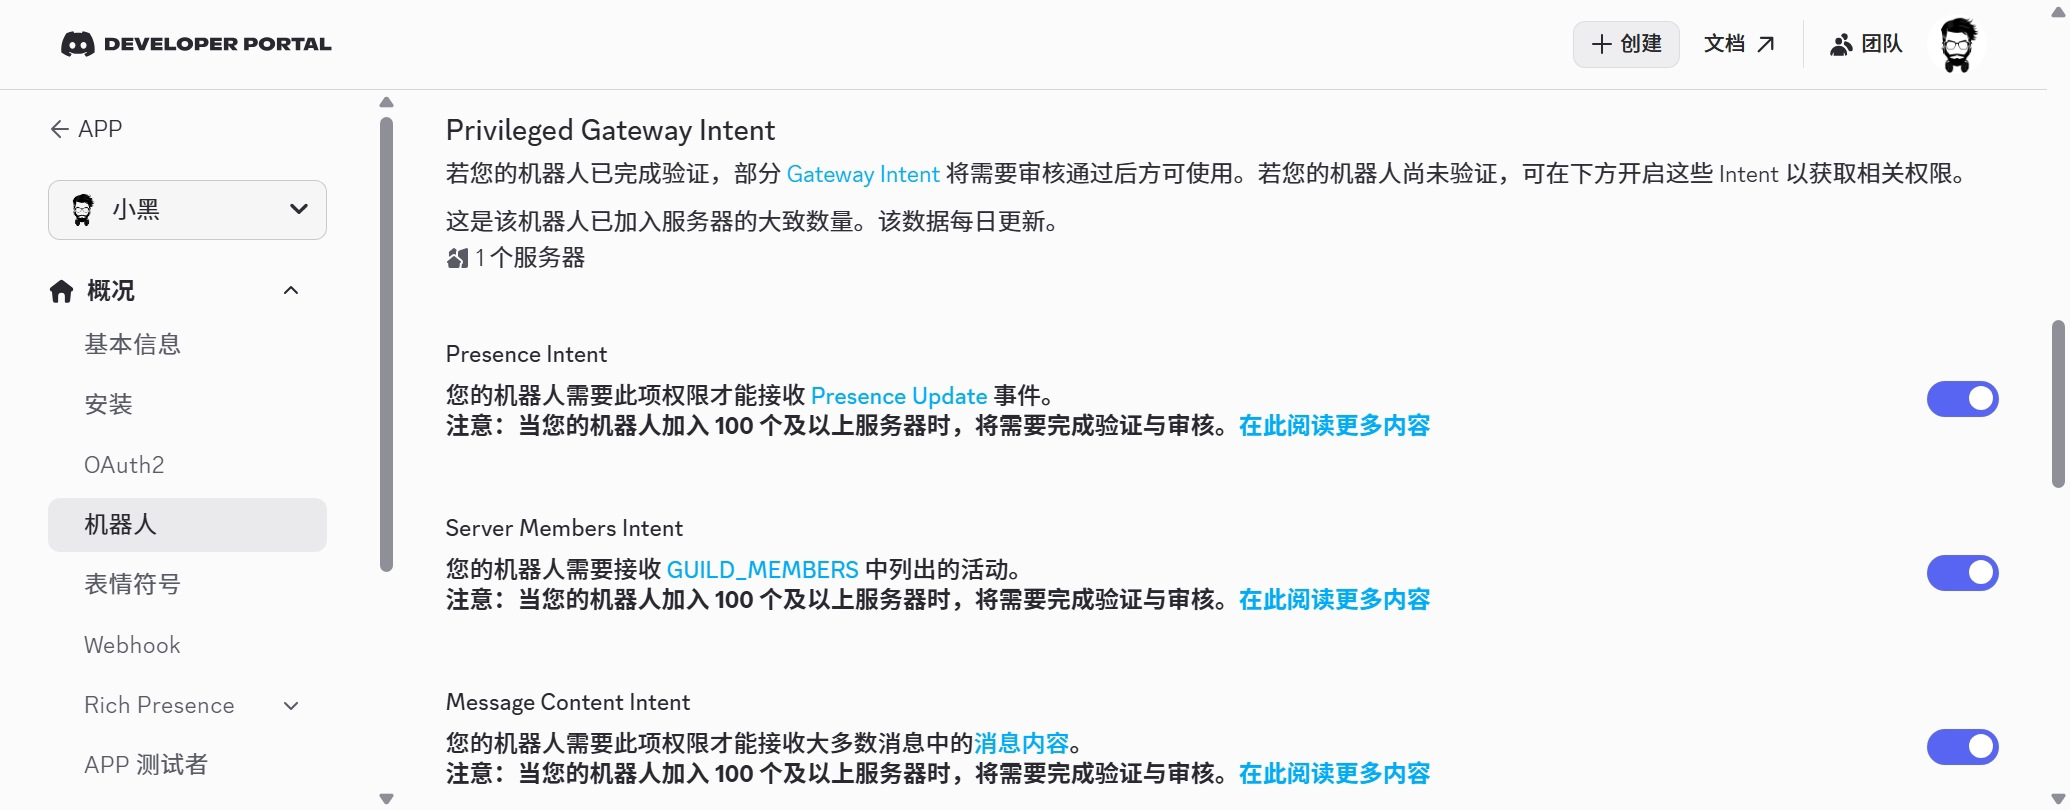
进入 概况 - 机器人 选项卡,启用 Presence Intent,Server Members Intent 和 Message Content Intent。
进入 概况 - 机器人 选项卡,单击 重置令牌
生成令牌,注意令牌仅显示一次,请妥善保管以便后续使用。
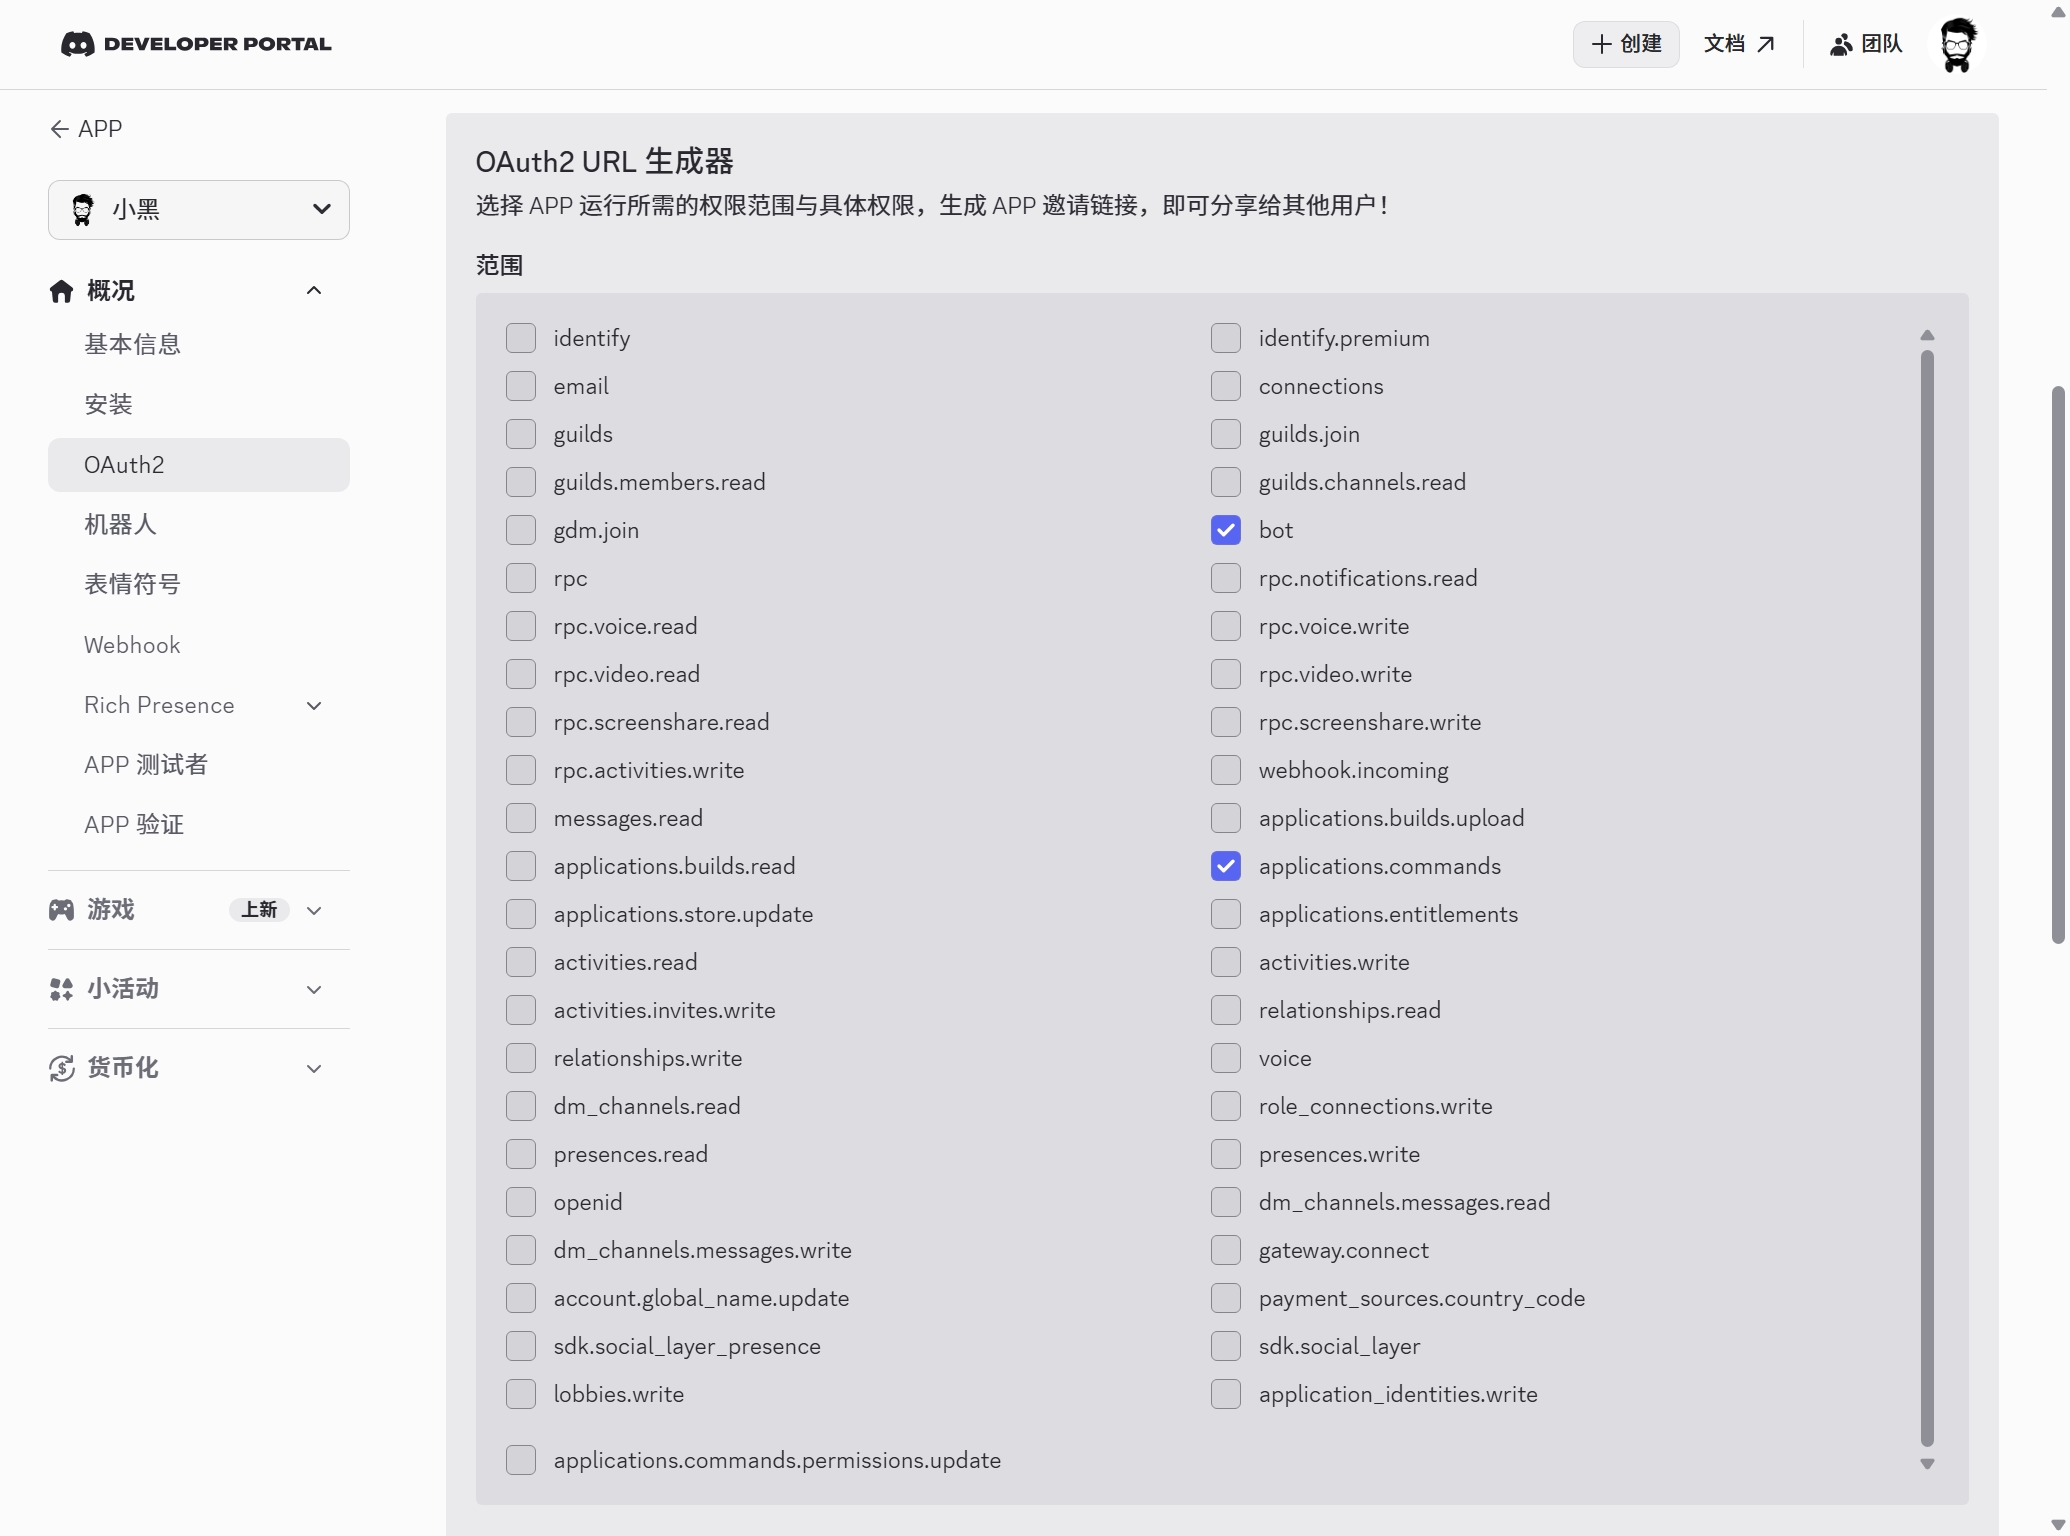
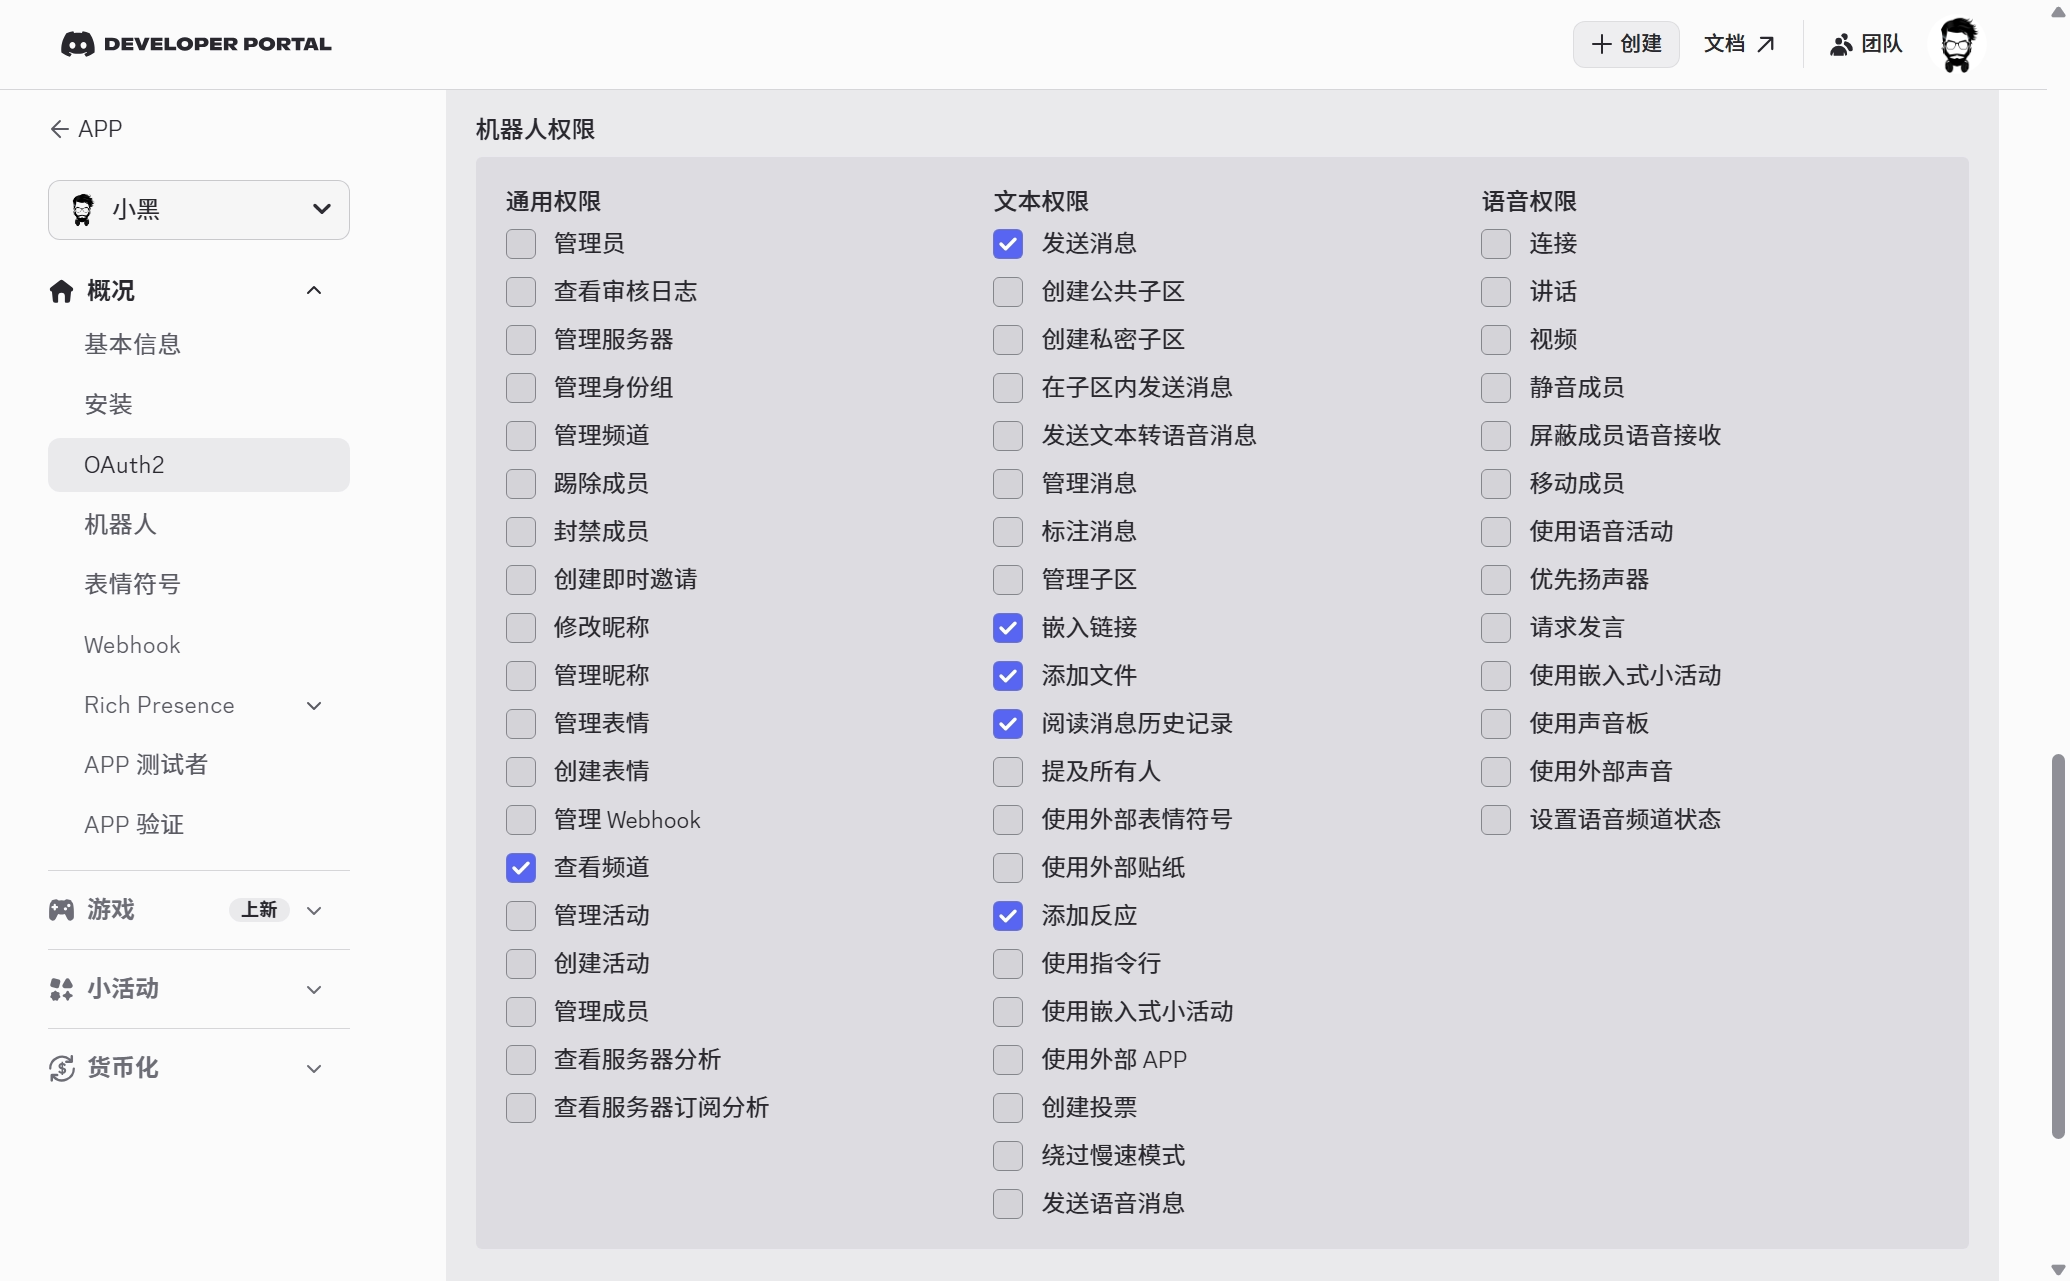
进入 概况 - OAuth2 选项卡,在 OAuth2 URL 生成器的 范围 中选中 bot 和 applications.commands。
在 机器人权限 中选中 查看频道,发送消息,阅读消息历史记录,嵌入链接,添加文件 和 添加反应。
将 已生成的 URL 中的 URL 复制到浏览器打开,按照提示安装应用并授权。
打开 Discord 应用,进入 用户设置 页面,在 开发者 菜单中启用 开发者模式。在频道图标上右键,单击 复制服务器 ID,在个人头像上左键,单击 复制用户 ID。
运行如下命令配置 Discord 消息频道:
macOS
openclaw config set channels.discord.token "你的 TOKEN"
openclaw config set channels.discord.enabled true --strict-json
Windows
podman compose exec openclaw-gateway node dist/index.js config set channels.discord.token "你的 TOKEN"
podman compose exec openclaw-gateway node dist/index.js config set channels.discord.enabled true --strict-json
向机器人发送任意消息,根据机器人回复的消息运行如下命令进行授权:
macOS
openclaw pairing approve discord <CODE>
Windows
podman compose exec openclaw-gateway node dist/index.js pairing approve discord <CODE>
此时就可以通过 Discord 私信和机器人对话了。在配置文件中添加如下内容来支持在服务器中同机器人对话:
{
  "channels": {
    "discord": {
      "groupPolicy": "allowlist",
      "guilds": {
        "服务器 ID": {
          "requireMention": true,
          "users": ["用户 ID"]
        }
      }
    }
  }
}
默认情况下,机器人只有在被 @ 时才会响应,如果需要对每条消息都进行响应,可以将 requireMention 设置为 false。
在合适的目录创建如下文件夹:
macOS
mkdir -p /path/to/qwenpaw/data
mkdir -p /path/to/qwenpaw/secrets
Windows
mkdir /path/to/qwenpaw/data
mkdir /path/to/qwenpaw/secrets
运行如下命令使用 Podman 安装 QwenPaw:
macOS
podman pull agentscope/qwenpaw:latest
podman run -d \
  --name qwenpaw \
  --restart always \
  -v /path/to/qwenpaw/data:/app/working \
  -v /path/to/qwenpaw/secrets:/app/working.secret \
  -p 8088:8088 \
  agentscope/qwenpaw:latest
Windows
podman pull agentscope/qwenpaw:latest
podman run -d `
  --name qwenpaw `
  --restart always `
  -v /path/to/qwenpaw/data:/app/working `
  -v /path/to/qwenpaw/secrets:/app/working.secret `
  -p 8088:8088 `
  agentscope/qwenpaw:latest
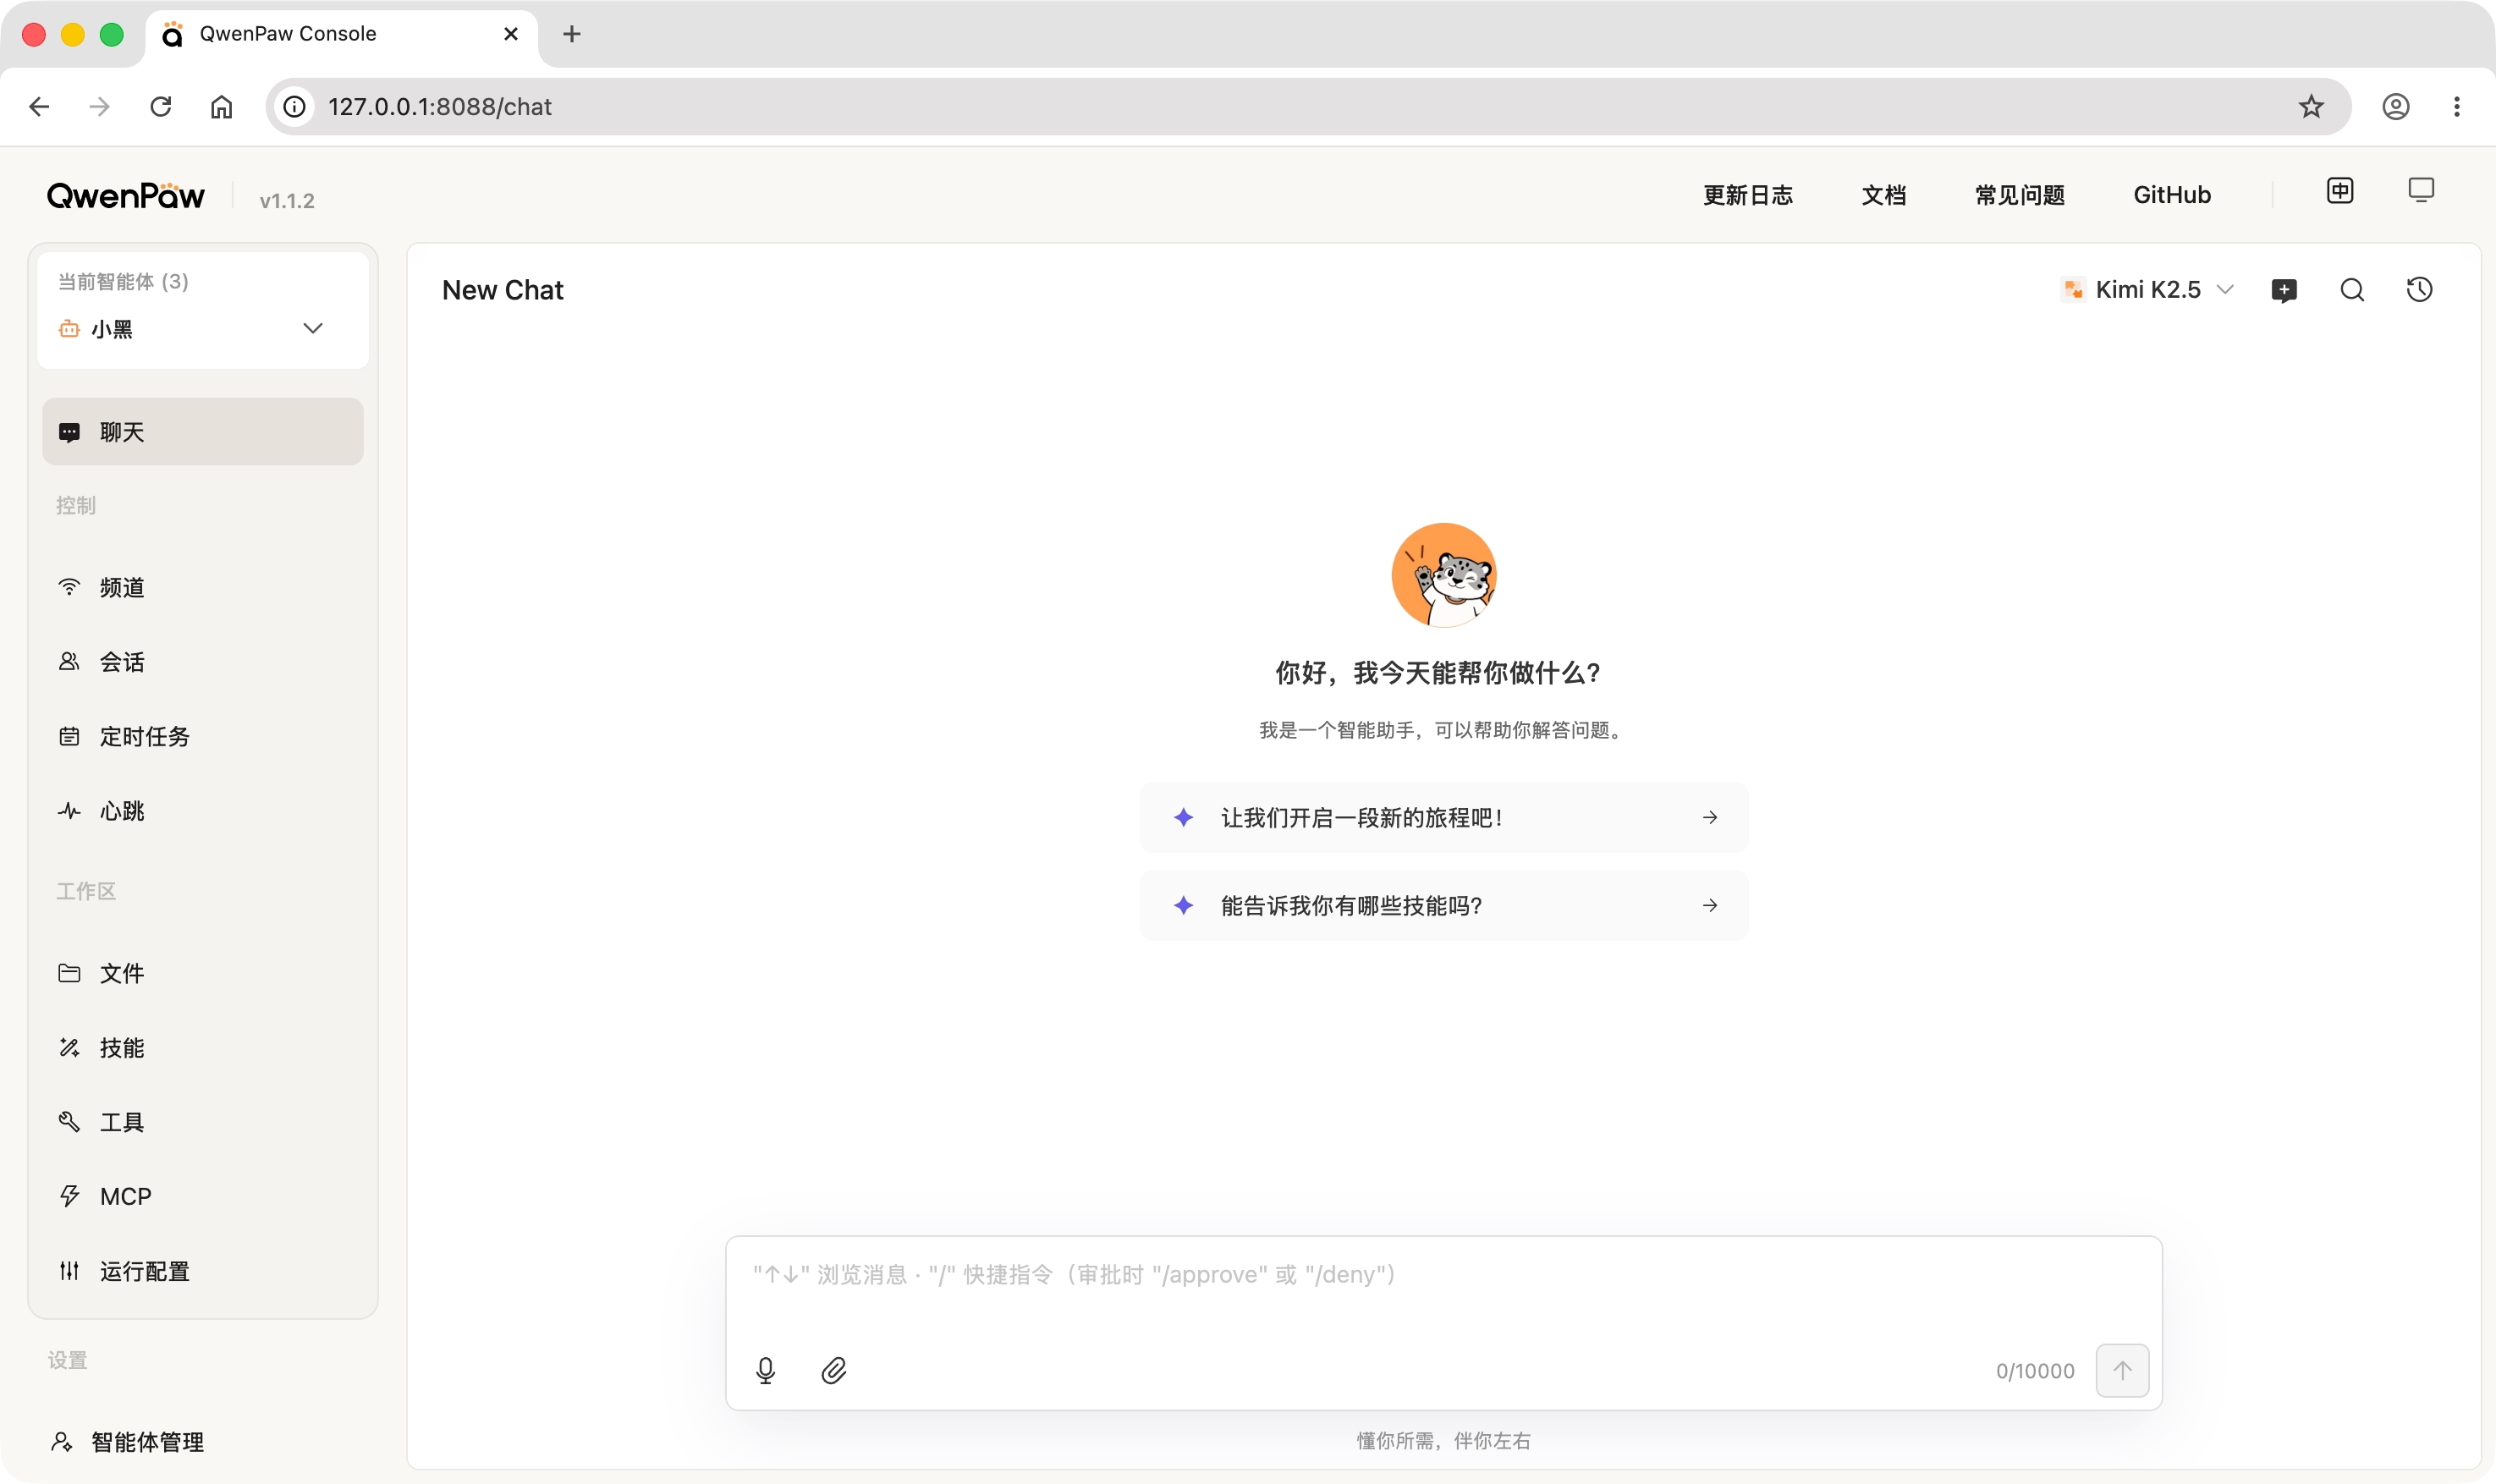
使用浏览器打开 http://127.0.0.1:8088/ 即可进入 QwenPaw 管理页面。
警告
QwenPaw 管理页面暂无权限校验,请勿将其暴露在公网。
注意
在 QwenPaw 中需要进入 智能体管理 中新建一个智能体,默认智能体 无法进行修改。
参见:https://qwenpaw.agentscope.io/docs/channels/?lang=zh#飞书
参见:https://qwenpaw.agentscope.io/docs/channels/?lang=zh#Discord
在合适的目录创建如下文件夹:
macOS
mkdir -p /path/to/hermes-agent
Windows
mkdir /path/to/hermes-agent
运行如下命令使用 Podman 配置 Hermes Agent:
macOS
podman pull nousresearch/hermes-agent:latest
podman run -it --rm \
  -v /path/to/hermes-agent:/opt/data \
  nousresearch/hermes-agent:latest setup
Windows
podman pull nousresearch/hermes-agent:latest
podman run -it --rm `
  -v /path/to/hermes-agent:/opt/data `
  nousresearch/hermes-agent:latest setup
在配置过程中根据实际情况对模型提供商等选项进行配置。运行如下代码启动 Gateway 容器:
macOS
podman run -d \
  --name hermes-agent-gateway \
  --restart unless-stopped \
  -v /path/to/hermes-agent:/opt/data \
  -p 8642:8642 \
  nousresearch/hermes-agent:latest gateway run
Windows
podman run -d `
  --name hermes-agent-gateway `
  --restart unless-stopped `
  -v /path/to/hermes-agent:/opt/data `
  -p 8642:8642 `
  nousresearch/hermes-agent:latest gateway run
运行如下代码启动 Dashboard 容器:
macOS
podman run -d \
  --name hermes-agent-dashboard \
  --restart unless-stopped \
  -v /path/to/hermes-agent:/opt/data \
  -p 9119:9119 \
  -e GATEWAY_HEALTH_URL=http://$HOST_IP:8642 \
  nousresearch/hermes-agent:latest dashboard --host 0.0.0.0 --insecure
Windows
podman run -d `
  --name hermes-agent-dashboard `
  --restart unless-stopped `
  -v /path/to/hermes-agent:/opt/data `
  -p 9119:9119 `
  -e GATEWAY_HEALTH_URL=http://$HOST_IP:8642 `
  nousresearch/hermes-agent:latest dashboard --host 0.0.0.0 --insecure
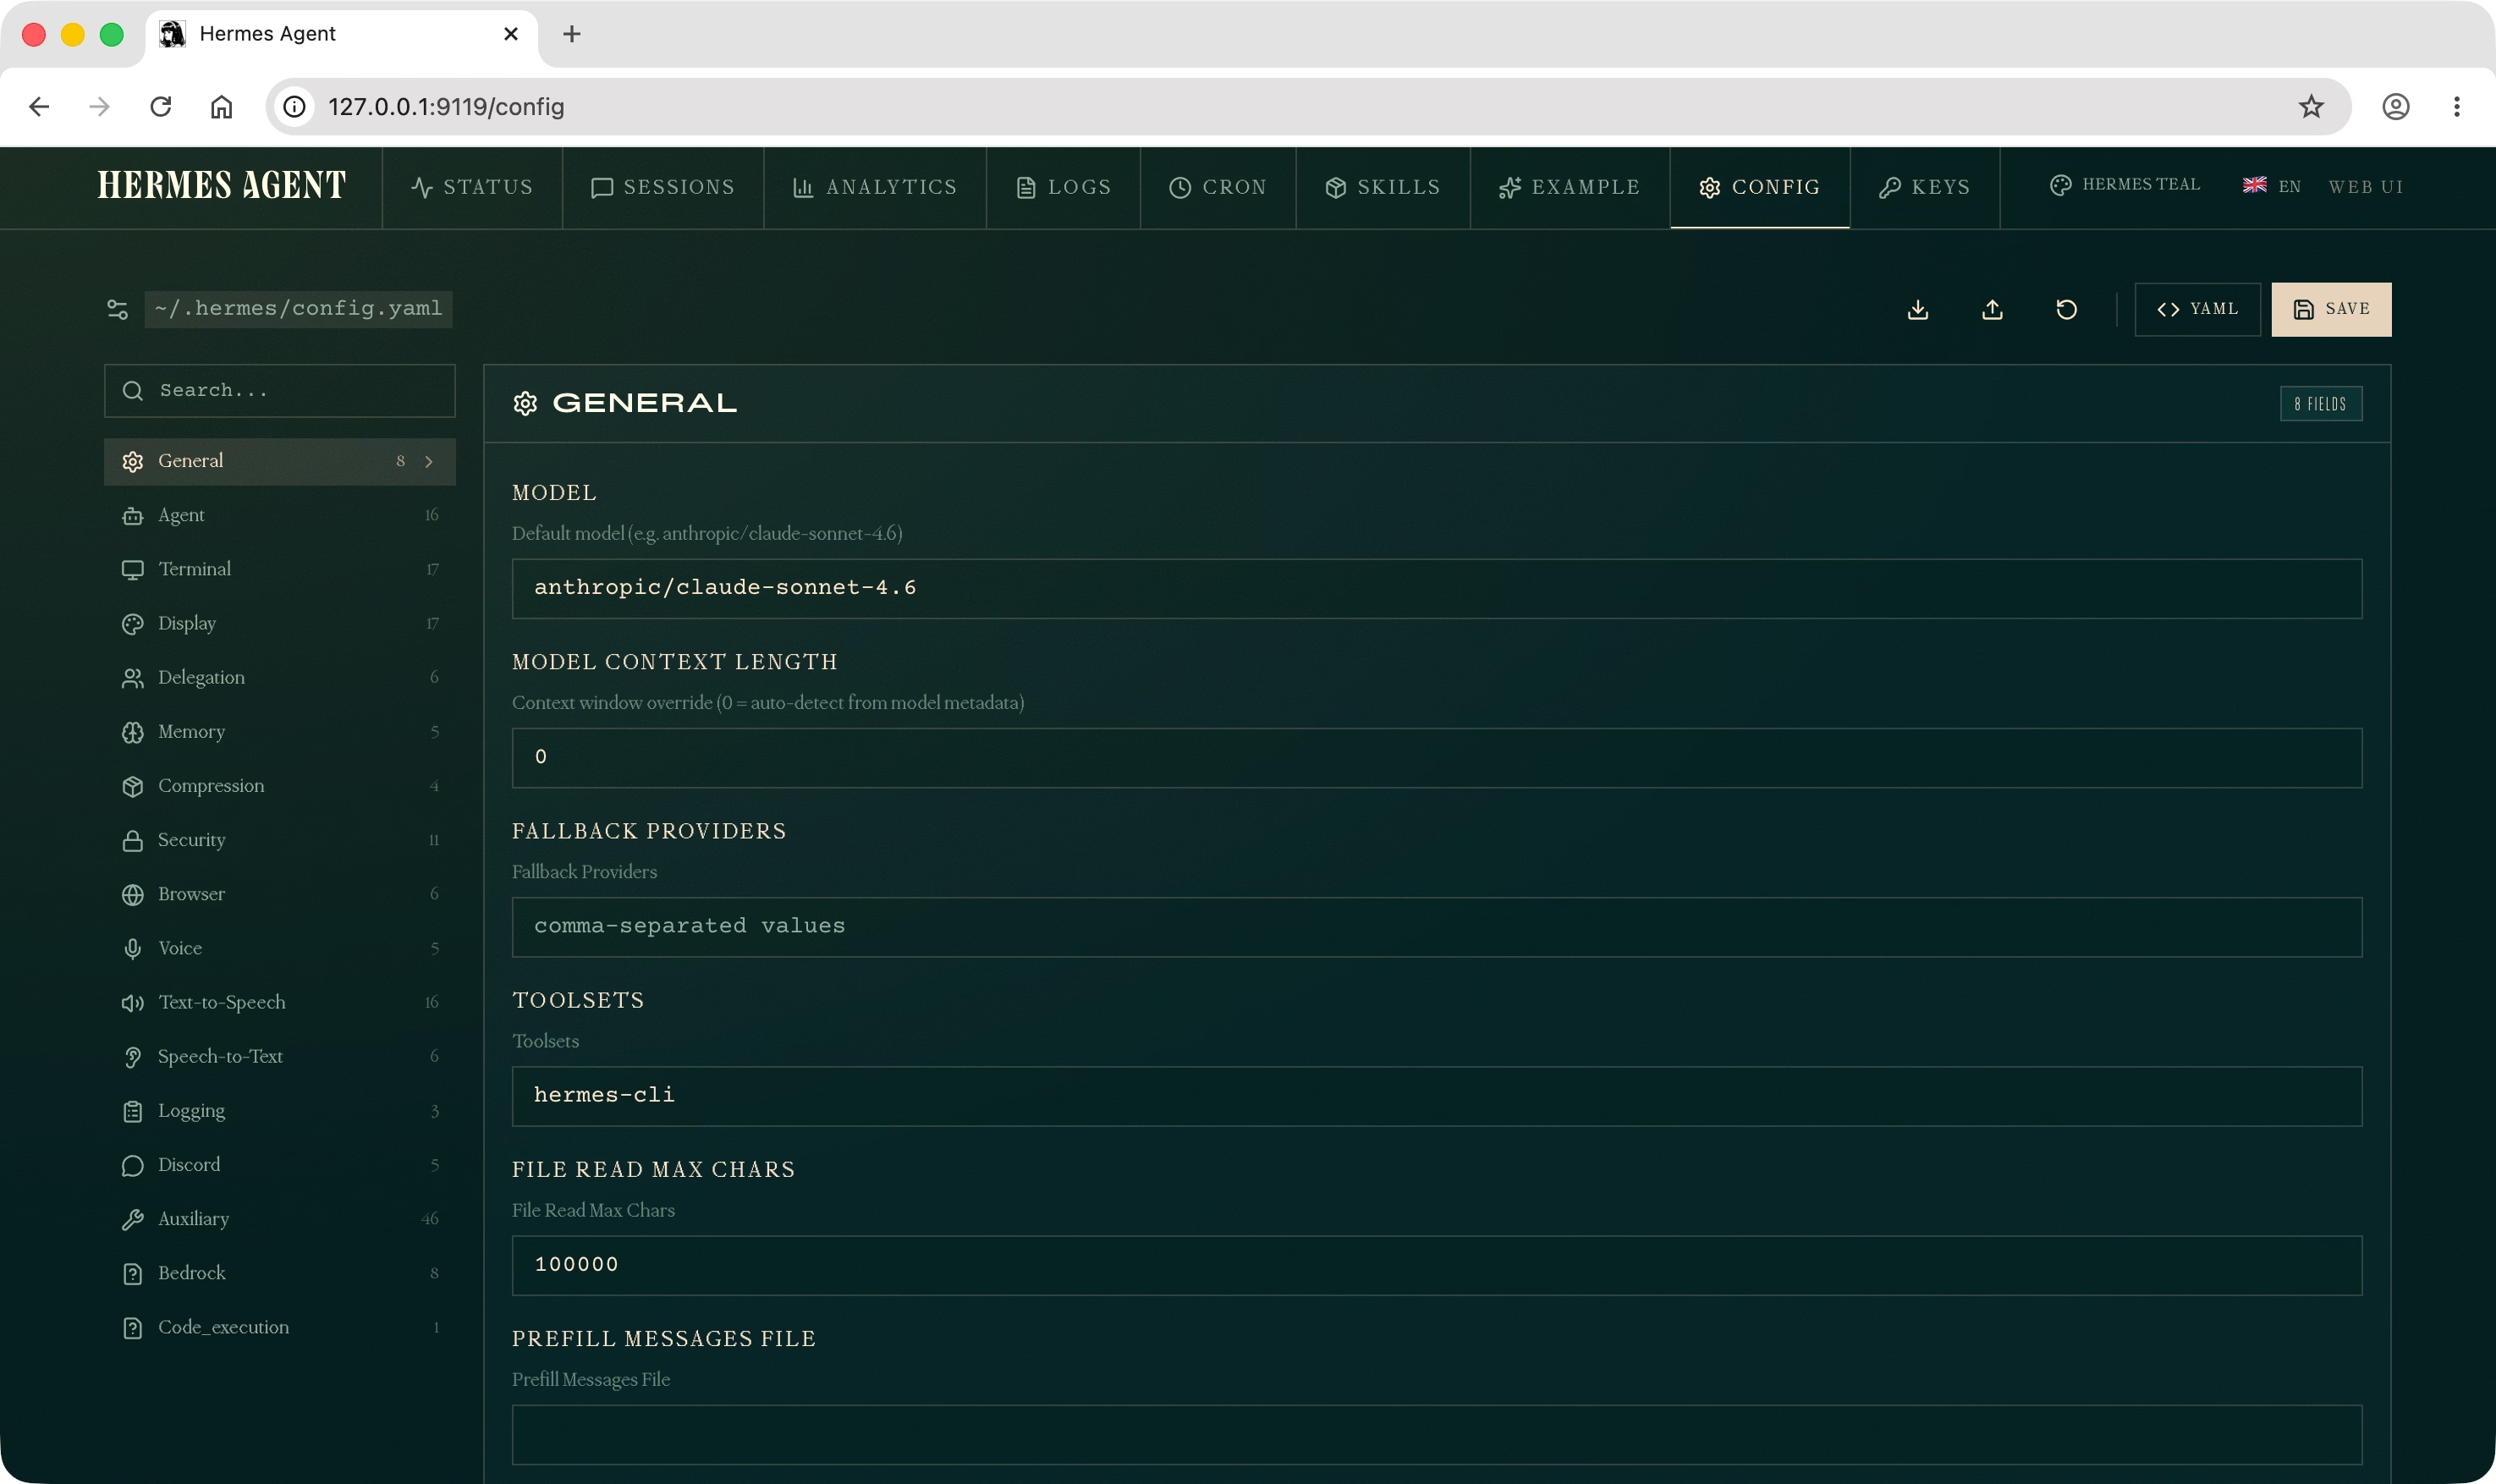
将 $HOST_IP 替换为运行 Gateway 容器机器的 IP 地址(注意:需使用宿主机的 IP 地址,而不是 127.0.0.1)。使用浏览器打开 http://127.0.0.1:9119/ 即可进入 Hermes Agent 管理页面。
警告
Hermes Agent 管理页面暂无权限校验,请勿将其暴露在公网。
参见:https://hermes-agent.nousresearch.com/docs/user-guide/messaging/feishu
参见:https://hermes-agent.nousresearch.com/docs/user-guide/messaging/discord
此内容由惯性聚合(RSS阅读器)自动聚合整理,仅供阅读参考。 原文来自 — 版权归原作者所有。