


我看过有人在树莓派上搭建个人博客,因为没有固定外网 IP,需要通过一系列的迷之操作才能在外网访问,挺麻烦的。如果有台服务器可以为没有固定外网 IP 的电脑提供代理,浏览器把请求发送给代理服务器,代理服务器转发到个人电脑,就可以实现在个人电脑上发布博客内容了。我不知道有没有网站提供这种代理服务,想基于 socket.io 自己动手搭建一个这样的代理服务。
有人会有疑问,为什么要搞这么麻烦?其实搭建好了这个代理服务后,如果谁家里有 24 小时不间断运行的电脑(比如树莓派),且没有服务器,就可以设置这个代理(申请 appid 和 appsecret),其他人通过外网就可以访问他们电脑上的内容,如博客或临时分享的资源文件。虽然这件事情可能不太现实,而且免费的 github pages 是更好的选择,我还是想探索一下技术上的可能性。
首先创建代码仓库,想了解如何搭建个人 Git 代码托管服务器看这里 基于 Git 搭建代码托管服务器
$ cd /home/git
$ sudo mkdir mylocalhost.git && cd mylocalhost.git
$ sudo git init --bare
Initialized empty Git repository in /home/git/mylocalhost.git/
修改仓库用户归属
$ sudo chown -R git:git /home/git/mylocalhost.git
在自己的电脑上克隆仓库
$ git clone git@huoyijie.cn:/home/git/mylocalhost.git
正克隆到 'mylocalhost'...
warning: 您似乎克隆了一个空仓库。
用 vscode 打开项目,敲代码,一个月后...
$ tree -L 4
.
├── client
│   ├── app.js
│   ├── bin
│   │   └── www
│   ├── config.js
│   ├── httpserver.js
│   ├── node_modules
│   │   ├── axios
│   │   ├── http-server
│   │   ├── shelljs
│   │   ├── socket.io-client
│   ├── package.json
│   └── public
│       └── localhost
│           └── 10000
└── server
    ├── app.js
    ├── config.js
    ├── node_modules
    │   ├── socket.io
    │   ├── uuid
    ├── package.json
上面是目前的代码结构,省去了不重要的内容。程序分为 server 和 client 端。server 端运行于服务器,client 端运行在个人电脑上面。
先来看服务端,app.js 是主要的服务器代码,config.js 是参数配置,主要依赖了 socket.io 以及 uuid。看一下 package.json 文件
{
  "name": "mylocalhost-server",
  "version": "1.0.0",
  "description": "mylocalhost-server",
  "main": "app.js",
  "scripts": {
    "start": "node app.js"
  },
  "repository": {
    "type": "git",
    "url": "git@huoyijie.cn:/home/git/mylocalhost.git"
  },
  "author": "huoyijie",
  "dependencies": {
    "socket.io": "^4.0.0",
    "uuid": "^8.3.2"
  }
}
再看下 config.js,主要是一些配置信息,最重要的是 apps,配置了可以连接服务器的认证信息列表。
const apps = {
  /** appid: appsecret */
  10000: '这里填写 appsecret'
}

module.exports = () => {
  return {
    apps: apps,
    sockPort: 3000, // 代理转发端口
    httpPort: 8002, // 浏览器访问端口
    toppath: '/localhost' // 浏览器访问时 URL 根路径
  }
}
再看下最重要的 app.js 文件,这里是程序的主要代码,启动了 2 个服务,监听在 3000 端口的代理转发服务,基于 socket.io 实现。还有监听在 8002 端口上的 http server。浏览器通过此 http server 请求获取 URL 对应的资源文件。
先看 socket server 代码,注释比较详细,可以看下具体注释了解具体代码。
const io = require('socket.io')()

const config = require('./config')()

const OutputTip = {
  C2S: 'c->s:',
  S2C: 's->c:',
  C: 'c:',
  S: 's:'
}

// socket.io 保留的命令字
const ReservedCMD = {
  Connect: 'connect',
  Disconnect: 'disconnect',
  Connection: 'connection'
}

// 自定义客户端命令字,CAuth 代表 client 端发送认证信息。
// SResponse 代表 client 端返回资源请求响应
const ClientCMD = {
  CAuth: 'CAuth',
  SResponse: 'SResponse'
}

// 自定义服务端命令字,SAuthOK 代表 server 端发送认证成功信息给 client 端
// SRequest 代表浏览器向 client 端发送资源请求
const ServerCMD = {
  SAuthOK: 'SAuthOK',
  SRequest: 'SRequest'
}

const socks = {}

io.on(ReservedCMD.Connection, socket => {

  // 设置服务器认证超时时间,超时后自动断开连接
  setTimeout(() => {

    // 连上服务器 10s 内,如果没有认证则断开连接
    if (!socket.myclient || !socket.myclient.appid) {

      socket.disconnect(true)

    }

  }, 10000)

  // 服务端收到认证请求
  socket.on(ClientCMD.CAuth, data => {

    console.log(`${OutputTip.C2S} CAuth:`, data)

    // 查询已注册 app,进行认证
    if (config.apps[data.appid] === data.appsecret) {

      // 认证成功
      console.log(`${OutputTip.S2C} CAuth succeed with appid=${data.appid}`)

      // 认证成功后,绑定 session
      socket.myclient = {
        appid: data.appid
      }

      // 注册客户端 socket
      socks[data.appid] = socket

      // 返回认证成功给 client 端
      socket.emit(ServerCMD.SAuthOK)

    } else {

      // 认证失败
      socket.disconnect(true)

    }

  })

  // client 端断开连接
  socket.on(ReservedCMD.Disconnect, () => {

    if (!!socket.myclient && !!socket.myclient.appid) {

      // 删除已断的注册连接
      delete socks[socket.myclient.appid]

      console.log(`${OutputTip.S} delete socket of appid[${socket.myclient.appid}]`)

    }

    console.log(`${OutputTip.S} ${socket.id} disconnect.`)

  })
})

const sockPort = config.sockPort

io.listen(sockPort)

console.log(`${OutputTip.S} socket server start on ${sockPort}`)
然后再看下 http server 部分代码
const path = require('path')

const uuid = require('uuid')

const httpPort = config.httpPort

const reqs = {}

const httpServer = require("http").createServer(function (req, res) {

  if (req.url.startsWith(config.toppath)) {

    var appid = req.url.split(path.sep)[2]

    var requestid = uuid.v1()

    reqs[requestid] = res

    console.log(`${OutputTip.S} GET ${req.url}, requestid=${requestid}`)

    var socket = socks[appid]

    if (!!socket) {
      // 通过 socket 向 client 端发送资源请求
      socket.emit(ServerCMD.SRequest, {
        requestid: requestid,
        path: req.url
      })

      // 从 client 收到资源响应后,代理转发给浏览器端
      socket.on(ClientCMD.SResponse, httpRes => {
        var res = reqs[httpRes.requestid]
        if (res) {
          res.writeHead(httpRes.response.status, httpRes.response.statusText, httpRes.response.headers)
          res.end(httpRes.response.data)
          delete reqs[httpRes.requestid]
        }
      })
    } else {
      res.writeHead(500)
      res.end('Internal Server Error')
    }

  } else {
    res.writeHead(404)
    res.end('Not Found')
  }

})

httpServer.listen(httpPort, '127.0.0.1')

console.log(`${OutputTip.S} http server start on ${httpPort}`)
登录服务器,clone 代码
$ cd ~/vswork
$ git clone /home/git/mylocalhost.git
安装依赖
$ cd mylocalhost/server
$ npm install
启动服务
$ npm start
s: socket server start on 3000
s: http server start on 8002
接下来看下 client 端代码
client 端也主要分 2 部分,与代理服务端进行 socket 通信部分以及本地启动的 http server。先来看下 package.json 文件
{
  "name": "mylocalhost-client",
  "version": "1.0.0",
  "description": "mylocalhost-client",
  "main": "app.js",
  "scripts": {
    "start": "bin/www"
  },
  "repository": {
    "type": "git",
    "url": "git@huoyijie.cn:/home/git/mylocalhost.git"
  },
  "author": "huoyijie",
  "dependencies": {
    "axios": "^0.21.1",
    "http-server": "^0.12.3",
    "shelljs": "^0.8.4",
    "socket.io-client": "^4.0.0"
  }
}
然后看一下 client 端配置 config.js
const app = {
  // appid 代表 client 端身份,需申请获得
  appid: 10000,
  appsecret: '从代理服务申请到的 appsecret'
}

module.exports = () => {
  return {
    app: app,
    server: 'http://huoyijie.cn:3000', // 代理服务 URL
    localport: 8090, // 本地启动 http server 端口
    topdir: `public/localhost/${app.appid}` // 本地资源存放路径
  }
}
下面先看下 http server 部分 httpserver.js
const fs = require("fs")

const config = require('./config')()

// 服务器启动后主动创建 public/localhost/10000 目录,这里存放 client 资源文件
fs.stat(config.topdir, (err, stats) => {
  if (err || !stats) {
    fs.mkdir(config.topdir, { recursive: true }, console.error)
  }
})

const shell = require('shelljs')

// 启动 http server,监听 8090 端口,启动目录为 public
shell.exec(`node_modules/http-server/bin/http-server public -d false -a 127.0.0.1 -p ${config.localport}`)
最后看下 client 端核心代码 app.js,具体可以看代码注释,比较详细
const axios = require('axios')

const io = require('socket.io-client')

const config = require('./config')()

const socket = io(config.server)

const OutputTip = {
  C2S: 'c->s:',
  S2C: 's->c:',
  C: 'c:',
  S: 's:'
}

const ReservedCMD = {
  Connect: 'connect',
  Disconnect: 'disconnect',
  Connection: 'connection'
}

// 自定义客户端命令字
// CAuth 为客户端发送认证请求
// SResponse 为客户端向代理服务器发回资源响应
const ClientCMD = {
  CAuth: 'CAuth',
  SResponse: 'SResponse'
}

// 自定义服务端命令字
const ServerCMD = {
  SAuthOK: 'SAuthOK',
  SRequest: 'SRequest'
}

// 连接服务端
socket.on(ReservedCMD.Connect, () => {

  console.log(`${OutputTip.C} ${socket.id} connect to server`)

  // 连接服务器后,需立即认证
  socket.emit(ClientCMD.CAuth, config.app)

  console.log(`${OutputTip.C2S} CAuth:`, config.app)

})

// 服务器认证成功通知
socket.on(ServerCMD.SAuthOK, () => {
  console.log(`${OutputTip.S2C} ${ServerCMD.SAuthOK}`)
})

// 收到代理服务器的资源请求
socket.on(ServerCMD.SRequest, httpReq => {

  console.log(`${OutputTip.S2C}`, httpReq)

  // 请求本地 8090 端口 http server,获取资源文件
  axios.get(`http://127.0.0.1:${config.localport}${httpReq.path}`, { responseType: 'arraybuffer' }).then(res => {

    // 获取到资源文件后,转发给代理服务器
    socket.emit(ClientCMD.SResponse, {
      requestid: httpReq.requestid,
      response: {
        status: res.status,
        statusText: res.statusText,
        headers: res.headers,
        data: res.data
      }
    })

  }).catch(err => {
    // 没有资源返回 404 或者遇到错误返回 500
    err.response = err.response || {
      status: 500,
      statusText: 'Internal Server Error',
      headers: {},
      data: null
    }

    socket.emit(ClientCMD.SResponse, {
      requestid: httpReq.requestid,
      response: {
        status: err.response.status,
        statusText: err.response.statusText,
        headers: err.response.headers,
        data: err.response.data
      }
    })

  })

})

socket.on(ReservedCMD.Disconnect, () => {
  console.log(`${OutputTip.C} disconnect from server.`)
})
最后看下启动脚本 bin/www
#!/bin/bash

node httpserver.js &

node app.js
client 端部署,先 clone 代码
$ cd ~/vswork
$ git clone git@huoyijie.cn:/home/git/mylocalhost.git
安装依赖
$ cd mylocalhost/client
$ npm install
启动 client 服务,显示已连接上代理服务,并且认证成功
$ bin/www
Starting up http-server, serving public
Available on:
  http://127.0.0.1:8090
Hit CTRL-C to stop the server
c: 826DzPolHZEg15YjAAAB connect to server
c->s: CAuth: { appid: 10000, appsecret: '隐去密钥' }
s->c: SAuthOK
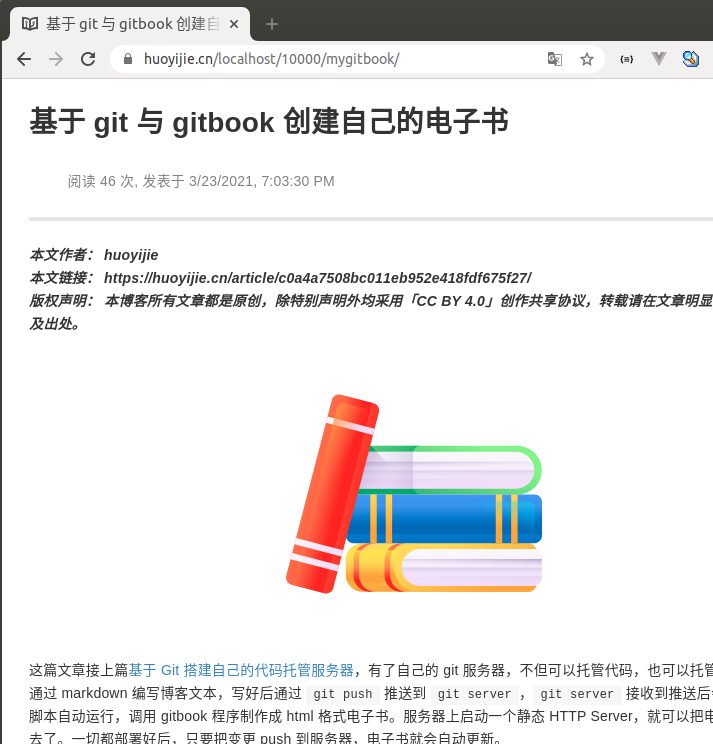
现在可以把想要分享的静态资源文件,比如制作好的 gitbook html页面,图片等等放到 public/localost/10000 目录下(10000 是 appid),打开浏览器通过外网访问电脑上的资源,输入 URL https://huoyijie.cn/localhost/10000/ 就可以访问到了。
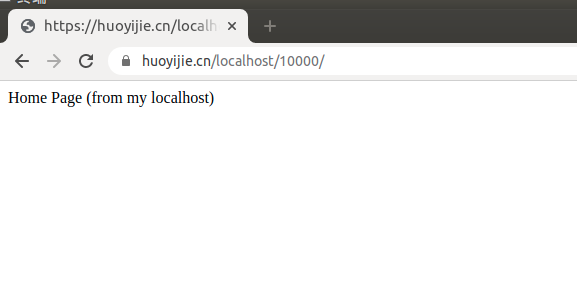
现在试一下写入一个 index.html
$ cd ~/vswork/mylocalhost/client
$ echo 'Home Page (from my localhost)' > public/localhost/10000/index.html
打开浏览器访问 https://huoyijie.cn/localhost/10000/
看下 server 端日志输出
s: GET /localhost/10000/, requestid=f4ba20f0-8d24-11eb-a3e8-a51392a0c1d1
再看下 client 端日志输出
s->c: {
  requestid: 'f4ba20f0-8d24-11eb-a3e8-a51392a0c1d1',
  path: '/localhost/10000/'
}
[2021-03-25T04:45:42.849Z]  "GET /localhost/10000/" "axios/0.21.1"
再看下浏览器显示
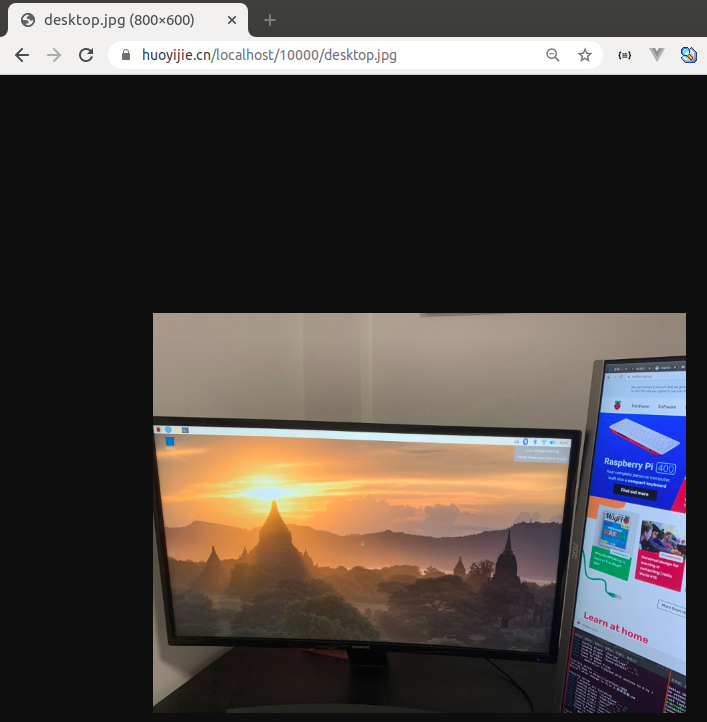
又放了一张图片 desktop.jpg 在 public/localhost/10000 目录下
最后把之前制作的 gitbook 放到 public/localhost/10000 目录下
OK,大功告成。
此内容由惯性聚合(RSS阅读器)自动聚合整理,仅供阅读参考。 原文来自 — 版权归原作者所有。