







Stability AI recently released the weights for Stable Diffusion 3 Medium, a 2 billion parameter text-to-image model that excels at photorealism, typography, and prompt following.
You can run the official Stable Diffusion 3 model on Replicate, and it is available for commercial use. We have also open-sourced our Diffusers and ComfyUI implementations (read our guide to ComfyUI).
In this blog post we’ll show you how to use Stable Diffusion 3 (SD3) to get the best images, including how to prompt SD3, which is a bit different from previous Stable Diffusion models.
To help you experiment, we’ve created an SD3 explorer model that exposes all of the settings we discuss here.
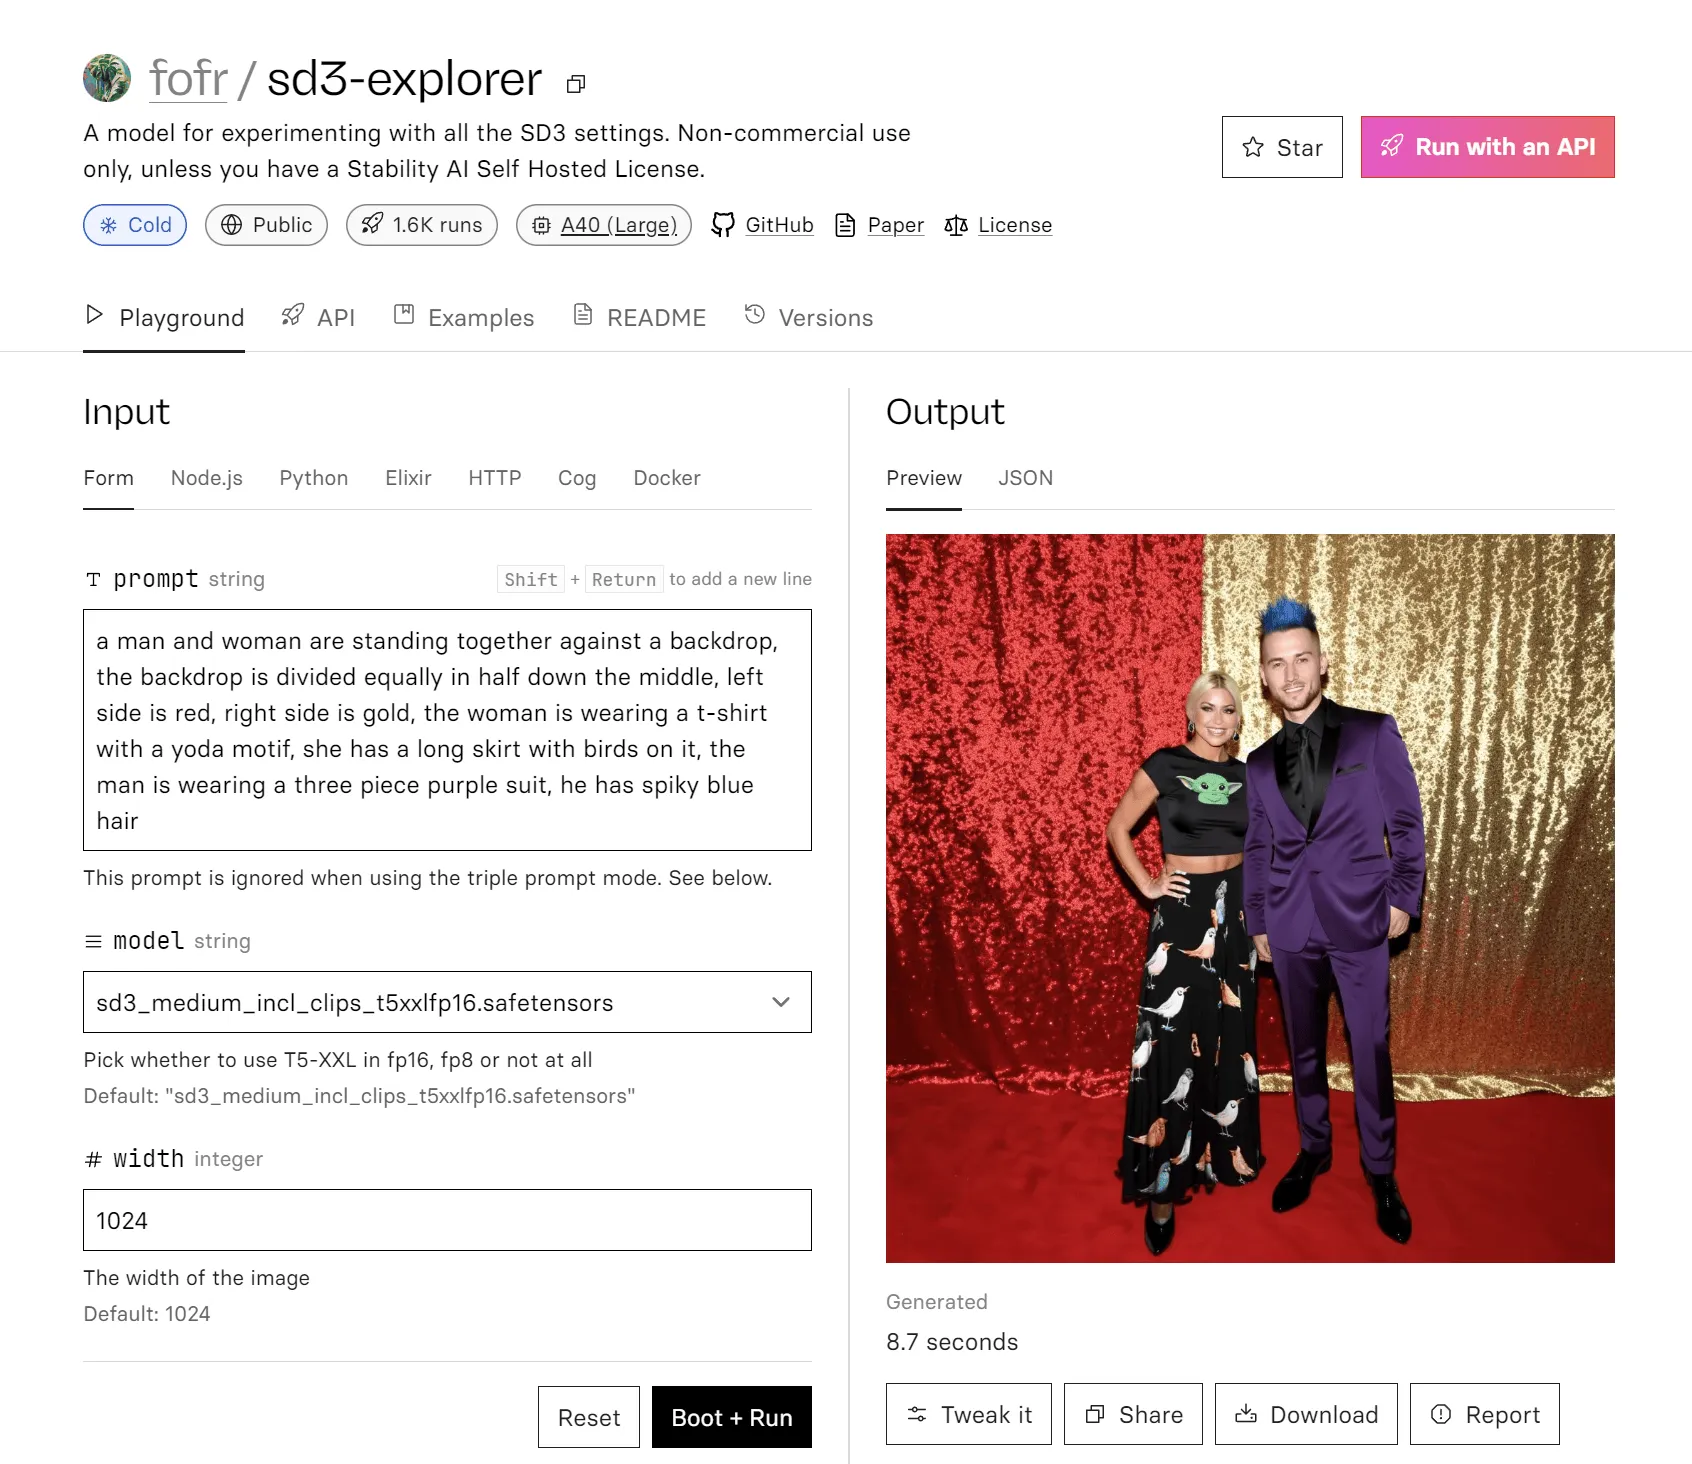
Stability AI have packaged up SD3 Medium in different ways to make sure it can run on as many devices as possible.
SD3 uses three different text encoders. (The text encoder is the part that takes your prompt and puts it into a format the model can understand). One of these new text encoders is really big – meaning it uses a lot of memory. If you’re looking at the SD3 Hugging Face weights, you’ll see four options with different text encoder configurations. You should choose which one to use based on your available VRAM.
This encoder contains the model weights, the two CLIP text encoders and the large T5-XXL model in a compressed fp8 format. We recommend these weights for simplicity and best results.
The same as sd3_medium_incl_clips_t5xxlfp8.safetensors, except the T5 part isn’t compressed as much. By using fp16 instead of fp8, you’ll get a slight improvement in your image quality. This improvement comes at the cost of higher memory usage.
This version does away with the T5 element altogether. It includes the weights with just the two CLIP text encoders. This is a good option if you do not have much VRAM, but your results might be very different from the full version. You might notice that this version doesn’t follow your prompts as closely, and it may also reduce the quality of text in images.
This model is just the base weights without any text encoders. If you use these weights, make sure you’re loading the text encoders separately. Stability AI have provided an example ComfyUI workflow for this.
The big change in usage in SD3 is prompting. You can now pass in very long and descriptive prompts and get back images with very good prompt adherence. You’re no longer limited to the 77-token limit of the CLIP text encoder.
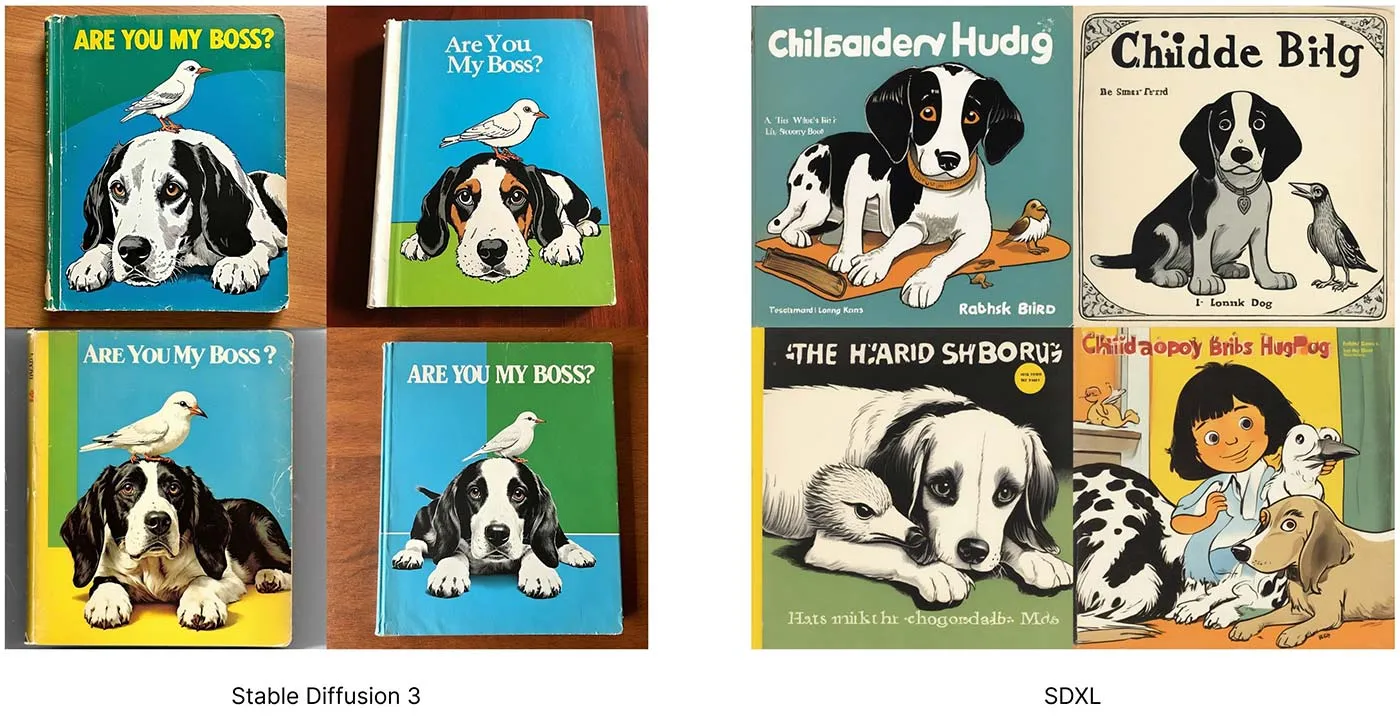
Your prompt can now go as long as 10,000 characters, or more than 1,500 words. In practice, you won’t need that sort of length, but it is clear we should no longer worry about prompt length.
For very long prompts, at the moment, it’s hard to say what will and will not make it into the image. It isn’t clear which parts of a prompt the model will pay attention to. But the longer and more complex the prompt, the more likely something will be missing.
SD3 was not trained with negative prompts. Negative prompting does not work as you expect it to with SD3. If you’ve already experimented with SD3, you may have noticed that when you give a negative prompt, your image does change, but the change isn’t a meaningful one. Your negative prompt will not remove the elements you don’t want; instead, it will introducing noise to your conditioning and simply vary your output, kind of like using a different seed.
Now that we’re allowed longer prompts, you can use plain English sentences and grammar to describe the image you want. You can still use comma-separated keywords like before, but if you’re aiming for something specific, it pays to be descriptive and explicit with your prompts. This level of prompting is now similar to the way you would prompt Midjourney version 6 and DALL·E 3.
When you are describing an element of an image, try to make your language unambiguous to prevent those descriptions from also applying to other parts of the image.
These are examples of long and descriptive prompts that show good prompt adherence in SD3:
a man and woman are standing together against a backdrop, the backdrop is divided equally in half down the middle, left side is red, right side is gold, the woman is wearing a t-shirt with a yoda motif, she has a long skirt with birds on it, the man is wearing a three piece purple suit, he has spiky blue hair (see example)
a man wearing 1980s red and blue paper 3D glasses is sitting on a motorcycle, it is parked in a supermarket parking lot, midday sun, he is wearing a Slipknot t-shirt and has black pants and cowboy boots (see example)
a close-up half-portrait photo of a woman wearing a sleek blue and white summer dress with a monstera plant motif, has square white glasses, green braided hair, she is on a pebble beach in Brighton UK, very early in the morning, twilight sunrise (see example)
Now that we have three text encoders, we can technically pass in different prompts to each of them. For example, you could try passing the general style and theme of an image to the CLIP text encoders, and the detailed subject to the T5 part. In our experimentation, we haven’t found any special techniques yet, but we’re still trying.
Here’s an example where we pass different prompts to the CLIP and T5 encoders.
There are many settings, some new, that you can use to change image outputs in SD3. We recommend some good defaults below, but you should experiment to find your own preferences.
In summary, you should start your experimentation from these settings (we’ll discuss them more in detail below):
dpmpp_2m sampler with the sgm_uniform schedulerMuch like SDXL, SD3 gives the best outputs at around 1 megapixel. Resolutions must be divisible by 64. We recommend the following widths and heights for these common aspect ratios:
If you’ve previously used Stable Diffusion 1.5 and SDXL at resolutions larger than they were trained, you might be familiar with the strange outputs they give – distorted images, multiple heads, repeating elements, and so on. (You can see some of these in our previous SDXL guide.) This does not happen with SD3. In SD3, if you go bigger than the expected resolution, you’ll have a reasonable image in the middle and strange repeating artifacts around the edges (here’s a prediction example showing an image that’s too large). Similarly, if you go too small, your image will be harshly cropped (here’s a prediction example showing a cropped image that’s too small).
This setting is the number of denoising steps the model will use when generating an image. In SDXL, this value was typically around 20, and for Lightning models it’s 4 steps. Number of steps is the main factor that determines how long your image takes to generate. More steps, better image versus fewer steps, faster image.
For SD3, we recommend 28 steps. This number gives sharp images with an interesting foreground and background and few VAE artifacts (visible noise patterns you might see in generated images), and it doesn’t take too long.
The way steps affects image quality is different from previous Stable Diffusion models. We are used to steps improving quality iteratively up to a certain point where the effect levels off and images remain almost static. But with SD3, as you increase steps, you’ll notice something different.
SD3 can usually get to an OK-looking image in about 8 to 10 steps (here’s an example prediction at 10 steps), albeit with VAE noise artifacts and parts of the image that aren’t coherent. This is also dependent on prompt and seed. As the steps increase you get more coherent and interesting images. The sweet spot is around 26 to 36.
You will also find that images and their subjects can sometimes change quite dramatically at different step values. For example, for a vague prompt of a person, you could find your subject changes age, gender or ethnicity as steps increase. Compare these two outputs: one at 10 steps, and another – with the same settings and seed – at 32 steps.
The guidance scale (or CFG, classifier-free guidance) tells the model how similar the output should be to the prompt. For SD3, you need to use lower values than SD 1.5 and SDXL.
We recommend somewhere between 3.5 and 4.5. If your outputs look “burnt,” like they have too much contrast, lower the CFG (here’s an example of a burnt image where the CFG is too high).
It’s also worth pointing out that the lower your CFG, the more similar your outputs will be across the different text encoder options (in other words, whether you use the T5 text encoder in fp8, fp16 or not at all). So if you’re using a very low CFG, you could do away with the large T5 encoder without affecting the image quality much. As an example, compare these two outputs that use the same seed and a CFG of 1.5: this is the output with fp16, which is very similar to the CLIP-only output.
Different tools use different labels for these, but essentially this is the algorithm the model will use to manage noise. Different algorithms give different images.
For SD3 we recommend using the dpmpp_2m sampler with the sgm_uniform scheduler in ComfyUI. Use dpm++ 2M in Automatic1111. Euler can also give good results.
Some samplers and schedulers simply do not work with SD3 – notably the ancestral and sde samplers and the popular SDXL noise scheduler, karras.
Shift is a new parameter in SD3 that you can modify. It represents the timestep scheduling shift, where higher shift values are better at managing noise in higher resolutions. Essentially, noise is handled better and you get nicer-looking images when using a shift. You can read more about the theory behind timestep schedule shifting in the SD3 research paper.
3.0 is the recommended default value for shift based on a human preference evaluation, but you can of course change it. In ComfyUI, you can find the value on the “ModelSamplingSD3” node, and in Diffusers you can pass in a shift parameter to the FlowMatchEulerDiscreteScheduler.
A shift value of 6.0 scored well in the human evaluation and is worth trying. If you use lower values like 2.0 or 1.5, you can get a more raw and “less processed” looking image, which works well for certain prompts.
Have fun experimenting with Stable Diffusion 3 using these tips! For more on working with SD3, check out our recent blog posts:
此内容由惯性聚合(RSS阅读器)自动聚合整理,仅供阅读参考。 原文来自 — 版权归原作者所有。