







Soon after VQGAN-CLIP was released last year, somebody made a bot in #the-faraday-cage on Eleuther’s Discord that ran the model. You asked it to !imagine something, and then VQGAN-CLIP responded with its weird interpretation of your request.
It was thrilling. This was the first playground for text to image models, the first place where people could prompt computers to produce art. And, it was hilarious! Instead of the model being locked up in a Colab, it was a hundred people in a room playing with it together. People were riffing off each other’s ideas, patting each other on the back, laughing at each other’s outputs. This is where the “unreal engine”, “artstation”, and other prompt hacks appeared. Somebody saw somebody else do something neat, and then the prompt meme reproduced.
We’ve come a long way since four-eared faceless rabbits. Earlier this week, we were blessed with the weights from The Great A100 Cluster. So, let’s put them to good use.
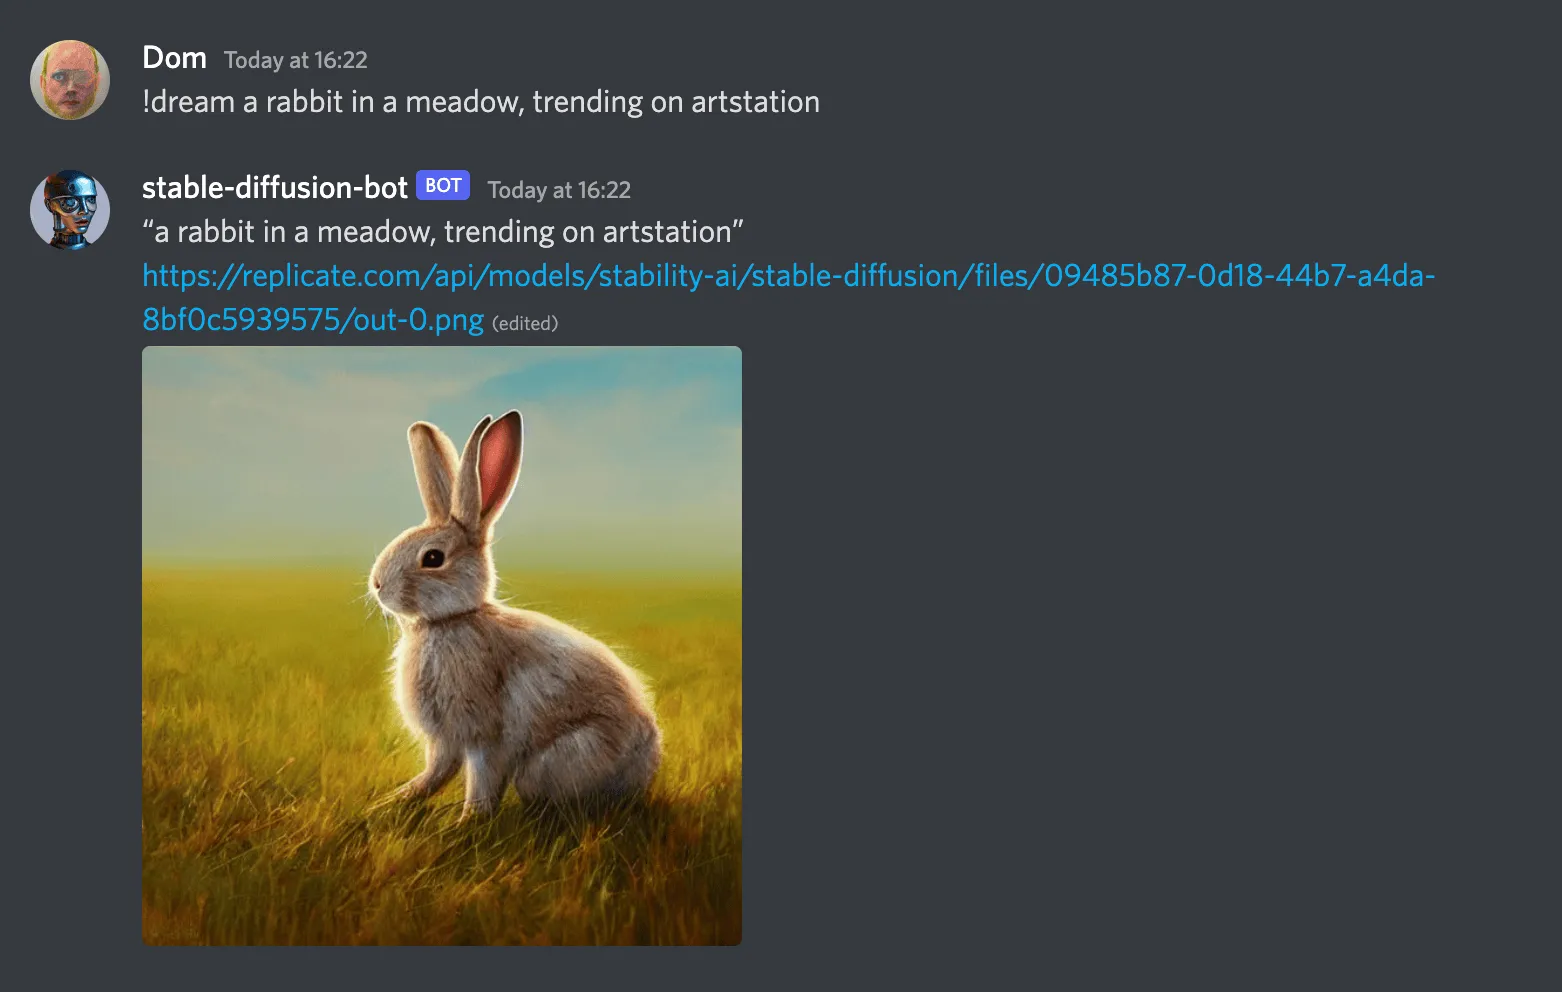
This guide will show you how to create your own Discord bot with Stable Diffusion, so you can have a much better robot artist in your own Discord server.
We’ll use Replicate to run the model so you don’t need to have a GPU, and we’ll deploy it to Fly.io so you can keep it running all the time, even when your computer’s off.
Follow discord.py’s guide to set up a Discord Bot account. Give it a name like stable-diffusion-bot. At the end of the first section, you’ll need to turn on the “message content intent” option on the bot page. That permission is needed for your bot to read the content of messages, to get the prompts!
In the second half of the guide (“Inviting your bot”) when it tells you to “tick the permissions required for your bot to function”, you’ll want to give the bot permission to “Send messages”.
This section walks you through steps required to set up a codebase.
🐇 Want to skip ahead? If you’d rather not copy and paste all the code below, then you can clone the replicate/discord-bot-tutorial-code GitHub repo to start with a working project template.
Next you’ll define some of the Python package dependencies needed by your project.
Create a new file called requirements.txt and paste in the following content:
Then install the dependencies:
Create a file named .env. This text file will be used to store secrets for your development environment. Paste in the following:
Visit replicate.com/account to copy and paste your API token.
The Discord token is the token you copied when creating your bot from the Discord guide. If you don’t have it, you can generate a new one by visiting discord.com/applications, selecting your bot application, selecting “Bot” from the side menu, and clicking “Reset Token”.
✋ The .env file contains secrets, so it should not be shared with anyone. If you’re planning to turn your project into a Git repository, be sure to create a .gitignore file and add .env to it.
Create a new file called bot.py and paste the following code into it:
This file defines the command for your bot (!dream) and how it works. When you want to make changes to your bot later, this will be the file you come back to.
Now that you’ve written the code for your bot, it’s time to run it!
Run this command to start your bot locally:
Check your bot is running by typing !help into one of the channels on your Discord server. Your bot should respond with the list of commands it can run, including !dream.
Now try generating an image:
Your bot should write a message saying “Generating…”, and then 20–40 seconds later it should swap out that message for the newly generated image. 🥳
Running your bot locally is convenient, especially when you’re actively working on it. The downside, however, is that it can only run when you’re online. If you’re building a bot for a server, you probably want it to be online even when you aren’t.
There are lots of ways to deploy an application like this. Some of the easiest are services like Vercel, Fly.io or Heroku. In this tutorial, you’ll use Fly to deploy the bot to the cloud.
To get started, see Fly’s “speedrun” guide to install the flyctl command-line tool and create a Fly account.
Then create a new file called Dockerfile and paste the following code into it:
Then create a new Fly application:
That command will generate a new file called fly.toml, but it’s designed for running web apps so you’ll need to make a few changes. Remove the [[services]] block and everything below it. Your modified file should look something like this:
Then configure your Fly app using the secrets from your local .env file:
That’s it! Your bot is now running in the cloud.
One thing you need to do if you’re running the bot in a server is to make people who use it aware of the model’s license. You might want to add it to the server rules, or to the channel topic, or something like that.
Now might be a good time to tinker with the bot a bit. Some ideas:
Get creative! Share what you’ve built in our Discord and we’ll feature some of our favorite things. 🪄
此内容由惯性聚合(RSS阅读器)自动聚合整理,仅供阅读参考。 原文来自 — 版权归原作者所有。