









warning: 这篇文章距离上次修改已过1412天,其中的内容可能已经有所变动。
使用 docker 安装 seafile 成功 但是 部署 https 以及 上传下载文件有问题之后 放弃使用 docker 部署 seafile
后改用 xiaoz.me 博客 提供的一键安装脚本安装。 CentOS 7一键安装Seafile搭建私有云存储: https://www.xiaoz.me/archives/8480 在此感谢原作者的分享!
我服务器 url 设置的是 https://static.hellodk.cn 那么我的 SERVICE_URL 和 FILE_SERVER_ROOT 分别为
首先分享一个 certbot-auto 部署最佳实践 Certbot-auto deployment best practices https://community.letsencrypt.org/t/certbot-auto-deployment-best-practices/91979
简而言之就是以下命令 (前提是你的系统基础环境已经具备)
wget https://dl.eff.org/certbot-auto
sudo mv certbot-auto /usr/local/bin/certbot-auto
sudo chown root /usr/local/bin/certbot-auto
sudo chmod 0755 /usr/local/bin/certbot-auto
/usr/local/bin/certbot-auto --help
安装好 certbot-auto 后可以使用 certbot-auto obtain a new certificate
certbot-auto certonly --email [email protected] -d "*.hellodk.cn" -d hellodk.cn --manual --preferred-challenges dns-01 --server https://acme-v02.api.letsencrypt.org/directoryps: email 换成你自己的邮箱;-d 是域名,如果你申请的是 泛域名证书 请填写 *.example.com 和 example.com (example.com 是必须)
另外有一点,我的域名通过 cloudflare 解析并且代理了,如果想要通过此种方式申请证书,域名 example.com 的解析 必须以 A 记录方式指向当前运行的vps 或者 云服务器的 IP,不能使用 cloudflare 反代(通过 cloudflare 反代 ping example.com 会指向其他 IP地址),并且也不能使用 CNAME 记录。否则会报错,无法申请成功。我特意尝试过一次,见下图:
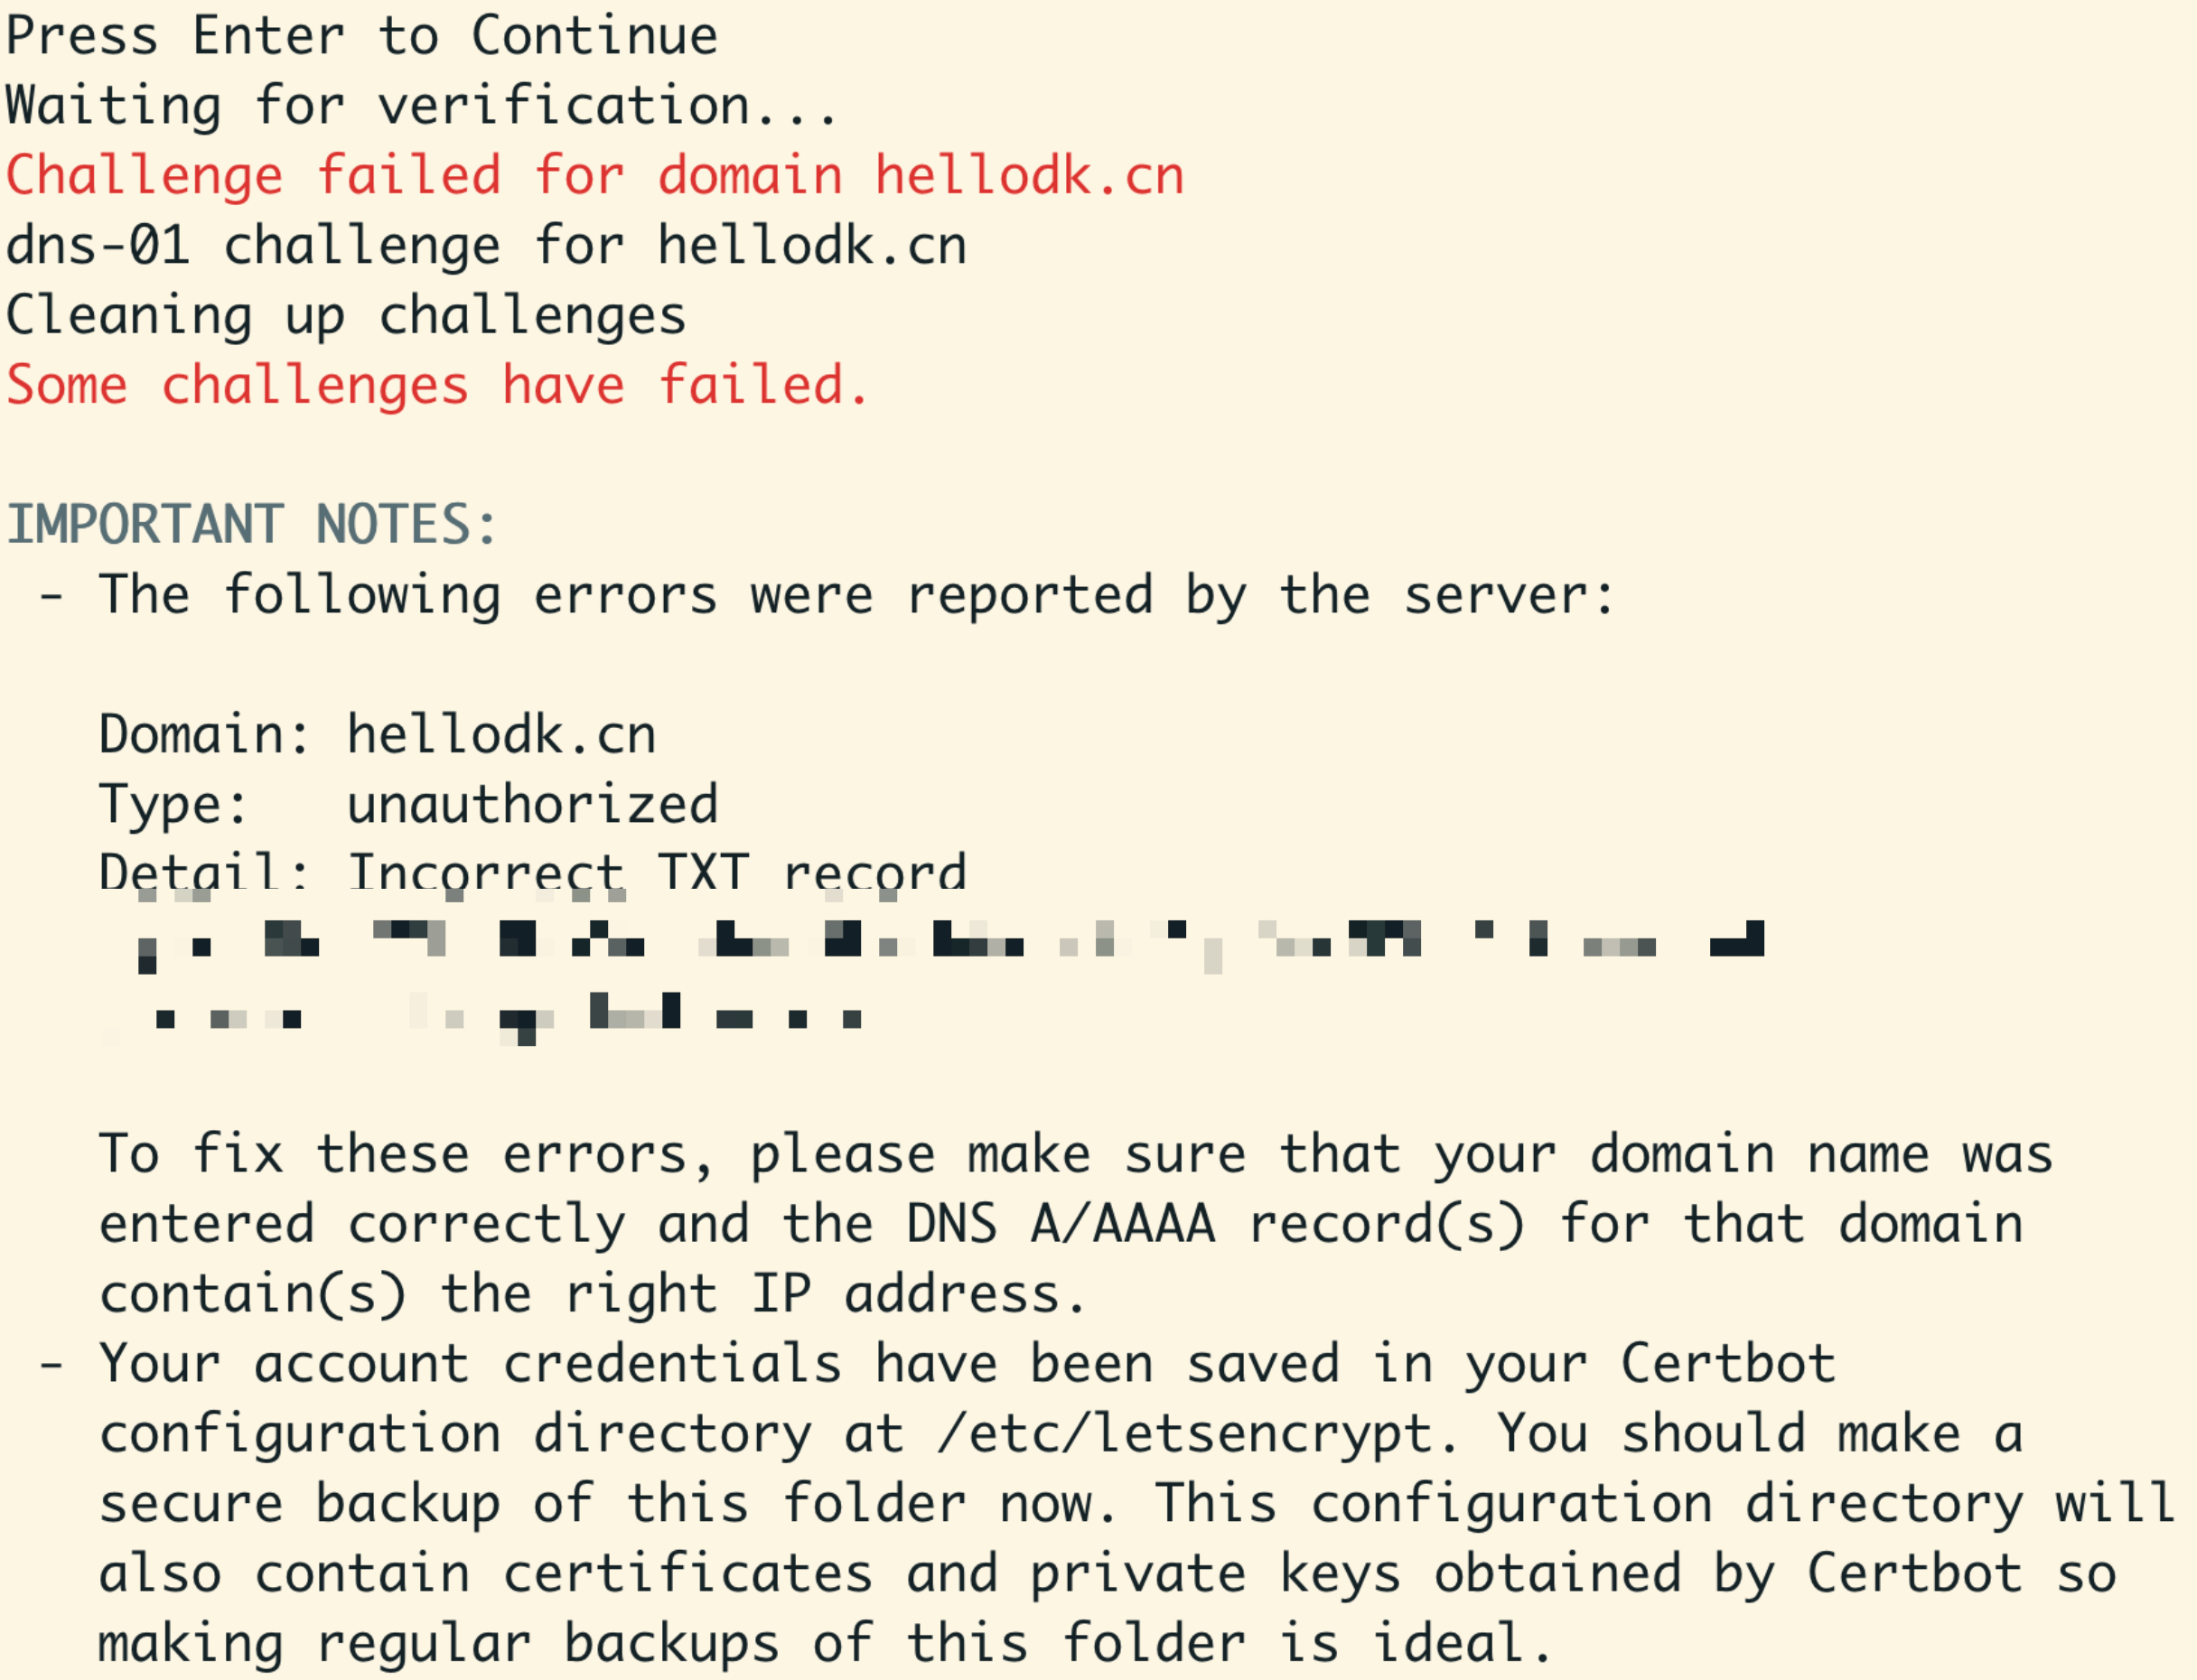
如果 example.com 指向了错误的地址,会 challenge failed
登录 cloudflare 的后台后,修改 dns 解析中的主机 A 记录,将代理取消 改为仅限 DNS,重新申请一遍,你可能需要修改 txt 记录中的 value (key保持不变)
重新设置好 txt 记录,等待 解析成功
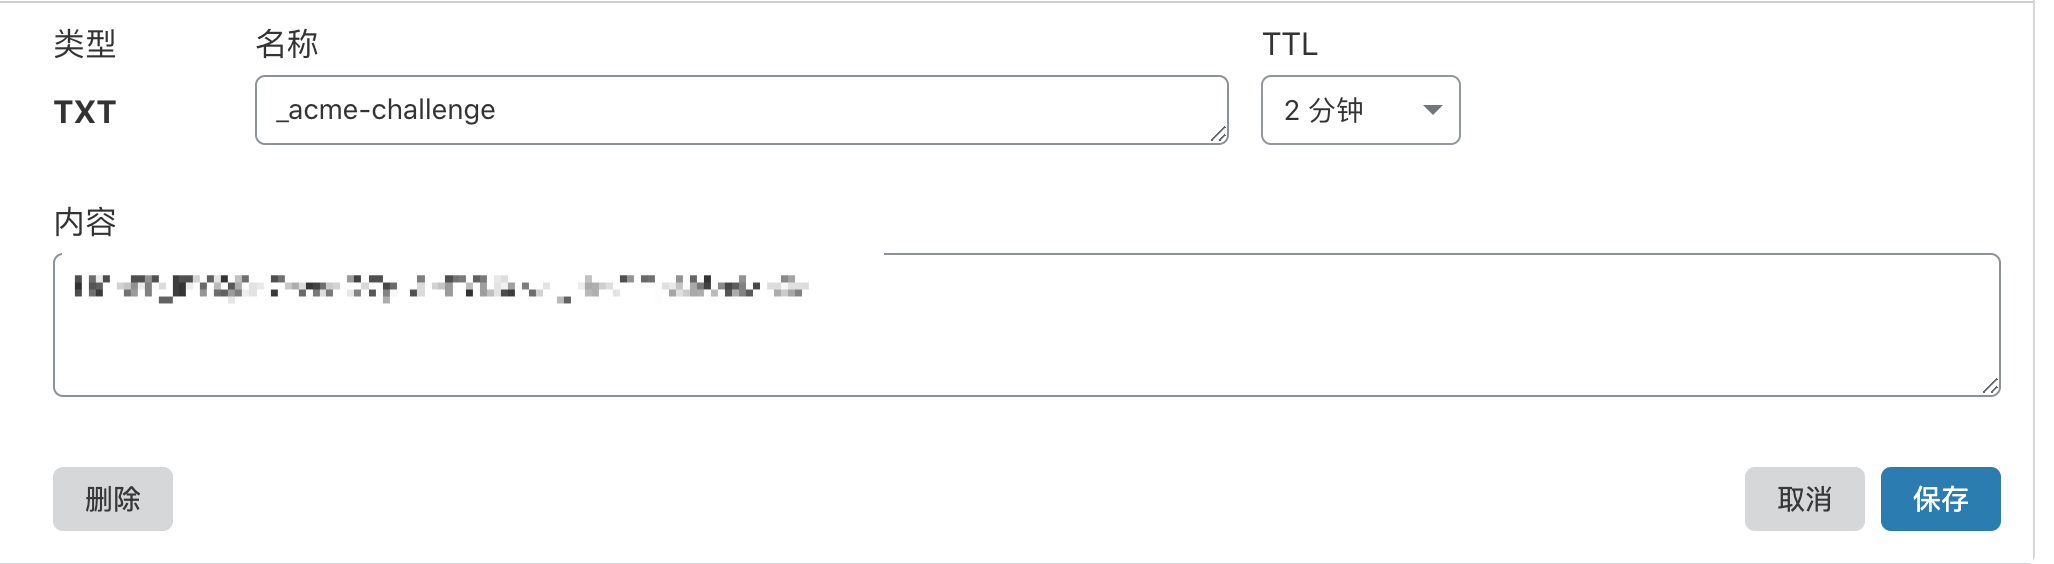
linux 下通过 dig、mac 和 windows 下都可以使用 nslookup 测试 txt 记录是否已经生效
nslookup -type=txt hellodk.cn 223.5.5.5查看返回 Authoritative answers 中是否有 txt 记录值
或通过 dig 查询是否能返回txt 记录的 value。如果有正确的string 返回则表明 txt 记录已经生效

然后重新申请 ssl
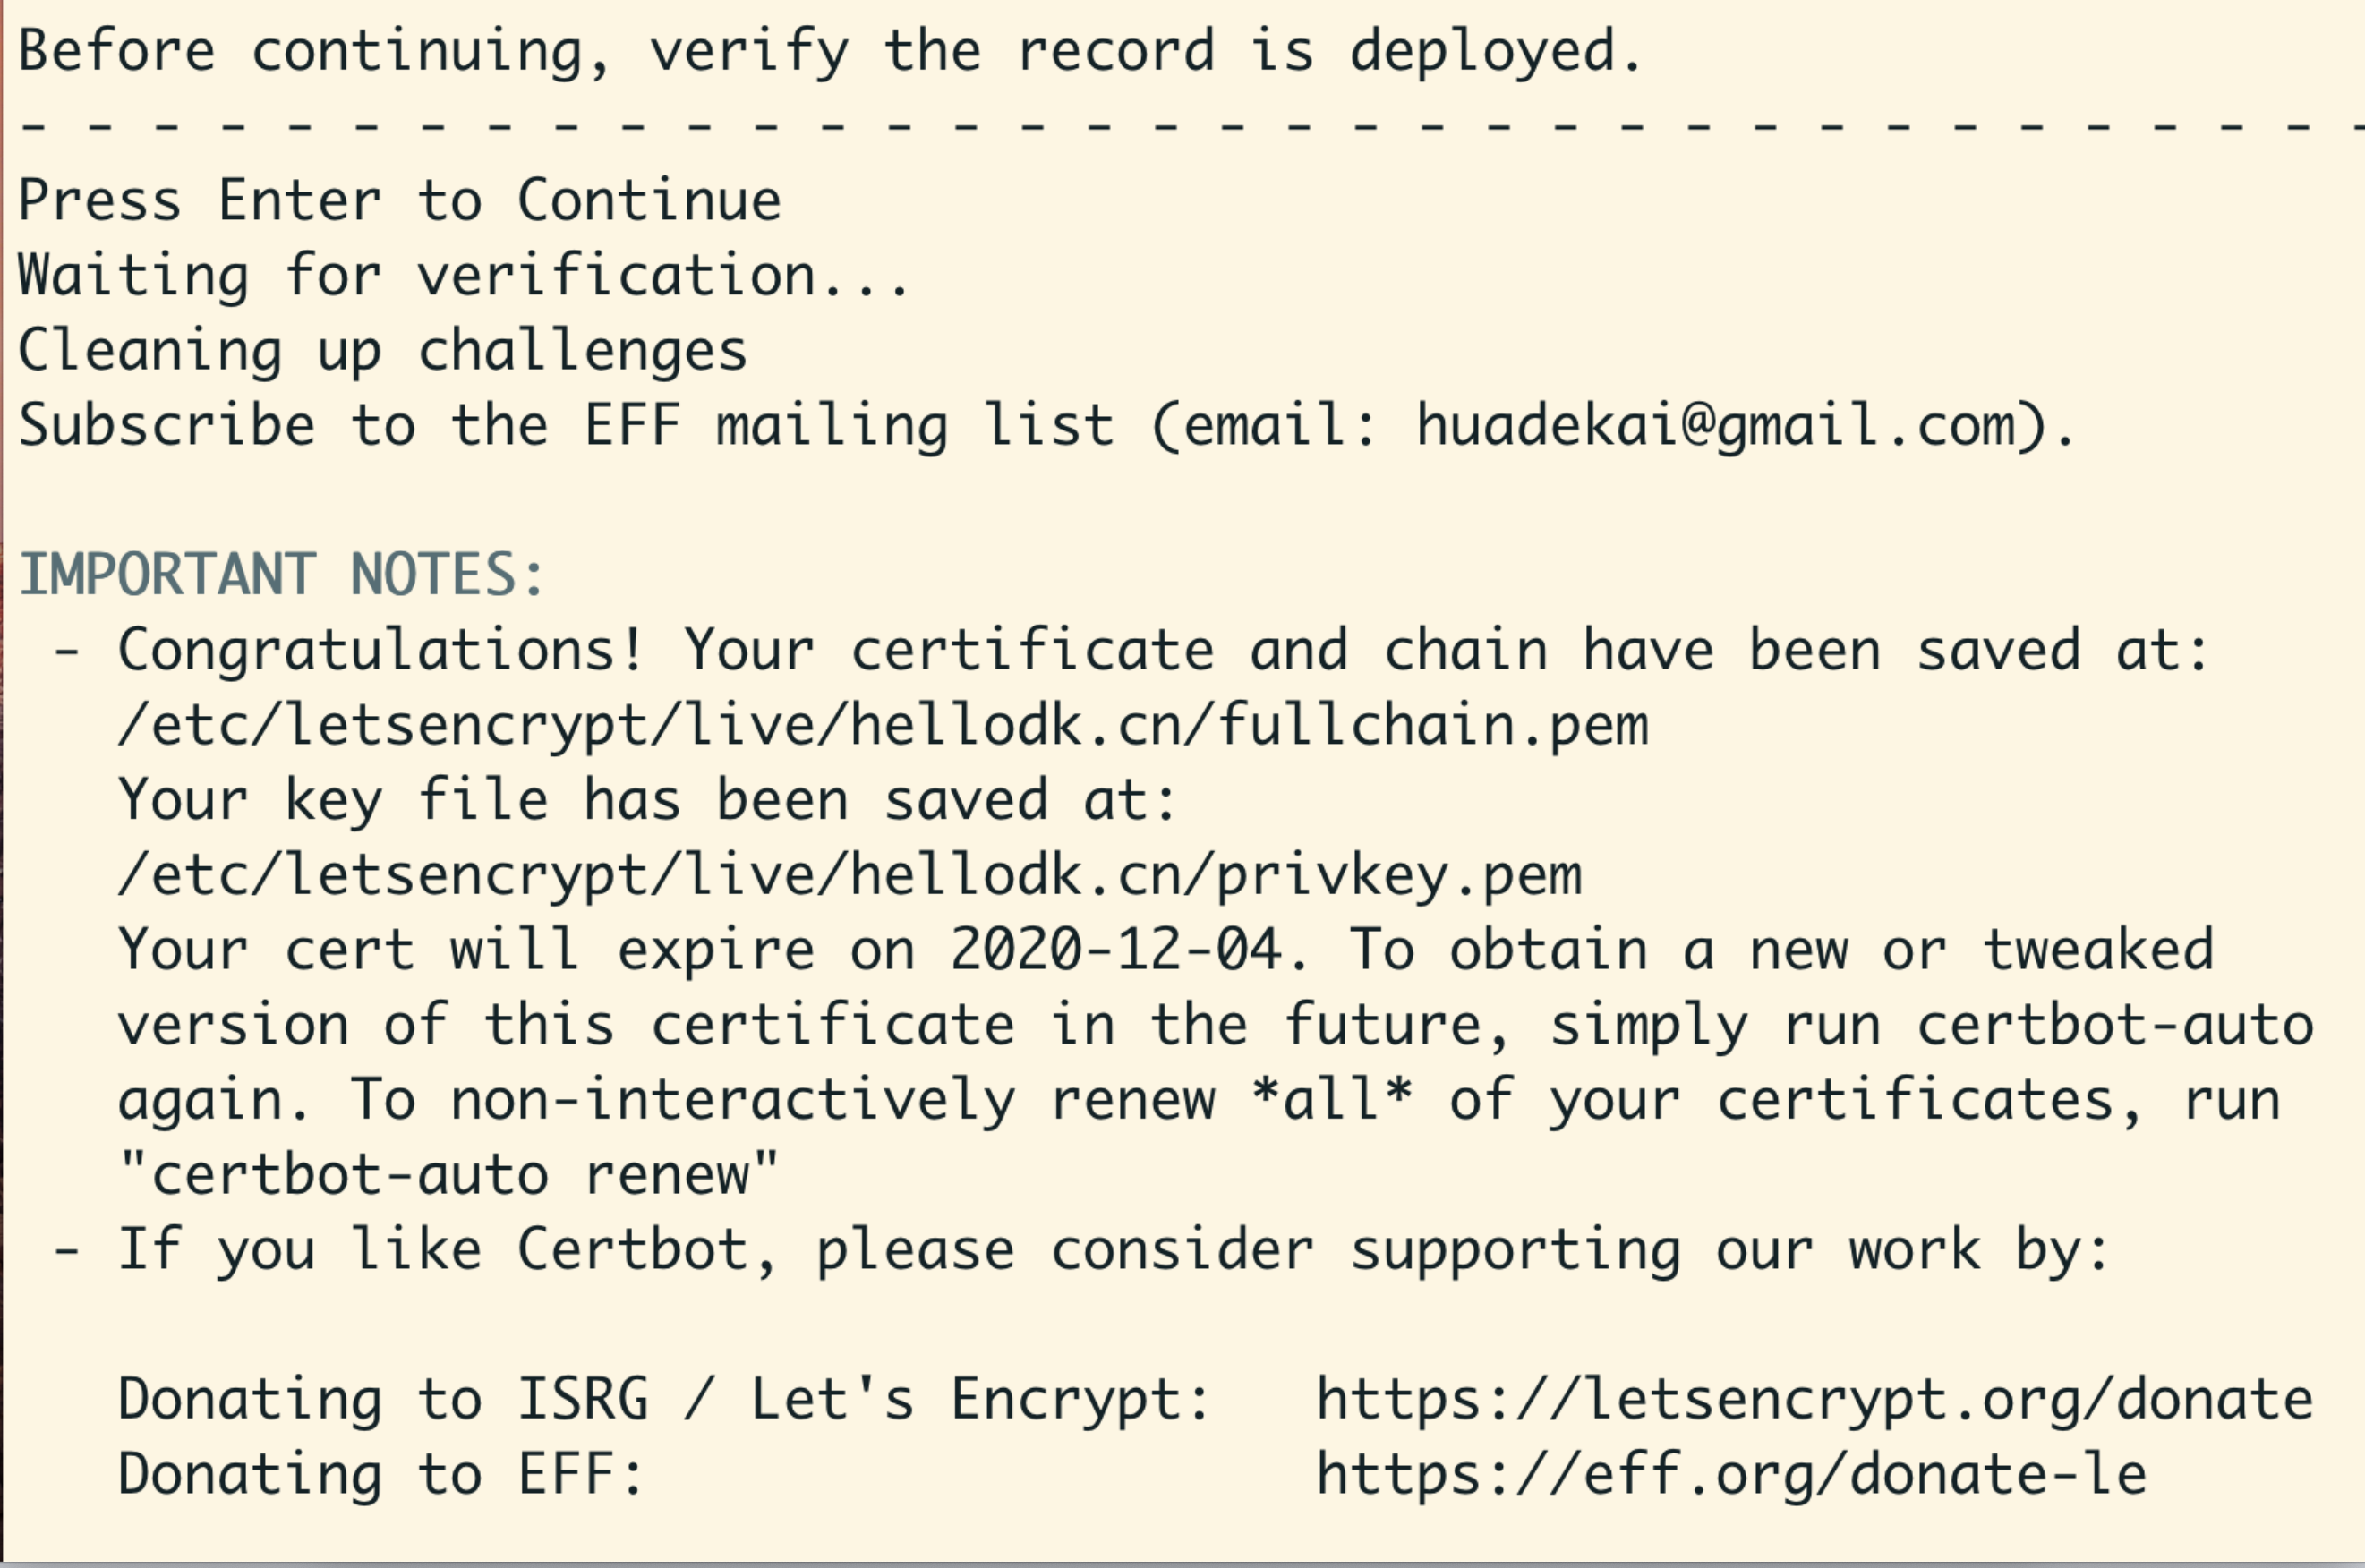
申请成功,证书保存在 /etc/letsencrypt/live/ 下
参考官方文档 Nginx 下启用 Https https://manual-cn-origin.seafile.com/deploy/https_with_nginx
分享 我配置的 seafile.conf
server
{
    listen 443 ssl http2;
    server_name static.hellodk.cn;
    proxy_set_header X-Forwarded-For $remote_addr;
    #index index.php index.html index.htm default.php default.htm default.html;
    #root /www/wwwroot/hellodk.cn;    #SSL-START SSL相关配置,请勿删除或修改下一行带注释的404规则
    #error_page 404/404.html;

    ssl on;
    server_tokens off;
    ssl_certificate    /etc/letsencrypt/live/hellodk.cn/fullchain.pem;
    ssl_certificate_key    /etc/letsencrypt/live/hellodk.cn/privkey.pem;
    ssl_protocols TLSv1 TLSv1.1 TLSv1.2;
    ssl_ciphers ECDHE-RSA-AES128-GCM-SHA256:HIGH:!aNULL:!MD5:!RC4:!DHE;
    ssl_prefer_server_ciphers on;
    ssl_session_cache shared:SSL:10m;
    ssl_session_timeout 10m;

    add_header Strict-Transport-Security "max-age=31536000; includeSubDomains";

    # Diffie-Hellman parameter for DHE ciphersuites, recommended 2048 bits
    # ssl_dhparam /etc/nginx/dhparam.pem;

    #SSL-END

    #ERROR-PAGE-START  错误页配置,可以注释、删除或修改
    error_page 404 /404.html;
    error_page 502 /502.html;
    #ERROR-PAGE-END

    #PHP-INFO-START  PHP引用配置,可以注释或修改
    #SECURITY-START 防盗链配置
    #SECURITY-END
    #include enable-php-71.conf;
    #PHP-INFO-END

    #REWRITE-START URL重写规则引用,修改后将导致面板设置的伪静态规则失效
    #include /www/server/panel/vhost/rewrite/hellodk.cn.conf;
    #REWRITE-END

    location / {
         proxy_pass         http://127.0.0.1:8000;
         proxy_set_header   Host $host:$server_port;
         proxy_set_header   X-Real-IP $remote_addr;
         proxy_set_header   X-Forwarded-For $proxy_add_x_forwarded_for;
         proxy_set_header   X-Forwarded-Host $server_name;
         proxy_read_timeout  1200s;

         # used for view/edit office file via Office Online Server
         client_max_body_size 0;

         access_log      /www/wwwlogs/seahub.access.log;
         error_log       /www/wwwlogs/seahub.error.log;
    }
    location /seafhttp {
        rewrite ^/seafhttp(.*)$ $1 break;
        proxy_pass http://127.0.0.1:8082;
        client_max_body_size 0;
        proxy_set_header   X-Forwarded-For $proxy_add_x_forwarded_for;

        proxy_connect_timeout  36000s;
        proxy_read_timeout  36000s;
        proxy_send_timeout  36000s;

        send_timeout  36000s;
    }
    location /media {
        root /home/MyCloud/seafile-server-latest/seahub;
    }

    access_log  /www/wwwlogs/seahub.access.log;
    error_log  /www/wwwlogs/seahub.error.log;
}

server {
    listen       80;
    server_name  static.hellodk.cn;
    rewrite ^ https://$http_host$request_uri? permanent;    #强制将http重定向到https
    server_tokens off;
}
/ 匹配到 的 location 块中,proxy_set_header Host $host:$server_port 需要加上端口号
Change this line:
proxy_set_header Host $host;

to this:
proxy_set_header Host $host:$server_port;
最终通过 nginx -t 和 nginx -s reload 重载 nginx 服务
感谢这篇博客: 使用rpm安装crontab命令备忘 http://isunix.github.io/blog/2019/05/22/shi-yong-rpman-zhuang-crontabming-ling-bei-wang/
centos7.6删除重新安装python和yum https://www.cnblogs.com/ytkah/p/10223853.html (文中的相关 .rpm 包 你去 wget 可能 会 404 not found 需要自己重新找下)
后面卸载 python3 和 python2 重新安装 python 和 yum 遇到以下问题:
librpm.so.3: cannot open shared object file: No such file or directory从那台 yum 没有问题的机器上(刚好也是 centOS7.6 的系统)拷贝了 /usr/lib64/librpm.so.3.2.2 和 /usr/lib64/librpmio.so.3.2.2 这两个文件到当前机器
然后创建软链接 分别指向 /usr/lib64/librpm.so.3 和 librpmio.so.3 cd 到 /usr/lib64 目录下 然后分别执行
ln -s librpm.so.3.2.2 librpm.so.3
ln -s librpmio.so.3.2.2 librpmio.so.3
之后我的 yum 重新工作
这个问题 真是搞了我好久(f**k)
我的 seafile seahub 启动shell 脚本如下
#启动服务
/home/MyCloud/seafile-server/seafile.sh start
/home/MyCloud/seafile-server/seahub.sh start
seahub 无法启动
LC_ALL is not set in ENV, set to en_US.UTF-8
Starting seahub at port 8000 ...
Error:Seahub failed to start.
Please try to run "./seahub.sh start" again
修改 /etc/locale.conf 添加一行 LC_ALL="en_US.UTF-8" 注意等于号后面的 value 需要使用 双引号包裹起来 (单引号应该也可以)
google、baidu 了很久 通过 systemctl 来开机自启还是失败,最终把目标转向了即将被淘汰的 rc-local.service (就是 /etc/rc.d/rc.local 服务)。 /etc/rc.local 是个 link file 指向的就是 /etc/rc.d/rc.local
但还是来分享一下 seafile 和 seahub 的 unit script
# cat /etc/systemd/system/seafile.service
[Unit]
Description=Seafile
# add mysql.service or postgresql.service depending on your database to the line below
After=network.target

[Service]
Type=oneshot
ExecStart=/home/MyCloud/seafile-server/seafile.sh start
ExecStop=/home/MyCloud/seafile-server/seafile.sh stop
RemainAfterExit=yes
User=k
Group=k

[Install]
WantedBy=multi-user.target
# cat /etc/systemd/system/seahub.service
[Unit]
Description=seahub service
After=network.target seafile.service
[Service]
# change start to start-fastcgi if you want to run fastcgi
Environment="LC_ALL=C"
ExecStart=/home/MyCloud/seafile-server/seahub.sh start
ExecStop=/home/MyCloud/seafile-server/seahub.sh stop
User=k
Group=k
Type=oneshot
RemainAfterExit=yes
[Install]
WantedBy=multi-user.target为防止 这两个服务开机自启影响,请禁用他们 或者直接删掉
systemctl disable seafile
systemctl disable seahub
注意 service 的 script 里 User 和 Group 请指定 非 root 用户
最终 将开机自启脚本添加到 /etc/rc.d/rc.local 注意下 这个文件是否有 执行权限 如果没有 请 chmod +x /etc/rc.d/rc.local
也注意 /etc/rc.d/rc.local 的最后一行 必须 是 exit 0 否则开机自动执行脚本会失败
最后CentOS7.6 需要手动启动 rc-local 服务 (马上会是 deprecated 的服务了)(下面这句 设置开机自启。设置好后 reboot 机器)
systemctl enable rc-local.service我在部署过程中,还有几点可以提醒大家
requests 模块 可以通过 pip 安装 或者 通过 yum 安装 python-requests yum install python-requestsyum install python-imagingSERVICE_URL 和 FILE_SERVER_ROOT 需要关注 是否配置有问题/opt/seafile-data/seafile/conf 下的 5 个配置文件是否正确配置
期间还遇到两个问题,无法上传 avatar 和 logo。上传 avatar 报错: Upload a valid image. The file you uploaded was either not an image or a corrupted image. 这个问题 我google baidu bing doge 都搜索不到 太郁闷了

上传头像提示我请上传一个有效的图片。该文件要么不是图片要么已经损坏。我:???损坏你 daye 的,换了很多图片都是这个错误
上传 logo 提示 Internal server error
最终通过上面的问题排查和问题解决,上面两个问题也已经消失了…… 哎 一路坎坷啊
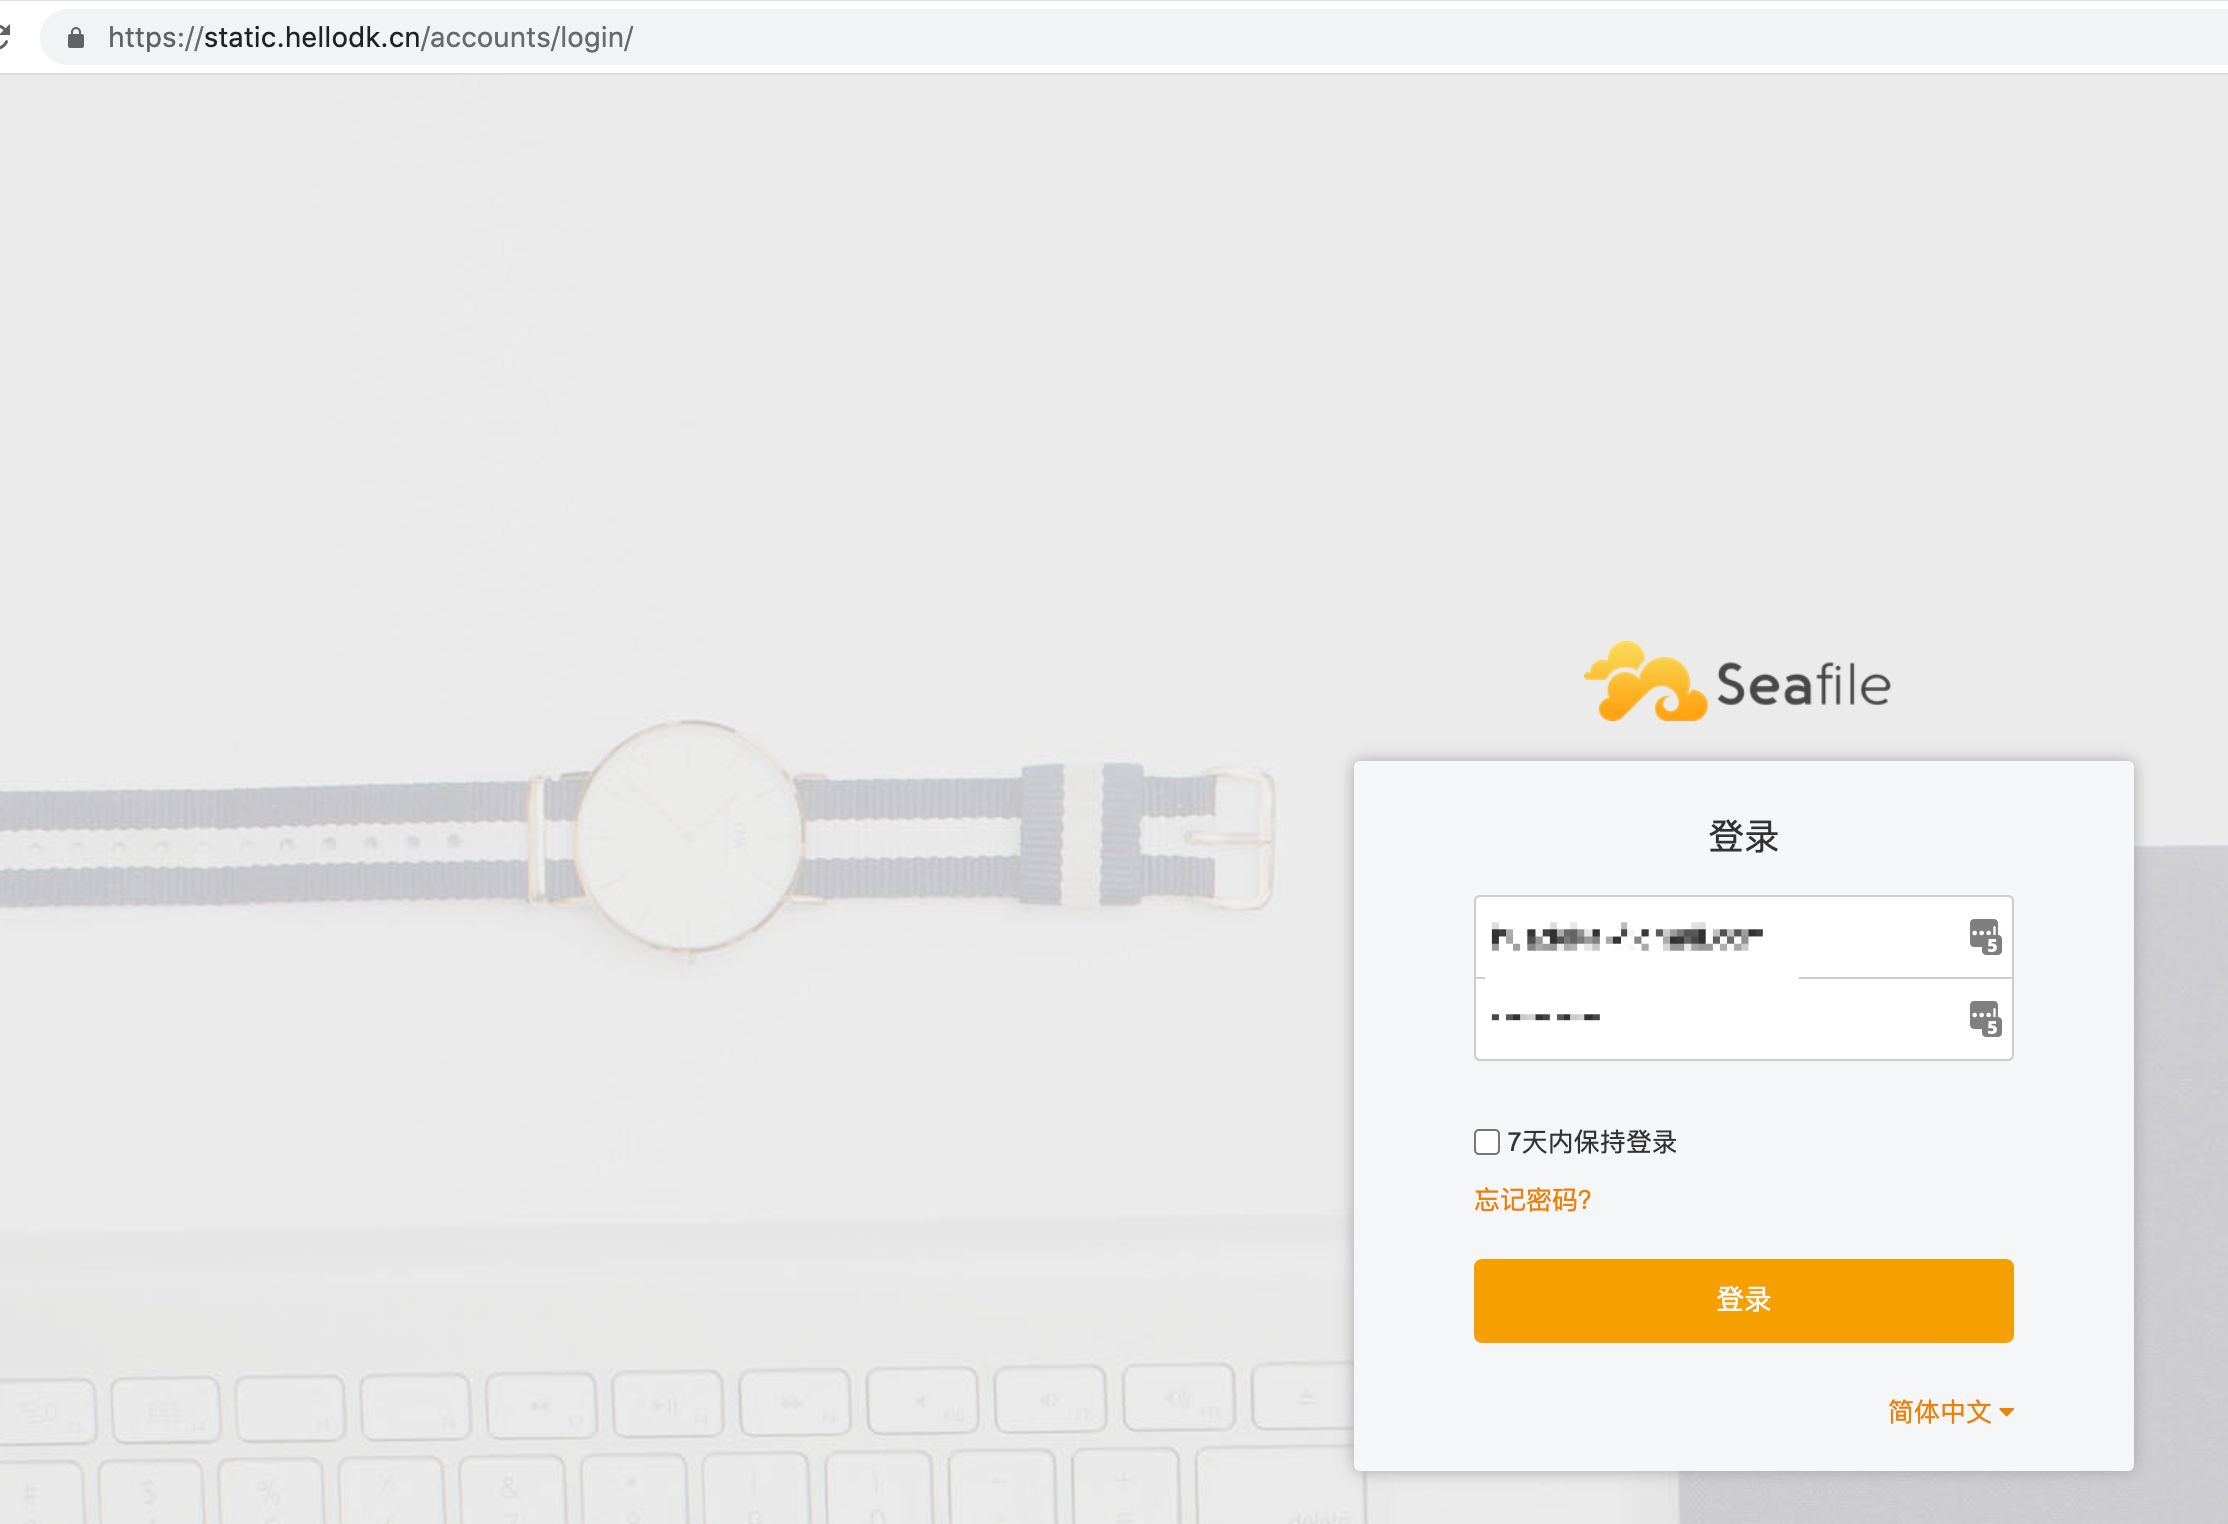
最终我的 seafile 服务完美运行, https://static.hellodk.cn
部署的过程中可能还会有很多不容易发现的坑我没有提及或者我也不知道,如果你遇到欢迎讨论。本篇分享 end.
此内容由惯性聚合(RSS阅读器)自动聚合整理,仅供阅读参考。 原文来自 — 版权归原作者所有。