1. 登录 Ngrok 获取一个 Authtoken
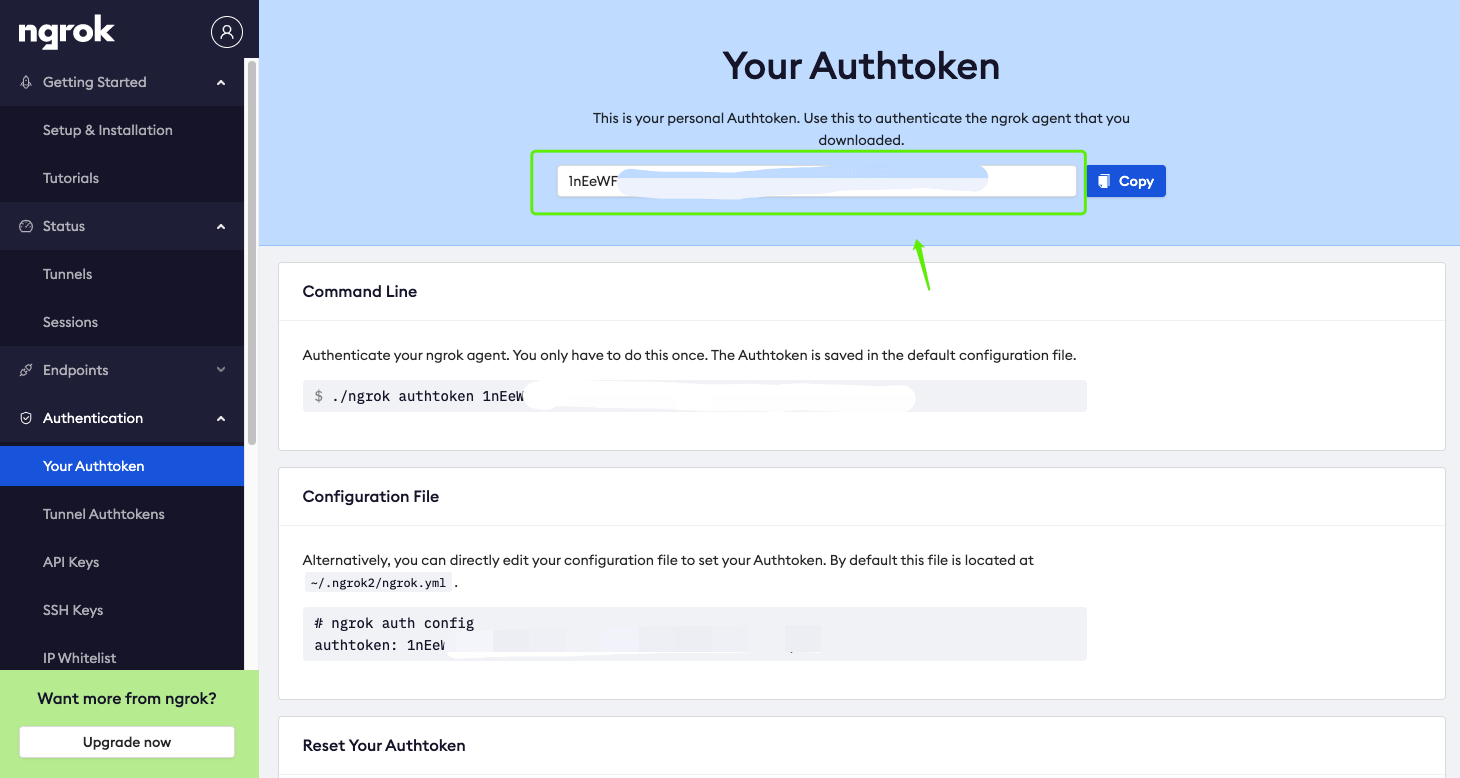
1.1 登陆 Ngrok 官网,获取 Authtoken
访问 Ngrok 官网,https://dashboard.ngrok.com/ , 可以使用 GitHub 或者 Google 账户登陆。
进入 Authentication 页面,找到自己的 Authtoken,如下图:
1.2 在 GitHub 项目下,配置 Secrets
在项目的 Settings 页面中,新增 Secrets,如下图:
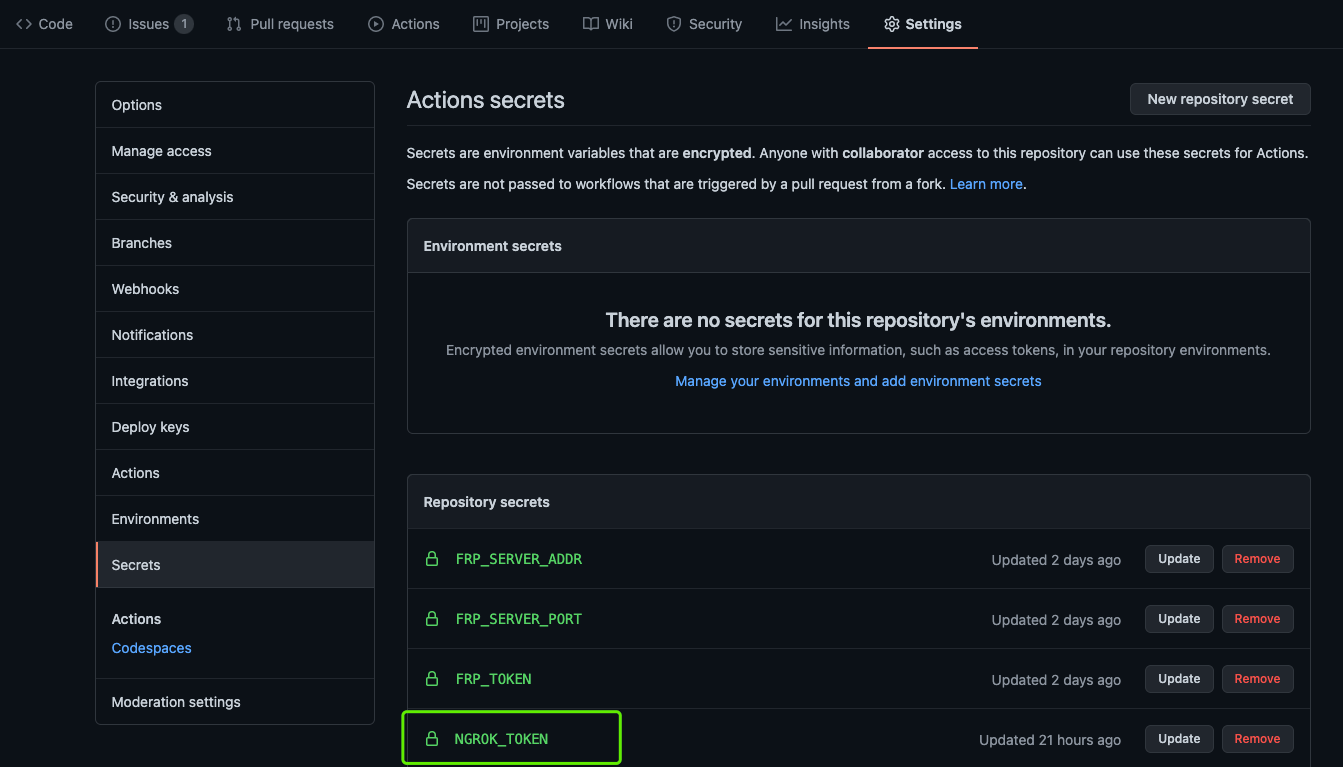
将 NGROK_TOKEN 设置为上一步中获取到的 Authtoken 。
2. 在 GitHub Actions 中添加一个 Workflows,并运行 Action
这里为了能更方便地使用 Kubernetes ,提前预装了 KubeSphere 用于管理集群。
在项目的 .github/workflows 目录下添加如下文件:
kubernetes.yaml
 1
 2
 3
 4
 5
 6
 7
 8
 9
10
11
12
13
14
15
16
17
18
19
20
21
22
23
24
25
26
27
28
| name: example-ngrok-kind-v2
on:
workflow_dispatch:
jobs:
example-ngrok-kind-v2:
runs-on: ubuntu-latest
steps:
- name: Creating kind cluster
uses: helm/kind-action@v1.0.0-rc.1
- name: Install KubeSphere
run: |
kubectl apply -f https://github.com/kubesphere/ks-installer/releases/download/v3.0.0/kubesphere-installer.yaml
kubectl apply -f https://github.com/kubesphere/ks-installer/releases/download/v3.0.0/cluster-configuration.yaml
- name: Expose Port for Kind
run: |
export ID=`docker ps | awk '{print $1}' | sed -n '2p'`
export IP=`docker inspect ${ID} |grep IPAddress | sed -n '2p'| grep -o '[0-9]\{1,3\}\.[0-9]\{1,3\}\.[0-9]\{1,3\}\.[0-9]\{1,3\}'`
sudo apt-get install socat
socat TCP4-LISTEN:30880,reuseaddr,fork TCP4:${IP}:30880 &
- uses: shaowenchen/debugger-action@v2
name: debugger
timeout-minutes: 60
continue-on-error: true
with:
ngrok_token: ${{ secrets.NGROK_TOKEN }}
ngrok_addr_1: 30880
ngrok_proto_1: http
|
其中的 timeout-minutes 参数决定了可以体验的时长,最长不超过 6 个小时,环境会被销毁,这里设置的是 60 分钟。
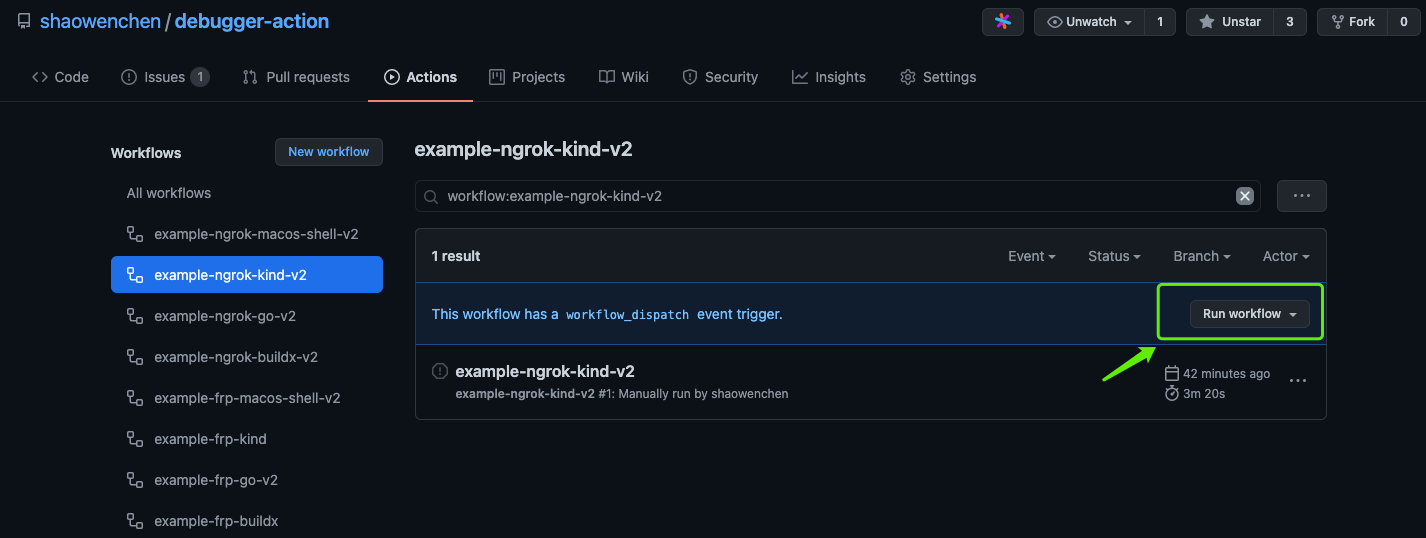
在 Actions 页面中,点击运行 Action
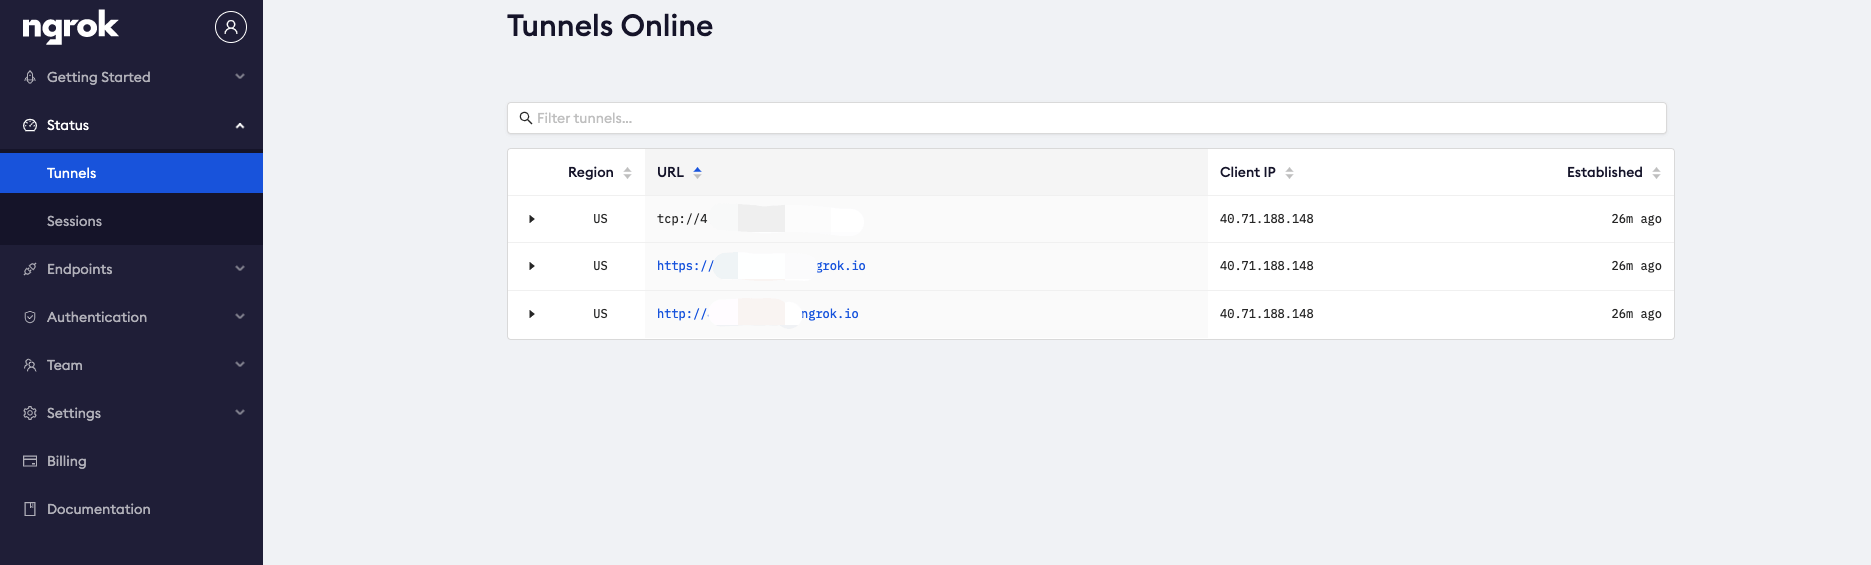
为了能看到完整日志,执行完成之后,请点击进入 Action,查看滚动日志,否则可能看不到相关链接。需要登录到 Ngrok 的 Dashboard ,访问 https://dashboard.ngrok.com/status/tunnels 页面查看:
3. 访问 KubeSphere
在 Action 的执行日志中可以查看到相关的访问链接
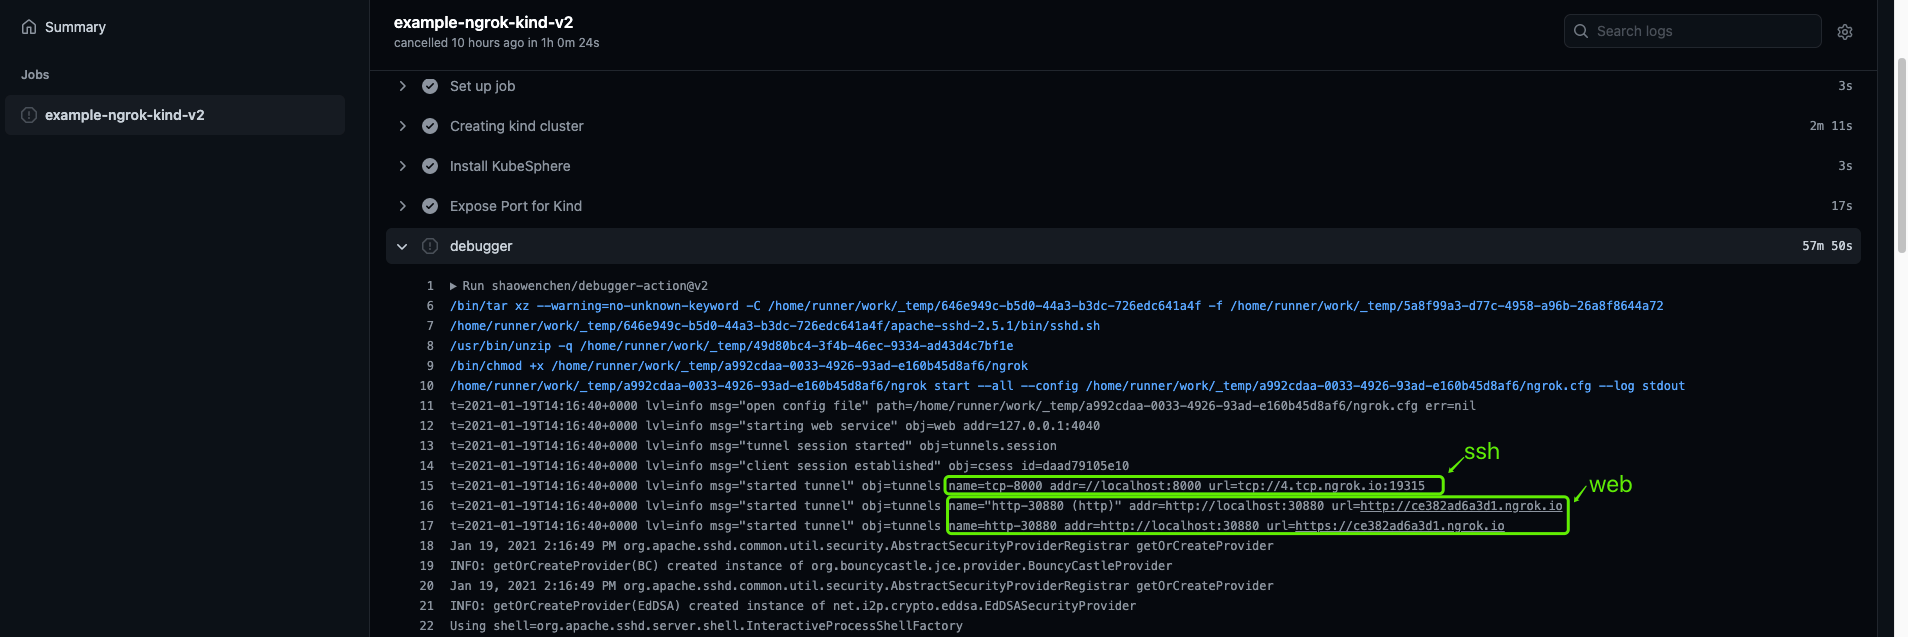
使用 ssh root@4.tcp.ngrok.io -p 19315 可以登录后台,密码是 root。
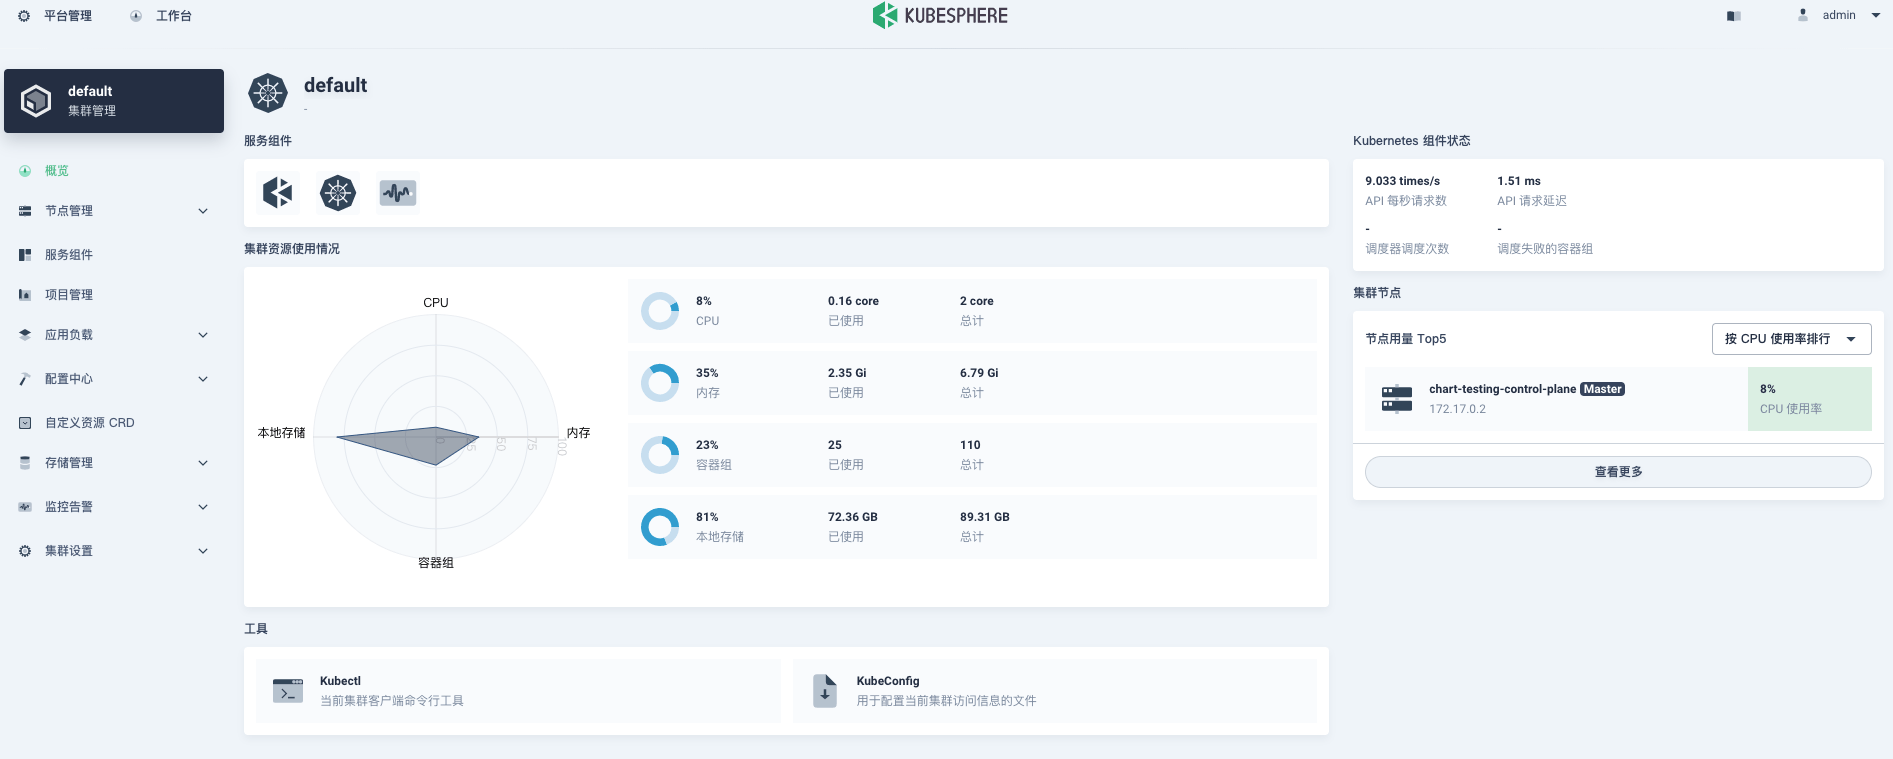
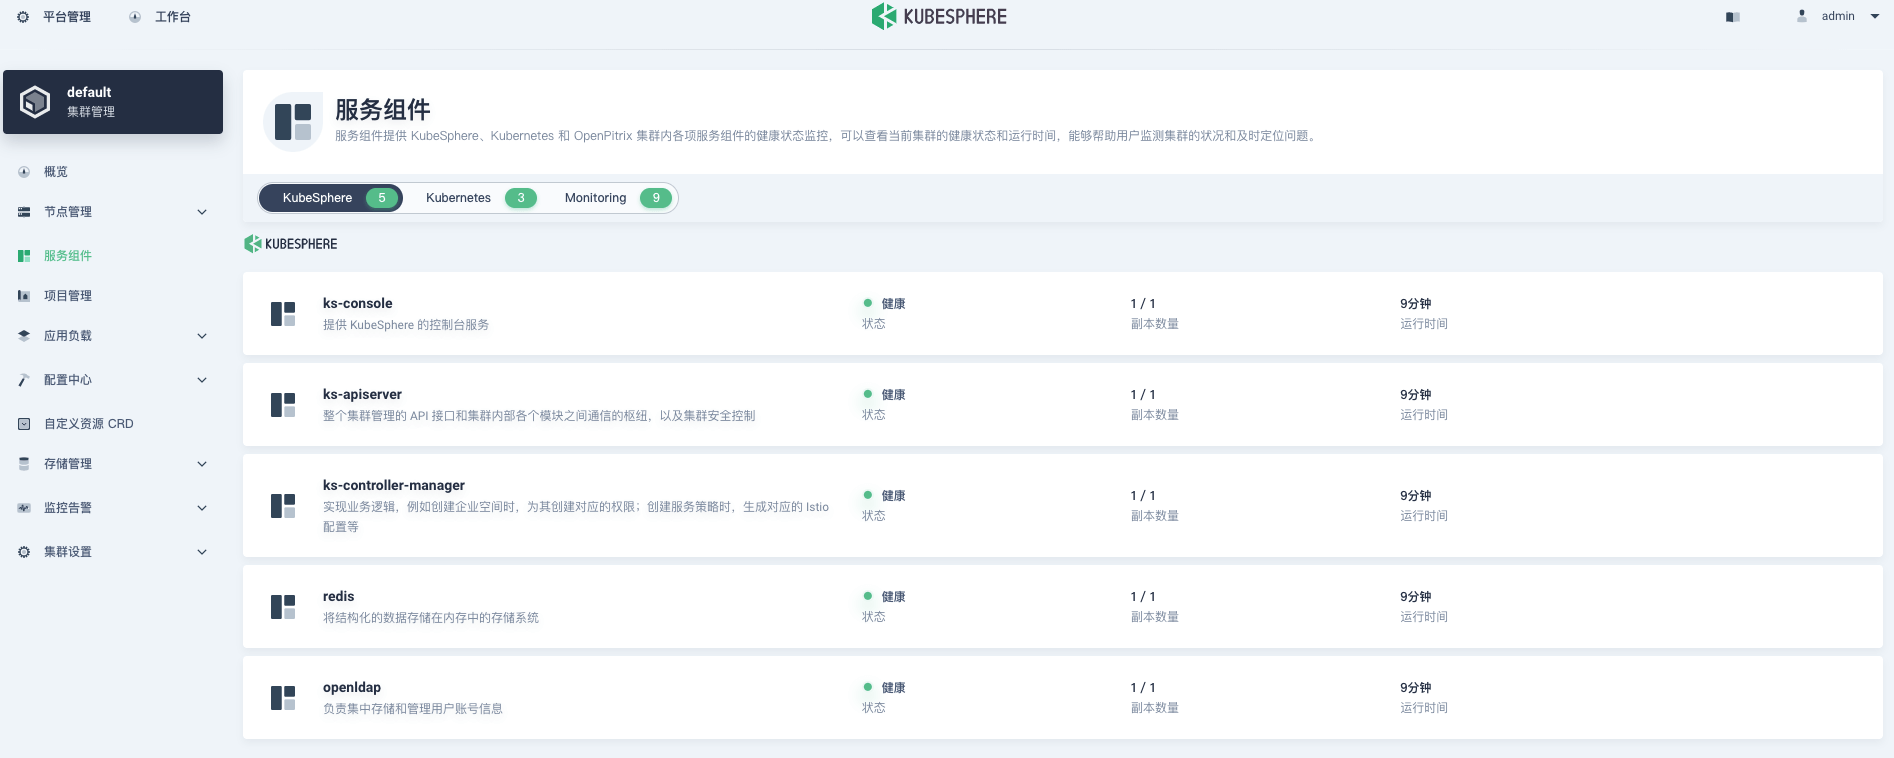
大约需要等待 Actions 执行 7 分钟之后,https://ce382ad6a3d1.ngrok.io/ 和 http://ce382ad6a3d1.ngrok.io/ 都可以打开 KubeSphere 的管理页面。下面是产品页面的截图:
4. 参考链接



