Cockpit是一款由红帽(Red Hat)开发的开源轻量级Linux Web可视化管理工具,依赖于systemd作为其核心服务管理器。它就像给Linux装了个网页版的控制面板,通过可视化界面监控系统资源使用情况、管理服务、配置网络、终端操作等功能
1、安装 Cockpit
dnf install cockpit -y
2、安装所有插件
dnf -y install cockpit-*
3、启动并设置开机自启
systemctl enable --now cockpit.socket
4、开放防火墙端口并重新加载
firewall-cmd --permanent --add-service=cockpit
firewall-cmd --reload
创建普通用户登入Cockpit
5、创建普通用户,用户名自定义,这边使用cockpit
useradd -m cockpit
6、设置cockpit用户密码,密码建议设置强一点
passwd cockpit
7、将用户添加到 wheel 组
usermod -aG wheel cockpit
8、访问Cockpit
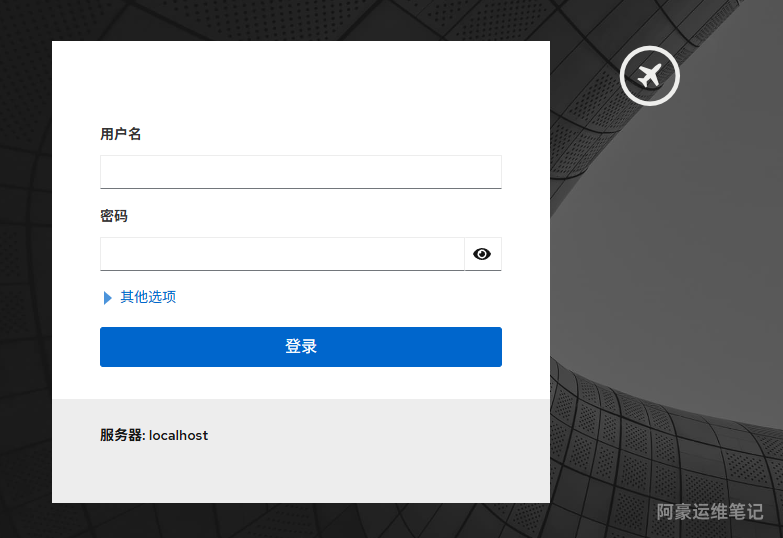
安装完成后,打开浏览器访问https://您的服务器IP地址:9090显示如下
PS:账号和密码为前面创建的普通账号和密码
首次访问时,浏览器可能会提示证书不安全,这是因为Cockpit默认使用自签名证书。点击“高级”并选择“继续访问”即可
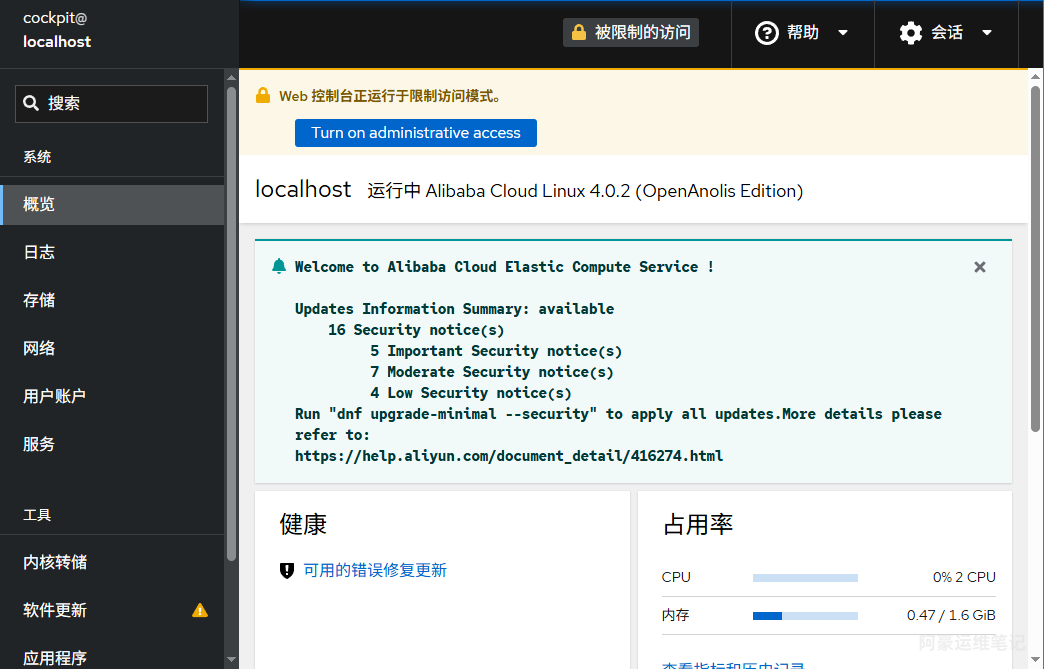
系统概要,普通账号登入后提示如下,如需切换到管理员模式,点击被限制的访问然后输入登入普通账号的密码的然后点击认证即可切换
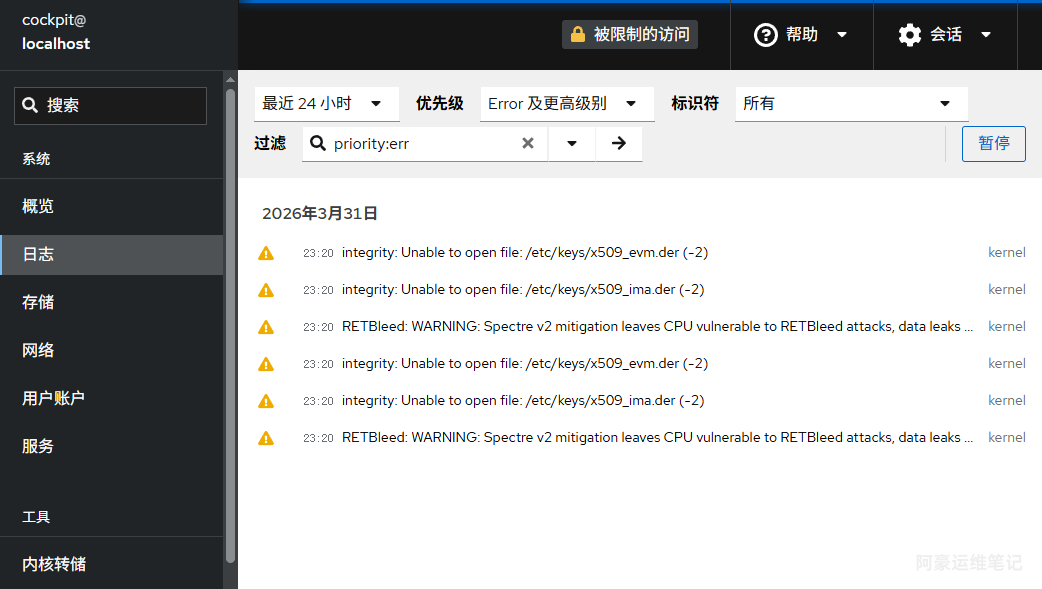
系统日志
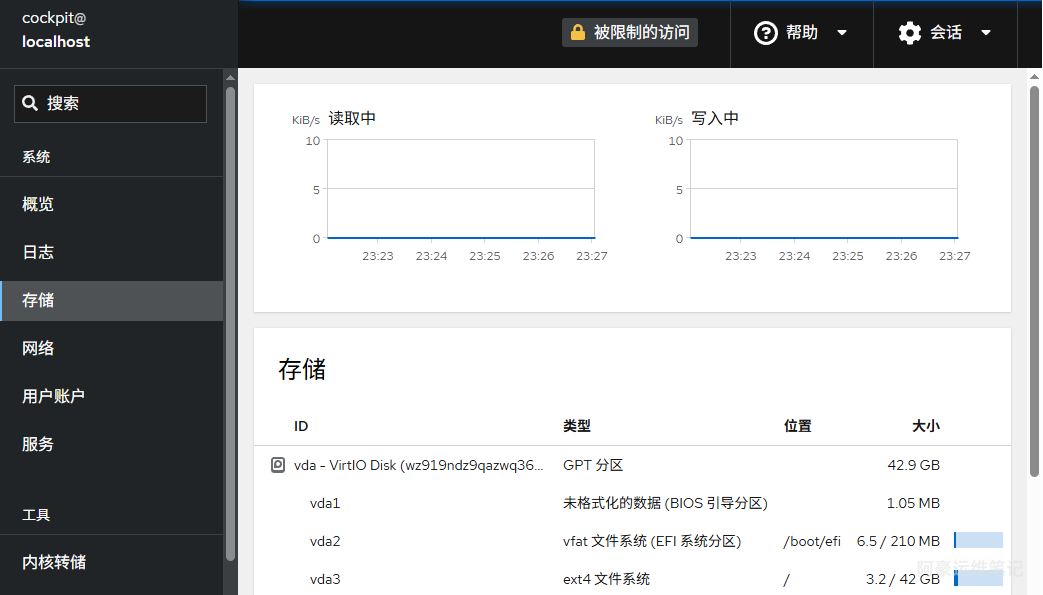
存储
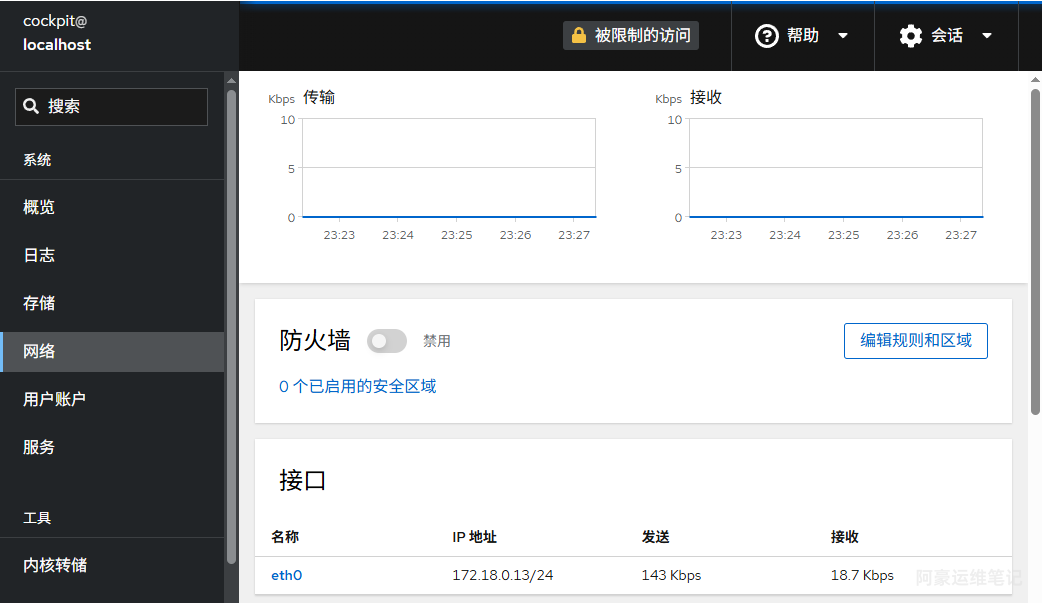
网络
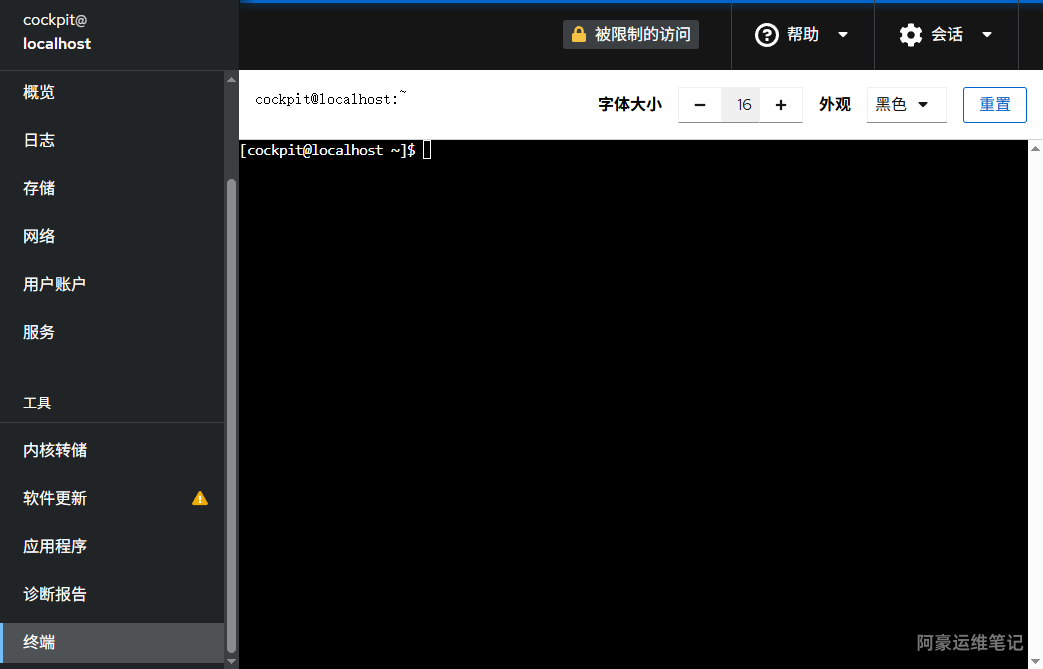
在线终端
在生产环境中,建议不要使用root账户直接登录Cockpit。可以创建一个普通用户,并将其添加到wheel组以拥有sudo权限,然后使用该账户登录。当然也可以开启Root账号登入权限看自己喜欢,开启步骤如下
使用Root账号登入Cockpit
1、编辑配置文件启用root权限
vi /etc/cockpit/disallowed-users
2、注释掉 root 用户
在文件内容中,您会看到一行root。按i进入编辑在这一行的最前面加上一个#符号,将其注释掉,最后按键盘esc然后输入:wq保存
OK,教程到这已结束,喜欢的同学可以尝试部署体验。
此内容由惯性聚合(RSS阅读器)自动聚合整理,仅供阅读参考。 原文来自 — 版权归原作者所有。