甲骨文的註冊與實例申請階段暫時不表,進入端口開放配置。


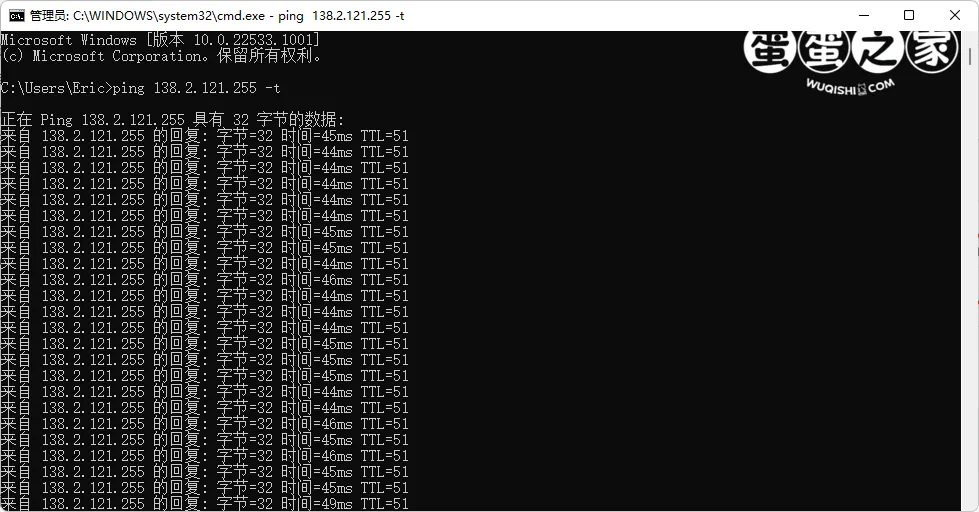
ping 138.2.121.255 -t
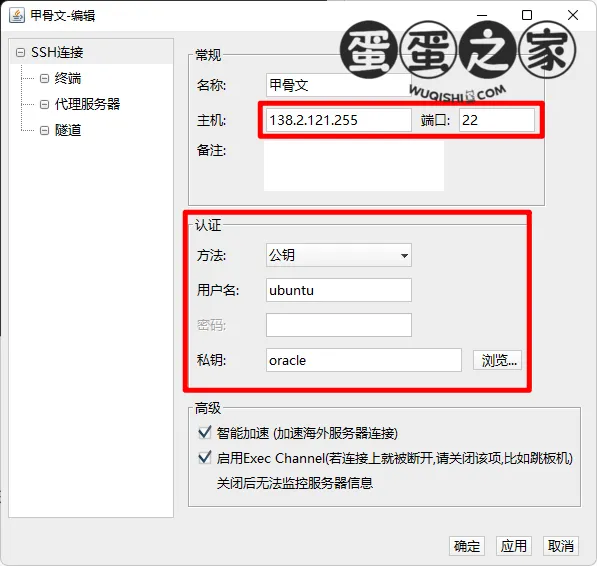
名稱隨意;主機填寫公共 IP 地址,端口默認 22;認證方式選擇公鑰;用戶名 ubuntu;
私鑰 - 瀏覽 - 導入 - 導入私鑰,名稱自定義,瀏覽選擇私鑰 key,私鑰密碼默認,導入後選擇該私鑰,最終結果如圖:
sudo su
cd /root
vi .ssh/authorized_keys
找到並把 ssh-rsa 之前的文字都刪除掉。
nano /etc/ssh/sshd_config
找到 PermitRootLogin, 把前面的井號去掉,並修改為:
PermitRootLogin yes
ctrl+x 保存退出 選擇 y 然後回車。
reboot重啟服務器。依次輸入以下代碼:
iptables -P INPUT ACCEPT
iptables -P FORWARD ACCEPT
iptables -P OUTPUT ACCEPT
iptables -F
apt-get purge netfilter-persistent
reboot
可以用一個域名的子域名,解析到該實例上。
使用 root 登陸該實例。
apt update -y
apt install -y curl
apt install -y socat
curl https://get.acme.sh | sh
~/.acme.sh/acme.sh --register-account -m [email protected]
[email protected] 更換為真實郵箱成功率更高。
~/.acme.sh/acme.sh --issue -d xxxx.xxxx.xxx --standalone
xxxx.xxxx.xxx 更換為你的解析域名。
~/.acme.sh/acme.sh --installcert -d xxxx.xxxx.xxx --key-file /root/private.key --fullchain-file /root/cert.crt
此步完成後會在 VPS root 目錄下看到證書公鑰 /root/cert.crt 及 密鑰文件 /root/private.key
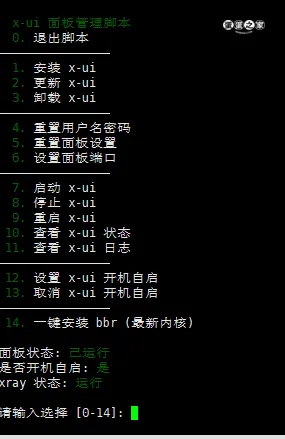
bash <(curl -Ls https://raw.githubusercontent.com/vaxilu/x-ui/master/install.sh)
私鑰路徑:/root/private.key
公鑰路徑:/root/cert.crt
echo "net.core.default_qdisc=fq" >> /etc/sysctl.conf
echo "net.ipv4.tcp_congestion_control=bbr" >> /etc/sysctl.conf
sysctl -p
lsmod | grep bbr
看到 20480 或 16384 說明 BBR 開啟成功。
此內容由慣性聚合(RSS閱讀器)自動聚合整理,僅供閱讀參考。 原文來自 — 版權歸原作者所有。