



在学习controller的时候,测试了在RequestMapping中,value参数中配置集合,实现不同的URL访问同一方法。
本章继续学习和测试RequestMapping的其他特性。
一.PathVariabe获取URL参数,代码如下:
package com.yy.controller;

import org.springframework.beans.factory.annotation.Value;
import org.springframework.stereotype.Controller;
import org.springframework.web.bind.annotation.*;
import org.springframework.web.servlet.ModelAndView;

/**
 * Created by Administrator on 2018-05-18.
 */
@RestController
//@Controller
public class HelloController {
    @RequestMapping(value = "/hello1",method= RequestMethod.GET)
    public  String sayHello1()
    {
        String hello="index";
        return hello;
    }
    @ResponseBody
    @RequestMapping(value = {"/hello2","/index2"},method= RequestMethod.GET)
    public  String sayHello2()
    {
        String hello="index";

        return hello;
    }

    @RequestMapping(value = "/hello3",method= RequestMethod.GET)
    public ModelAndView sayHello3()
    {
        ModelAndView mv = new ModelAndView("index");
        return mv;
    }
//    URL参数
    @RequestMapping(value = "/hello4/{name}",method= RequestMethod.GET)
    public String sayHello4(@PathVariable("name") String name )
    {
        String str=name;
        return str;
    }


}
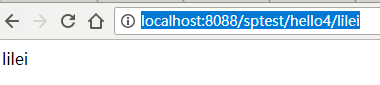
启动应用,访问URL:http://localhost:8088/sptest/hello4/lilei,则方法sayHello4获取的name参数值为lilei,方法返回name值,则显示如下:
二.使用@RequestMapping给整个类指定URL映射
package com.yy.controller;

import org.springframework.beans.factory.annotation.Value;
import org.springframework.stereotype.Controller;
import org.springframework.web.bind.annotation.*;
import org.springframework.web.servlet.ModelAndView;

/**
 * Created by Administrator on 2018-05-18.
 */
@RestController
//@Controller
@RequestMapping(value="my")
public class HelloController {
    @RequestMapping(value = "/hello1",method= RequestMethod.GET)
    public  String sayHello1()
    {
        String hello="index";
        return hello;
    }
    @ResponseBody
    @RequestMapping(value = {"/hello2","/index2"},method= RequestMethod.GET)
    public  String sayHello2()
    {
        String hello="index";

        return hello;
    }

    @RequestMapping(value = "/hello3",method= RequestMethod.GET)
    public ModelAndView sayHello3()
    {
        ModelAndView mv = new ModelAndView("index");
        return mv;
    }
//    URL参数
    @RequestMapping(value = "/hello4/{name}",method= RequestMethod.GET)
    public String sayHello4(@PathVariable("name") String name )
    {
        String str=name;
        return str;
    }


}
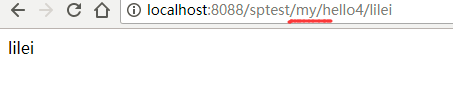
其他不变,给HelloController类添加@RequestMapping注解。启动应用访问URL:
三.按照传统方式Url+"?name=lilei"传递参数
 //传统URL参数
    @RequestMapping(value = "/hello5",method= RequestMethod.GET)
    public String sayHello5(@RequestParam(value="name",required = false,defaultValue = "james") String name )
    {
        String str=name;
        return str;
    }
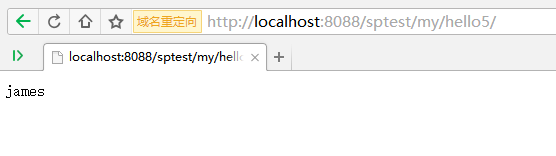
获取参数使用@RequestParam,其中value值为url中参数的名称;required默认为true,表示参数必须,此处修改为false;defaultValue为该参数默认值,如果url中没有为该参数指定值,则使用该默认值,如果参数已传递,则用获取的参数值覆盖该默认值。
用如下URL访问:http://localhost:8088/sptest/my/hello5/?name=chole,显示如下:

四.使用GetMapping代替RequestMapping
其他不变,将上面代码中的sayHello5注解改为@GetMapping(value = "/hello5")
此内容由惯性聚合(RSS阅读器)自动聚合整理,仅供阅读参考。 原文来自 — 版权归原作者所有。