在网上找了一些调试springboot 的文章,使用内置tomacat步骤大体都是如下步骤
1.配置插件:
<configuration>
<jvmArguments>
-Xdebug -Xrunjdwp:transport=dt_socket,server=y,suspend=y,address=5005
</jvmArguments>
</configuration>
2.启动maven命令:clean install -Ptest -X spring-boot:run
3.开调试
右击项目–>选择debug as–>Debug Configuration–>Remote Java Application
配置地址和端口号 localhost 5005
我按照此方法总是不行,所以换成了使用外部tomcat调试springboot的方案
(1) 新建-》Other->搜索maven 如下图
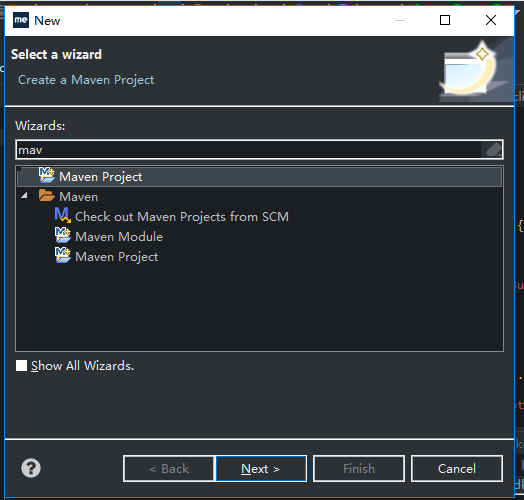
(2) 下一步
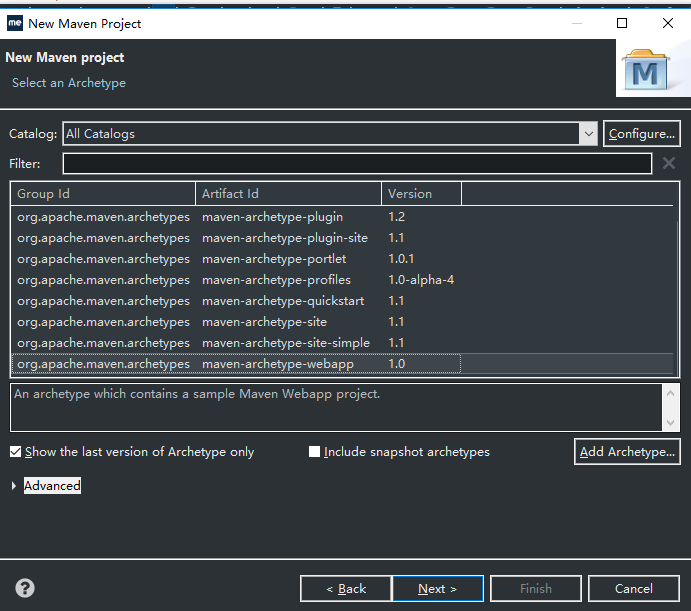
(3) 输入名称

(4) 点击完成
(5) 修改pom.xml,添加对springboot 的引用
如下内容:

<project xmlns="http://maven.apache.org/POM/4.0.0"

    xmlns:xsi="http://www.w3.org/2001/XMLSchema-instance"

    xsi:schemaLocation="http://maven.apache.org/POM/4.0.0 http://maven.apache.org/maven-v4_0_0.xsd">

    <modelVersion>4.0.0</modelVersion>

    <groupId>com.spboot.tomcat.pomdemo</groupId>

    <artifactId>tomcattest</artifactId>

    <packaging>war</packaging>

    <version>0.0.1-SNAPSHOT</version>

    <name>tomcattest Maven Webapp</name>

    <url>http://maven.apache.org</url>

    <parent>

        <groupId>org.springframework.boot</groupId>

        <artifactId>spring-boot-starter-parent</artifactId>

        <version>2.2.7.RELEASE</version>

    </parent>

    <dependencies>

        <dependency>

            <groupId>junit</groupId>

            <artifactId>junit</artifactId>

            <scope>test</scope>

        </dependency>

        <dependency>

            <groupId>org.springframework.boot</groupId>

            <artifactId>spring-boot-starter-web</artifactId>

            <exclusions>

                <exclusion>

                    <groupId>org.springframework.boot</groupId>

                    <artifactId>spring-boot-starter-tomcat</artifactId>

                </exclusion>

            </exclusions>

        </dependency>

        <dependency>

            <groupId>javax.servlet</groupId>

            <artifactId>javax.servlet-api</artifactId>

            <scope>provided</scope>

        </dependency>

    </dependencies>

    <build>

        <plugins>

            <plugin>

                <groupId>org.springframework.boot</groupId>

                <artifactId>spring-boot-maven-plugin</artifactId>

            </plugin>

        </plugins>

        <finalName>tomcattest</finalName>

    </build>

</project>
View Code
(6)创建mainApplication
如下内容
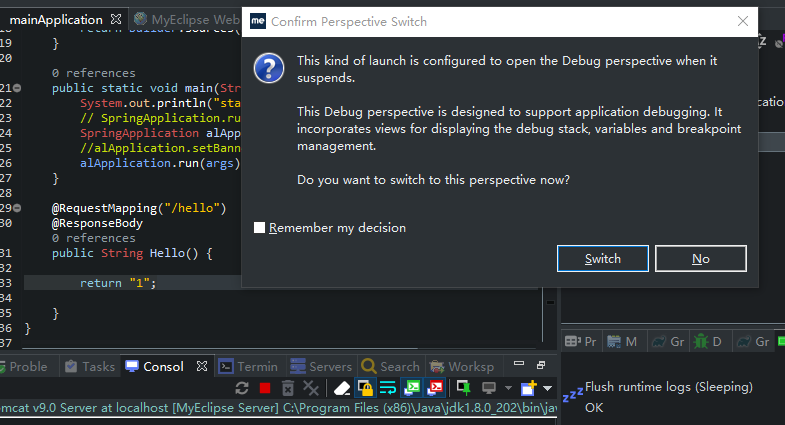
package com.tomcat.demo;

import org.springframework.boot.SpringApplication;

import org.springframework.boot.SpringBootConfiguration;

import org.springframework.boot.autoconfigure.SpringBootApplication;

import org.springframework.boot.builder.SpringApplicationBuilder;

import org.springframework.boot.web.servlet.support.SpringBootServletInitializer;

import org.springframework.stereotype.Controller;

import org.springframework.web.bind.annotation.RequestMapping;

import org.springframework.web.bind.annotation.ResponseBody;


@SpringBootConfiguration

@Controller()

@SpringBootApplication

public class mainApplication extends SpringBootServletInitializer{

    @Override

    protected SpringApplicationBuilder configure(SpringApplicationBuilder builder) {

        return builder.sources(mainApplication.class);

    }


    public static void main(String[] args) throws Exception {

        System.out.println("starting........................................................");

        // SpringApplication.run(bootApplication.class, args);

        SpringApplication alApplication = new SpringApplication(mainApplication.class);

        //alApplication.setBannerMode(Mode.OFF);

        alApplication.run(args);

    }


    @RequestMapping("/hello")

    @ResponseBody

    public String Hello() {


        return "1";


    }

}
View Code
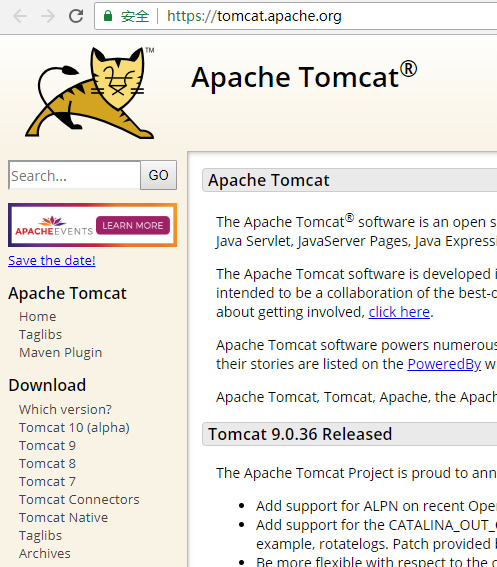
7引入tomcat,打开官网,下载tomcat-9
8.tomcat添加到myeclipse,windows->preferences


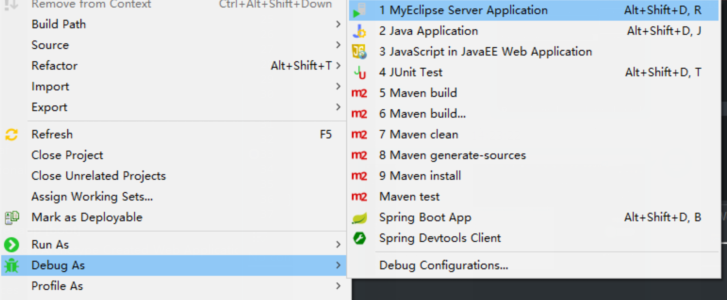
9运行调试,选择tomcat9作为server

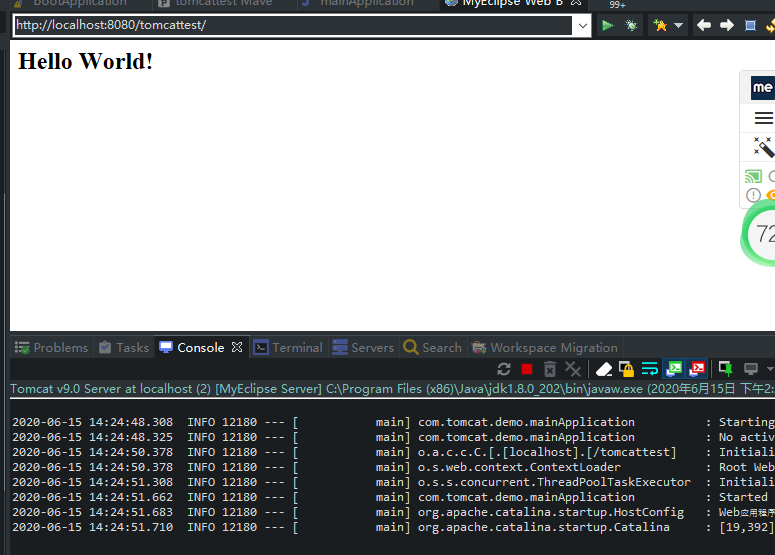
10访问地址http://localhost:8080/tomcattest/hello 发现断点已经进来了
此内容由惯性聚合(RSS阅读器)自动聚合整理,仅供阅读参考。 原文来自 — 版权归原作者所有。