




When writing JavaScript with an editor such as Visual Studio Code, there are different ways you can ensure your code is syntactically correct and in line with current best practices. If you want to know how to lint and format code with ESLint in Visual Studio Code, a linter is one of the most reliable tools you can add to your workflow. Linters check your code for syntax errors and highlight errors to make sure you can quickly find and fix them. ESLint is a linter that you can integrate into your Visual Studio Code setup to ensure code integrity.
ESLint can both format your code and analyze it to make suggestions for improvement. It is also configurable. This means that you can customize how your code is evaluated.
In this tutorial, you will set up ESLint on Visual Studio Code and implement a custom configuration to deal with log statements in debugging. You will also configure ESLint to fix syntax errors when you save your files automatically.
Deploy your frontend applications from GitHub using DigitalOcean App Platform. Let DigitalOcean focus on scaling your app.
editor.codeActionsOnSave.console.log statements and quote style, so that your project enforces a consistent coding style.To complete this tutorial, you will need the following:
This tutorial was verified with Visual Studio Code v1.62.3, ESLint Extension v2.2.2, Node.js v17.2.0, npm v8.1.4, and eslint v8.3.0.
You need to start with a demo project. Create a directory for your project with the following command:
- mkdir vscode-eslint-example
Now that your project folder is created switch to the vscode-eslint-example directory:
- cd vscode-eslint-example
While inside of the vscode-eslint-example directory, create a JavaScript file with the name app.js:
- touch app.js
Open app.js in Visual Studio Code. Write the following JavaScript code in your app.js file:
app.js
const name = 'James'

const person = {first: name}

console.log(person)

const sayHelloLinting = (fName) => {
console.log(`Hello linting, ${fName}`);
};
You may have noticed that there are formatting issues that could be improved:
With this JavaScript file in place, you can now initialize this project. To do this, navigate back to your command line, and in the vscode-eslint-example directory, run the following command:
- npm init -y
Using the npm init command to initialize your project will create a package.json file in the vscode-eslint-example directory. The package.json will store your project dependencies and other important configuration settings for your project.
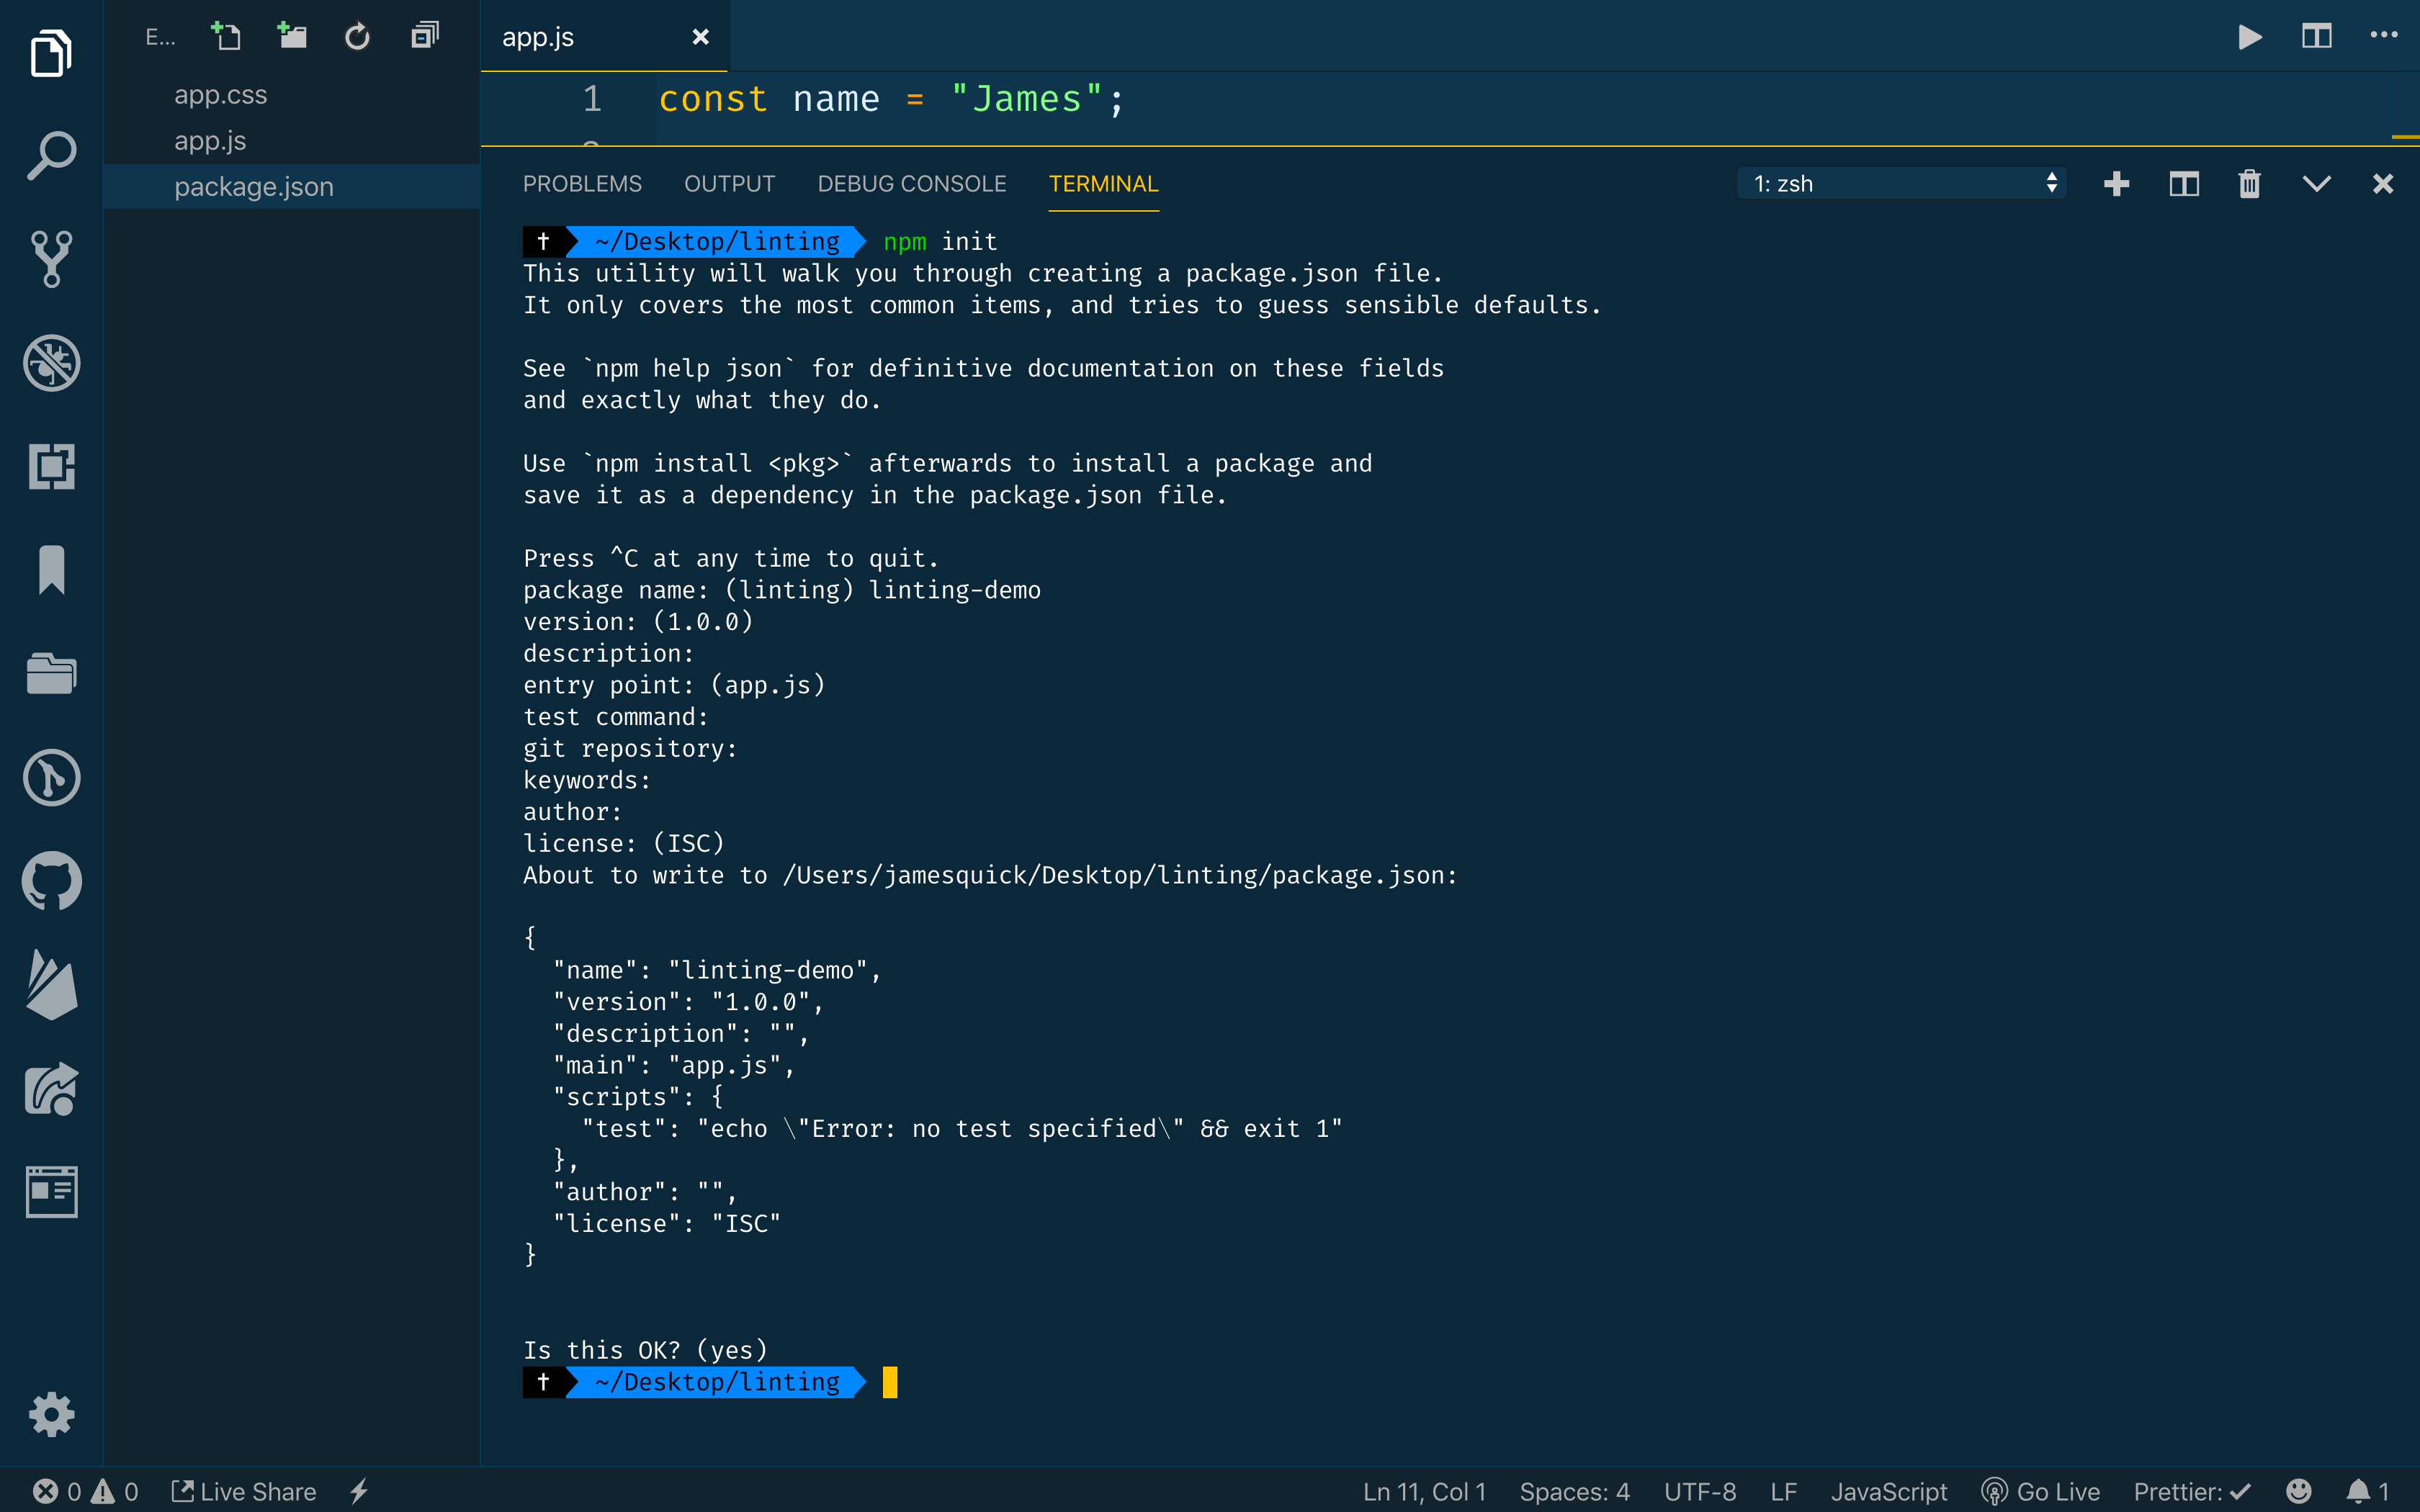
Now that your JavaScript project is properly set up, you can now set up ESLint.
Before you set up ESLint for your project, you will first need to install ESLint:
- npm install eslint --save-dev
It’s important to include the --save-dev flag because this saves the package as a dependency for development usage only. In this case, eslint is a package that is only needed when you are actively working on and making changes to your project. Once your project launches or is in production, eslint will no longer be needed. Using the --save-dev flag ensures that eslint will be listed in your package.json file as a development dependency only.
Now that ESLint is installed, you can initialize an ESLint configuration for your project using the following command:
- ./node_modules/.bin/eslint --init
An important piece in this command is the --init flag. The ./node_modules/.bin/eslint section of the command is the path to ESLint in your project. Using the --init flag activates ESLint for your project. Activating or initializing ESLint will create an ESLint configuration file that will allow you to customize how ESLint works with your project.
Before you can access your ESLint configuration file, you will be prompted with different questions about your project. These questions are asked to make sure that the configuration that is initialized for your project best fits your needs.
The first prompt will be:
? How would you like to use ESLint? …
  To check syntax only
❯ To check syntax and find problems
Choose the To check syntax and find problems option.
The next prompt will be:
 What type of modules does your project use? …
  JavaScript modules (import/export)
❯ CommonJS (require/exports)
  None of these
Choose the CommonJS option to use CommonJS global variables.
The next prompt will say:
? Which framework does your project use? …
  React
  Vue.js
❯ None of these
Choose the None of these option.
The next prompt will ask:
? Does your project use TypeScript? › No / Yes
Choose the No option.
The following prompt will say:
? Where does your code run? …  (Press <space> to select, <a> to toggle all, <i> to invert selection)
✔ Browser
  Node
Choose the Browser option.
The next prompt will say:
The config that you've selected requires the following dependencies:

eslint, globals, @eslint/js
? Would you like to install them now? > No / Yes
Choose the Yes option to install the dependencies with npm.
If you are asked to install extra packages, choose yes.
After completing all the prompts, you’ll notice that a file named .eslintrc.json has been added to your vscode-eslint-example directory. ESLint is now installed. The code in app.js has not changed yet. This is because ESLint needs to be integrated with Visual Studio Code.
To integrate ESLint into Visual Studio Code, you will need to install the ESLint extension for Visual Studio Code. Navigate back to Visual Studio Code and search for ESLint in the Extensions tab. Click Install once you have located the extension:
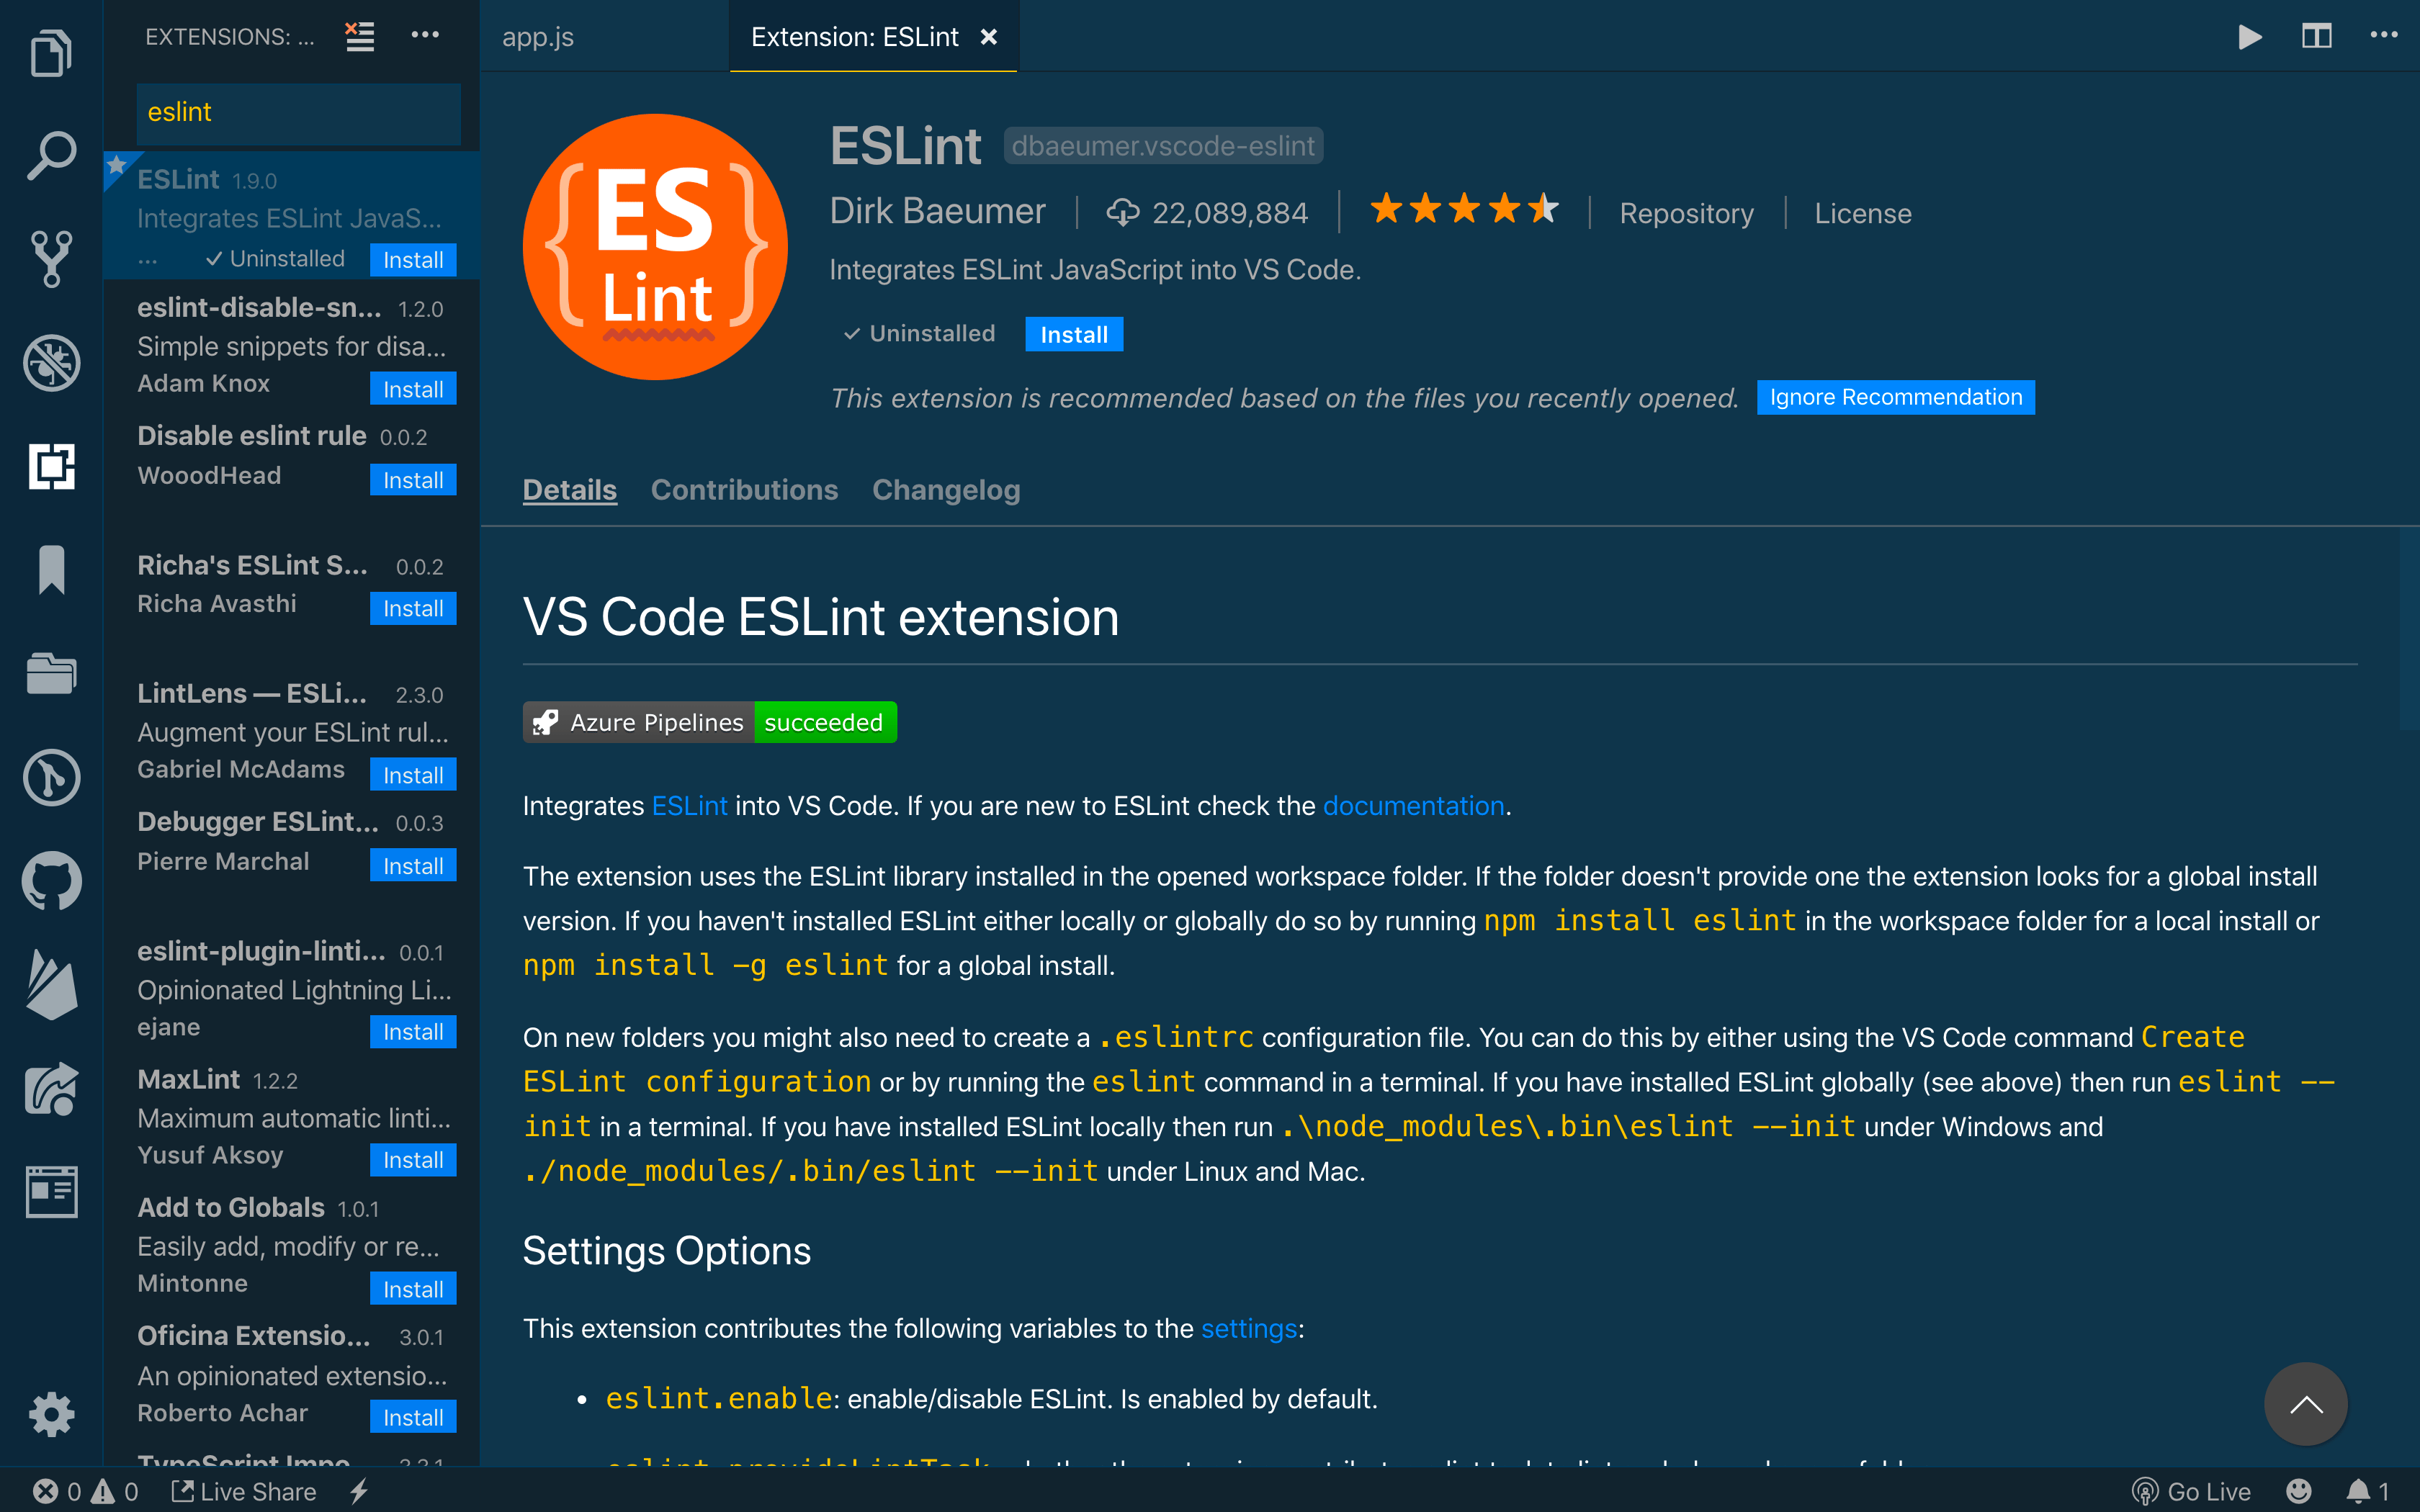
Once ESLint is installed in Visual Studio Code, you’ll notice colorful underlining in your app.js file highlighting errors. These markers are color-coded based on severity. If you hover over your underlined code, you will see a message that explains the error to you. In this way, ESLint helps us find and remove code and syntax errors.
ESLint can do even more for you. ESLint can be modified to automatically fix errors every time a file is saved.
To configure ESLint to automatically fix syntax and formatting issues every time you save, you will need to open the settings menu.
To find the settings in Visual Studio Code, use the command palette to open Preferences: Open User Settings (JSON).
The settings.json file will open inside your code editor. For ESLint to fix errors when you save your file, you will need to write the following code in settings.json:
.vscode/settings.json
{
    "editor.codeActionsOnSave": {
        "source.fixAll.eslint": true
    },
    "eslint.validate": ["javascript"]
}
With this code in your settings.json file, ESLint will now automatically correct errors and validate JavaScript on save.
If you want a copy paste ready example that also covers React and TypeScript files, you can use the following VS Code settings:
{
  "editor.codeActionsOnSave": {
    "source.fixAll.eslint": true
  },
  "eslint.validate": [
    "javascript",
    "javascriptreact",
    "typescript",
    "typescriptreact"
  ]
}
Return to your app.js file and save it. You will see some changes, including less colorful underlining. Some of the formatting issues that ESLint has fixed include:
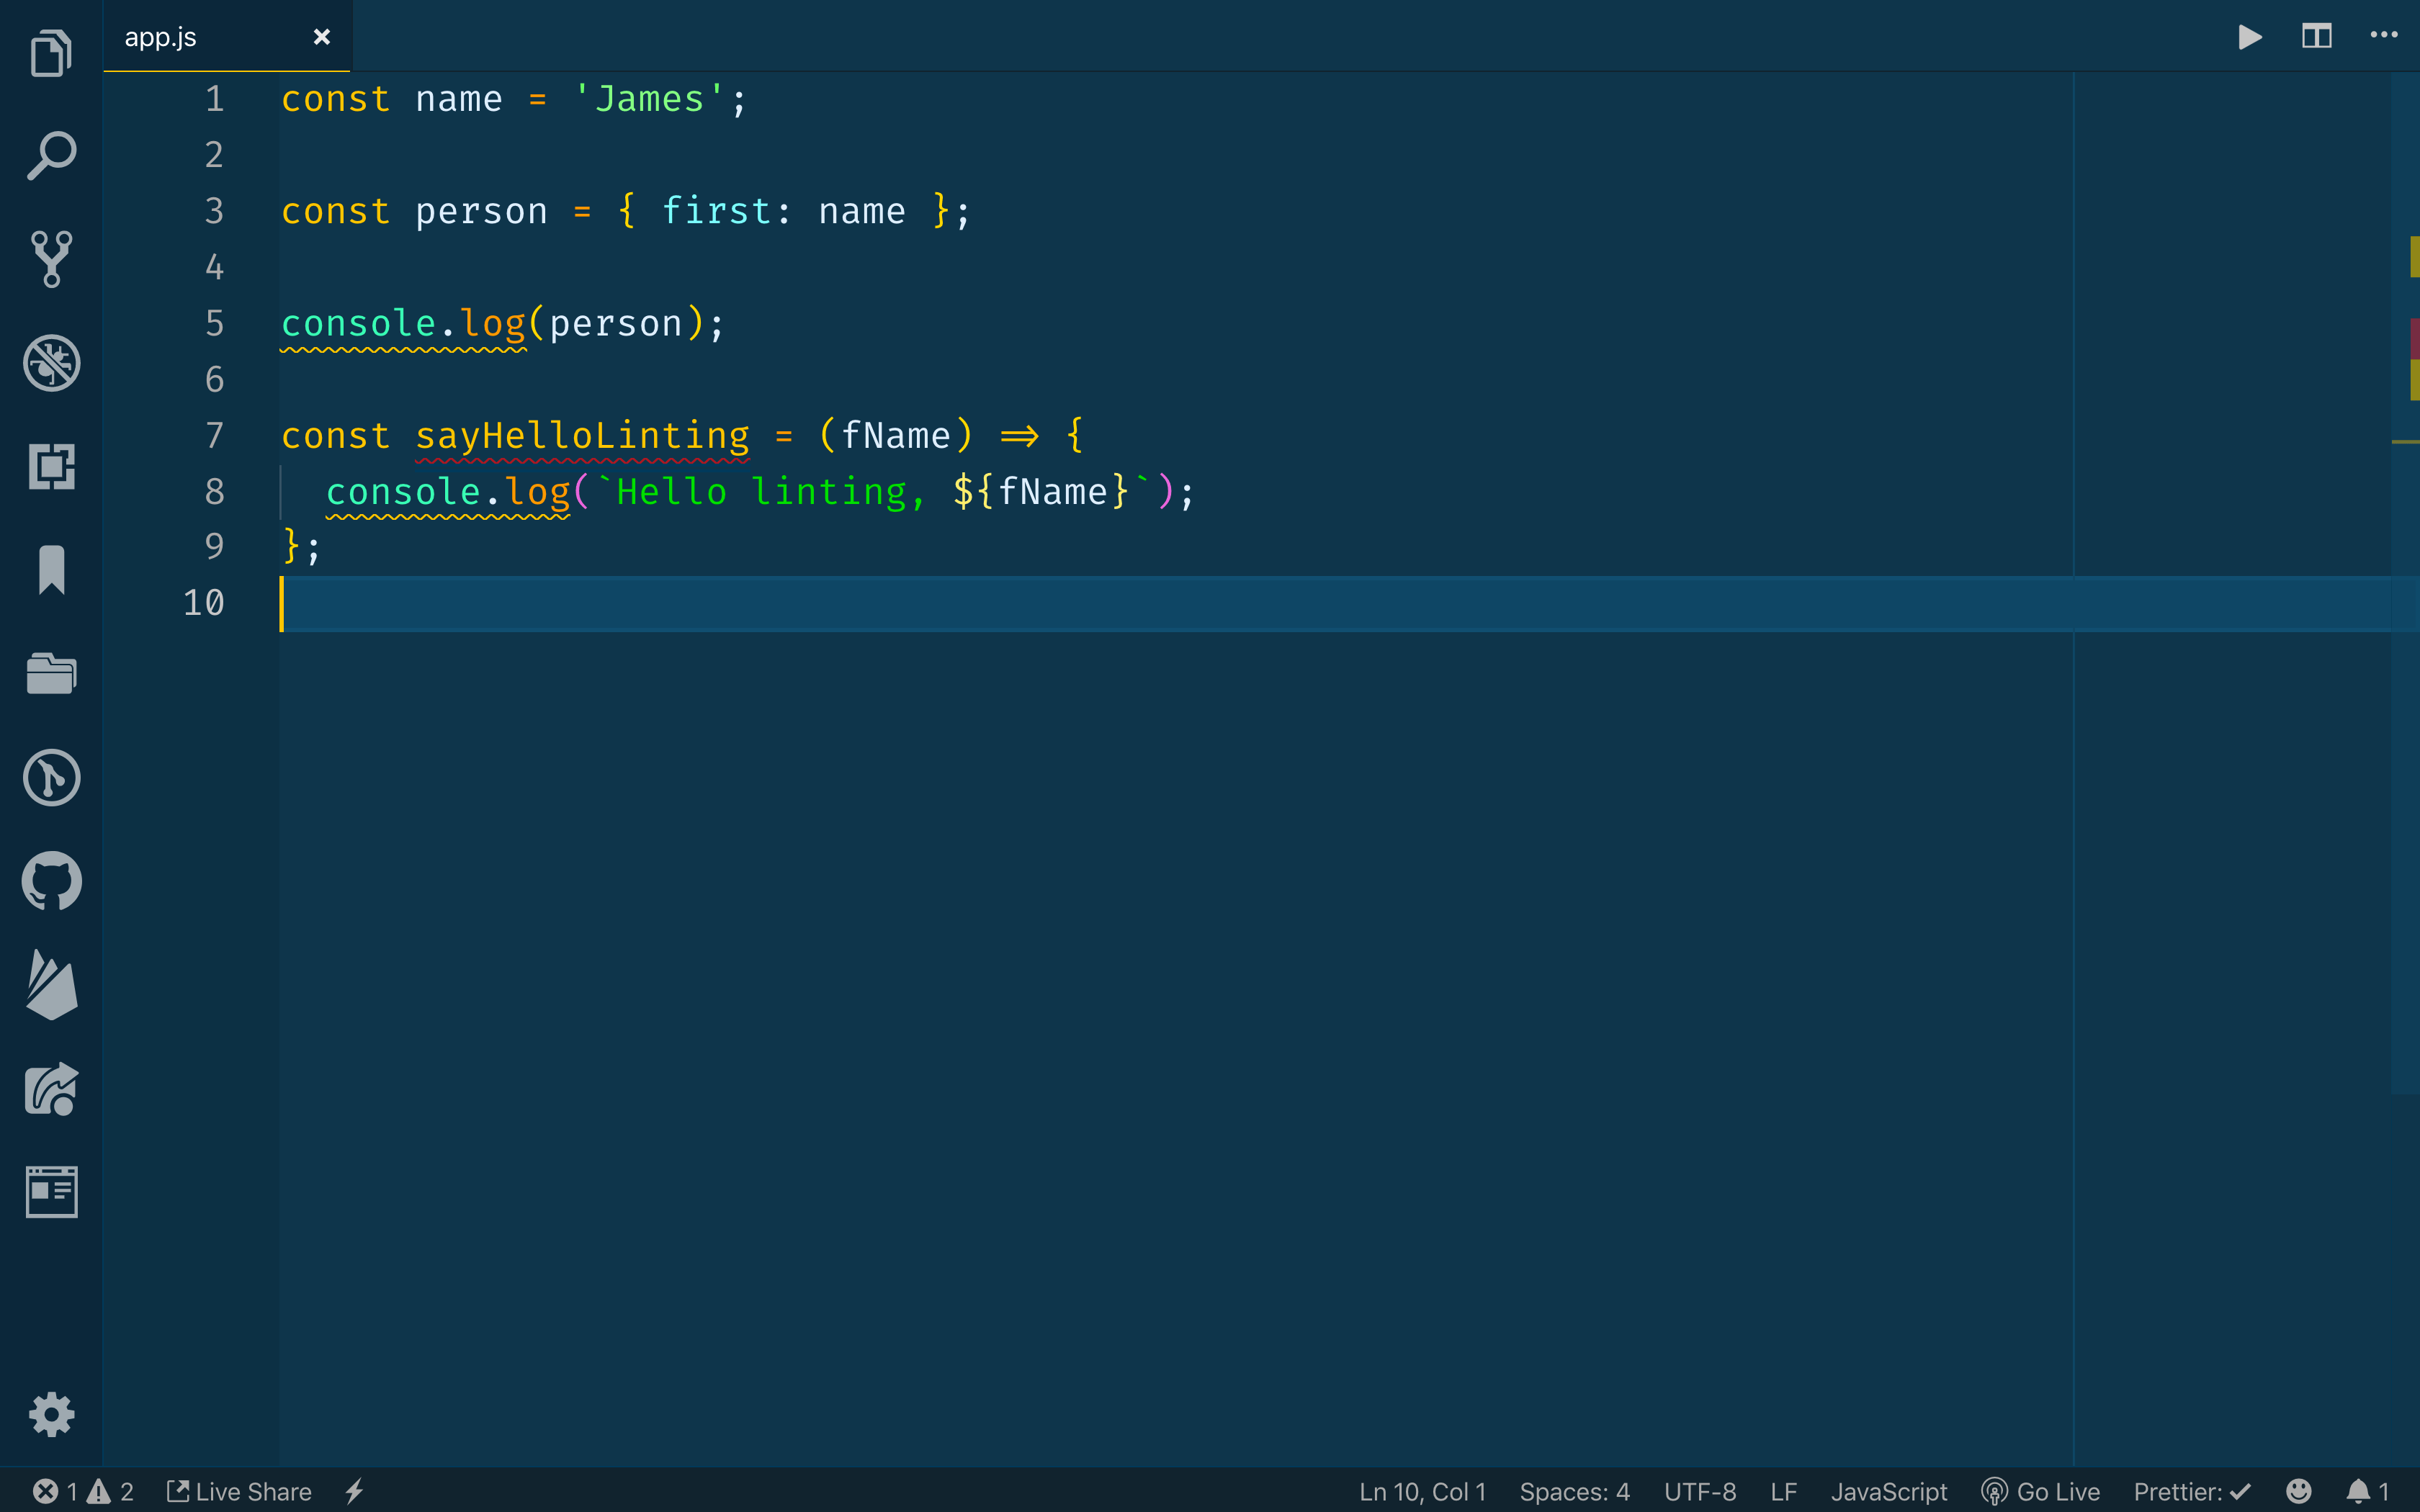
ESLint will now automatically solve syntax errors whenever you save app.js. There are still some remaining error messages. These can be fixed by customizing the ESLint configuration to catch or ignore specific errors and formatting issues.
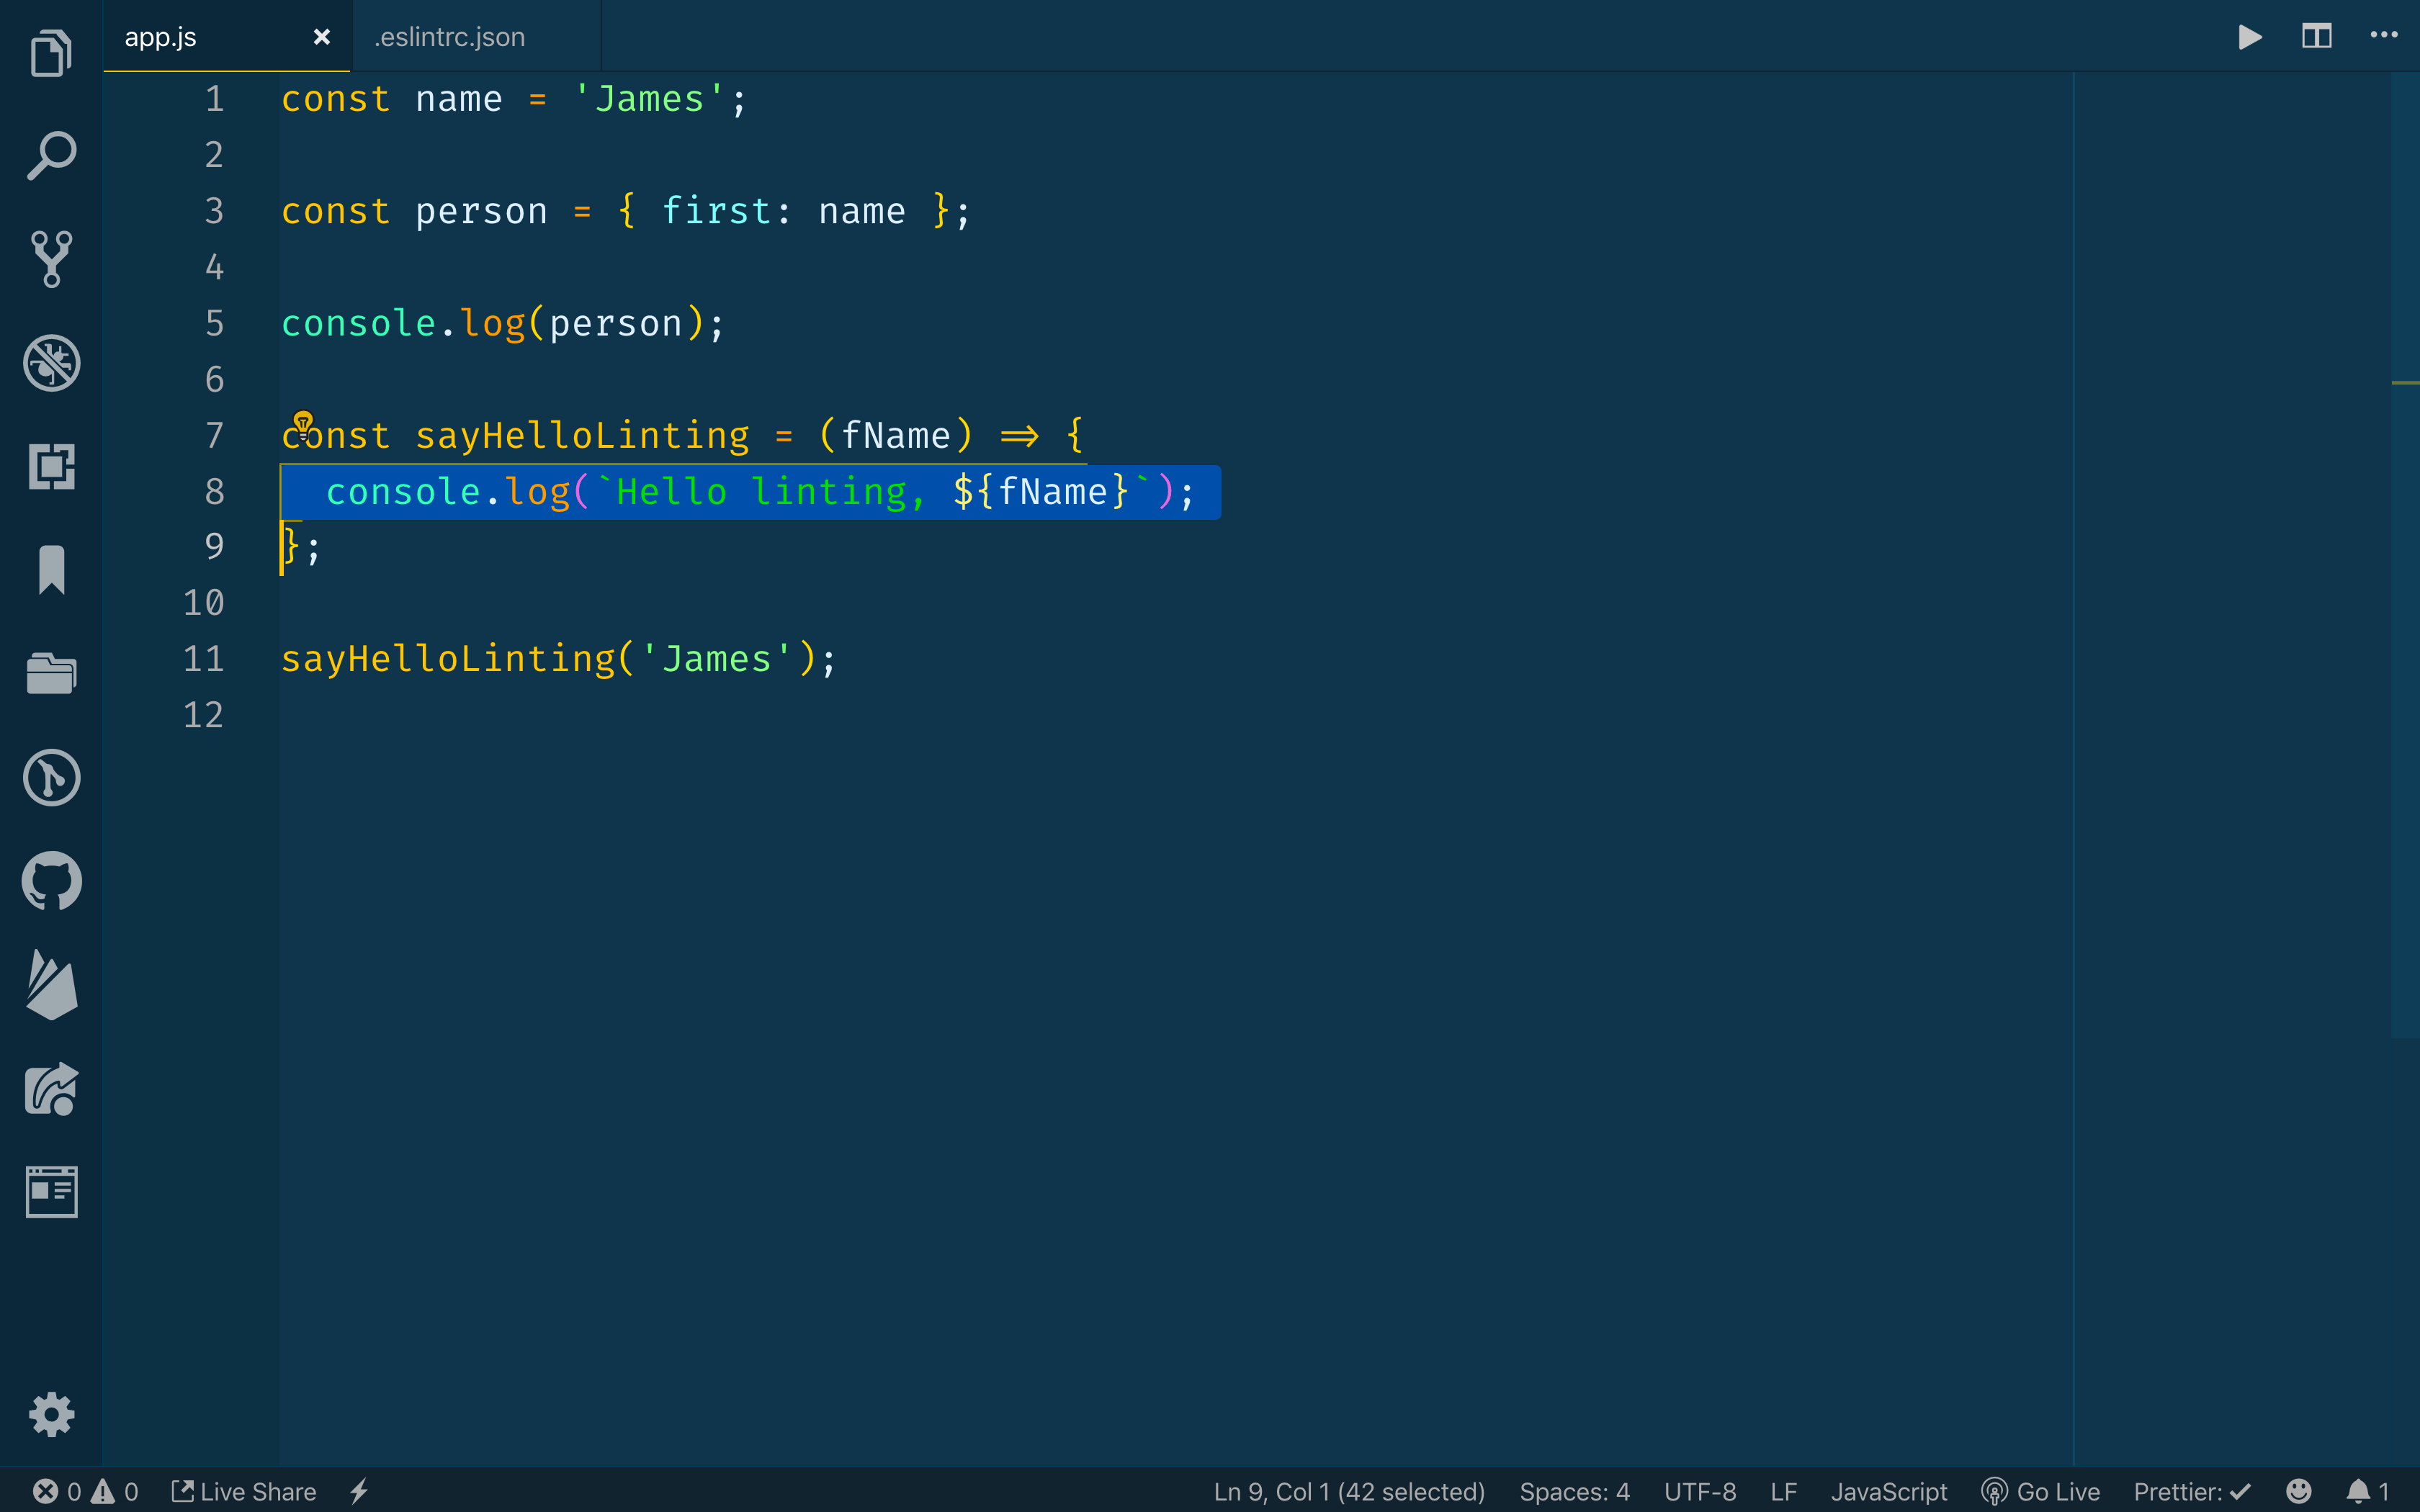
As is, ESLint produces a highlighted message for all console.log() statements in app.js. In some cases, removing console.log statements may not be a priority. You can customize the ESLint configuration to allow console.log statements without producing an error message. ESLint configuration rules can be modified in the .eslintrc.json file.
If you cannot find the .eslintrc.json configuration file within your installation, your project may already be using the newer flat config format introduced in ESLint v9, which stores configuration in an eslint.config.js file. Both .eslintrc files and eslint.config.js are supported, but new projects created with recent ESLint versions default to the flat config file.
Open up the .eslintrc.json file. This is the code you will see in that file:
.eslintrc.json
{
    "env": {
        "browser": true,
        "commonjs": true,
        "es2021": true
    },
    "extends": [
        "airbnb-base"
    ],
    "parserOptions": {
        "ecmaVersion": 12
    },
    "rules": {
    }
}
At the bottom of the .eslintrc.json file, you will see a "rules" object. To customize the errors that trigger ESLint or to disable ESLint’s response to certain pieces of code, you will add key-value pairs to the "rules" object. The key will match the name of the rule you want to add or change. The value will match the severity level of the issue. You have three choices for severity level:
error - produces a red underlinewarn - will produce a yellow underlineoff - will not display anything.If you do not want to produce any error messages for console.log statements, you can use the no-console rule name as the key. Input off as the value for no-console:
.eslintrc.json
"rules" : {
    "no-console": "off"
}
This removes the error messages from your console.log statements in app.js:
Some rules require multiple pieces of information, including a severity level and a value. To specify the type of quotes you want to use in your code, you have to pass in both the chosen type of quotes and the severity level:
.eslintrc.json
"rules" : {
    "no-console": "off",
    "quotes": [
        "error",
        "double"
    ]
}
Now, if you include single quotes in your quote, ESLint will raise an error.
eslint.config.jsIf your project uses the flat config system, you can apply similar rules in an eslint.config.js file. A minimal modern flat config might look like this:
// eslint.config.js
import { defineConfig } from "eslint/config";

export default defineConfig([
  {
    rules: {
      semi: "error",
      "prefer-const": "error"
    }
  }
]);
You can extend this configuration with additional options, including languageOptions, plugins, and more complex rules objects. The key idea is that ESLint v9 and later expect configuration to come from an exported array of configuration objects, and Visual Studio Code will read eslint.config.js automatically when you run the ESLint extension.
ESLint is a linter that focuses on code quality issues such as unused variables, unsafe patterns, or inconsistent syntax, while Prettier is an opinionated code formatter that focuses on making your code style consistent. In Visual Studio Code, you can choose to use ESLint alone to handle both linting and basic formatting, or you can combine ESLint with Prettier so that each tool does what it does best.
If you only enable ESLint, the editor.codeActionsOnSave setting you added in the previous step will use ESLint rules to both catch problems and apply auto fixes. This can be enough for smaller projects or when you want to keep your toolchain simple.
For teams that want strict separation between formatting and lint rules, a common pattern is to use ESLint for semantics and Prettier for layout. In that setup, you install prettier, eslint-config-prettier, and eslint-plugin-prettier as development dependencies and extend plugin:prettier/recommended in your ESLint configuration. ESLint continues to run in VS Code, but formatting decisions come from Prettier and ESLint avoids rules that would conflict with Prettier.
Because Prettier does not check code quality by itself, it usually does not replace ESLint completely. Instead, most projects run Prettier alongside ESLint so that you keep both consistent formatting and reliable linting in Visual Studio Code.
To enable ESLint in VS Code, first install ESLint in your project and then install the official ESLint extension from the Extensions Marketplace. Next, add an ESLint configuration file such as .eslintrc.json or eslint.config.js to your project root. VS Code will detect the configuration and start linting your files automatically after you reload the editor window.
Once you have installed ESLint locally, you can run it from the integrated terminal with a command such as npx eslint . to lint all files in your project, or npx eslint app.js to target a specific file. This is useful when you want to double check your project or run ESLint in a continuous integration workflow in addition to seeing inline errors in the editor.
To format code on save with ESLint, add the following to your VS Code settings.json file: "editor.codeActionsOnSave": {"source.fixAll.eslint": true} and "eslint.validate": ["javascript"]. With these settings and the ESLint extension installed, saving a file will trigger ESLint to apply all available auto fixes and formatting changes.
You can combine ESLint and Prettier by installing prettier, eslint-config-prettier, and eslint-plugin-prettier as development dependencies and then extending plugin:prettier/recommended in your ESLint configuration. In this setup, ESLint enforces code quality rules while delegating formatting concerns to Prettier, and VS Code can still trigger all fixes on save through the ESLint extension.
If ESLint is not reporting problems in Visual Studio Code, first confirm that the ESLint extension is installed and enabled, then check that your workspace includes a configuration file such as .eslintrc.json or eslint.config.js. You should also verify that the eslint.validate setting includes the language you are working in, for example "javascript" or "typescript", so that the extension knows which files to lint.
Yes. To use ESLint with TypeScript, install the TypeScript ESLint tooling (typescript, typescript-eslint/parser, and @typescript-eslint/eslint-plugin) and configure ESLint to use the TypeScript parser and plugin in your config file. Then add "typescript" and "typescriptreact" to your eslint.validate array in VS Code so that the ESLint extension also runs on .ts and .tsx files.
This tutorial introduces some of what you can do with linting using ESLint on Visual Studio Code. Linting tools like ESLint can help create time for more complex tasks by automating and simplifying how you verify syntax and best practices.
If you would like more information about rules and what key-value pairs you can use to customize your ESLint rules, you can check out this documentation.
To go deeper with ESLint in Visual Studio Code, you can continue with the DigitalOcean tutorials How To Enable Linting on Save with Visual Studio Code and ESLint and Syndicating ESLint: Configure Once, Extend Everywhere. When you are ready to deploy your JavaScript applications, try hosting them on DigitalOcean App Platform or another DigitalOcean product that fits your stack.
 This work is licensed under a Creative Commons Attribution-NonCommercial- ShareAlike 4.0 International License.
此内容由惯性聚合(RSS阅读器)自动聚合整理,仅供阅读参考。 原文来自 — 版权归原作者所有。