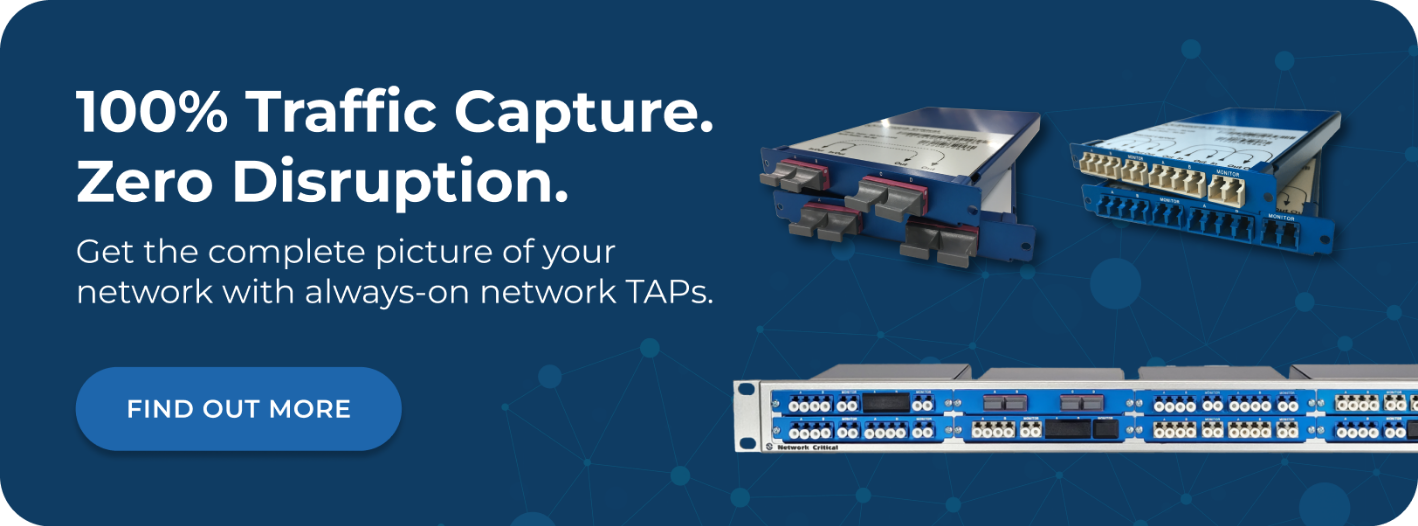
Deploying a network Test Access Point (Network TAP) is one of the most effective ways to gain complete, reliable visibility into your network traffic. But for many network teams, the question isn't whether to deploy a TAP – it's how to do it without causing downtime or disrupting the production environment. The good news is that, with the right preparation and the right TAP technology, you can achieve full visibility with minimal risk. A network TAP works by connecting directly to a network link and copying all traffic to your monitoring and security tools. Unlike Switch Port Analyzer (SPAN) ports, a TAP captures every packet including errors, without impacting network performance. The deployment process does require a brief link interruption on copper Ethernet networks, but for passive fiber TAPs, installation is often completely non-disruptive once the fiber split is in place. This guide walks you through every stage of a TAP deployment, from planning and TAP selection through to post-installation verification. Follow these steps and you'll have complete traffic visibility in place with the least possible impact on your production environment. Rushing a TAP installation without proper planning is where most disruptions happen. A well-structured plan eliminates surprises and lets your team execute the installation quickly and confidently. Before you order hardware or schedule a maintenance window, you need a clear picture of what you're tapping. Document the following for each target link: Getting this documentation right upfront saves significant time during the actual installation window. Not all TAPs deploy the same way. Choosing the right type for your environment is the single most important decision in the planning process. The three primary TAP categories are: Matching the TAP type to your media and use case is essential before any deployment begins. For copper Ethernet TAPs and bypass deployments, you'll need a short window to interrupt the link. The goal is to minimize that window to seconds, not minutes. A common misconception is that TAP installation causes extended downtime. In practice, the physical interruption on a copper link is just the time it takes to unplug two cables and plug in the TAP. With a pre-staged TAP and pre-cut patch cables, this takes under a minute. Plan your window around: The more you prepare before the maintenance window, the shorter the actual disruption. Complete the following tasks in advance: With everything staged, the only step left during the maintenance window is the cable swap on the live link. Passive fiber TAPs are the least disruptive TAP type to deploy because there's no electronic insertion into the data path. The installation process centers on how you physically route the fiber. Before patching in a passive fiber TAP, check that your fiber link has enough optical power to absorb the split ratio. A passive TAP divides the light signal between the network link and the monitor port. Network Critical offers split ratios including 50:50, 60:40, and 70:30, giving you flexibility to preserve the majority of optical power on the live network path where the link budget is tight. Use an Optical Power Meter (OPM) to measure the current received optical power at each end of the link. Then factor in the insertion loss of the TAP (as low as 1.3 dB on Network Critical passive fiber TAPs) to confirm the link will remain within acceptable margins after installation. With the optical budget confirmed, the physical installation steps are: Because there are no electronics in the data path of a passive fiber TAP, traffic continues to flow normally throughout this process on most passive designs. The physical connection swap takes seconds per fiber strand. Once connected, confirm your monitoring tool is receiving traffic. You should see both transmit and receive streams arriving separately, as passive fiber TAPs pass full-duplex traffic on separate channels. Check for expected packet rates and confirm you're seeing the traffic types you anticipated. Copper Ethernet TAPs require a brief link interruption to insert the device between the two network endpoints. The key is minimizing that interruption through preparation. With the TAP chassis already rack-mounted and powered up, prepare your cable runs before the window opens: During your scheduled window: On most copper networks, the link re-establishment happens within a few seconds of the cables being seated. If you're using Network Critical's failsafe copper TAP modules (Fastfail™), the design ensures no point of failure, with no batteries required. After the swap: Bypass TAPs serve a specific purpose: protecting your production network when inline security appliances fail. Deploying one requires inserting the bypass TAP between the network link and the security tool. Bypass TAPs use a heartbeat signal to monitor whether the connected inline security appliance is functioning. The bypass TAP continuously sends test packets through the appliance. If the appliance stops responding, the bypass TAP automatically reroutes network traffic around it, maintaining connectivity. When the appliance comes back online, the bypass TAP returns traffic to the normal path. This automatic failover is what makes bypass TAPs essential for high-availability networks. You can perform maintenance on your inline security tools without scheduling a network downtime window. To deploy a bypass TAP inline: The SmartNA-XL™ from Network Critical supports bypass TAP modules with automatic failover, dual hot-swappable power supplies, and modular chassis options supporting 1G/10G/40G speeds. This lets you protect multiple inline tools from a single chassis. Deploying a single TAP is straightforward. Managing dozens of TAPs across a distributed network is a different challenge. This is where centralized management becomes essential. As your TAP deployment grows, manual configuration of each device becomes error-prone and time-consuming. Tracking which monitor ports connect to which tools, applying filter rules across multiple TAPs, and reconfiguring the topology when tools change all require a management approach that scales. The common problems teams encounter without centralized management include: Network Critical's Drag-n-Vu™ management interface addresses these challenges directly. It provides a graphical drag-and-drop interface that lets you configure filters, map ports, and manage traffic flows across multiple TAPs and packet brokers from a single pane of glass. Key capabilities include: For teams managing TAP deployments at scale, Drag-n-Vu reduces the time and risk of change management significantly. Even experienced network engineers can encounter avoidable problems during TAP deployments. Understanding the most common mistakes helps you sidestep them. On passive fiber TAPs, selecting the wrong split ratio can drop the received optical power below the sensitivity threshold of your monitoring tool. If you allocate too much light to the monitor port, the live network link may degrade. Always calculate the optical budget before selecting your split ratio. On copper Ethernet TAPs, the TAP must support the speed and duplex negotiated between the two connected devices. Deploying a 1G TAP on a link operating at 10G will break the connection. Verify the link speed and use a TAP rated for that speed or higher. TAP installations often stall because of physical constraints that weren't identified during planning. Common issues include: Conducting a physical site survey before the maintenance window eliminates these surprises. A TAP installation is only half the job. If your network monitoring tool isn't configured to receive traffic on the expected interface before the window opens, you'll burn time troubleshooting tool configuration during the maintenance window. Always confirm your network monitoring tool is ready to receive traffic before you begin. Once installation is complete, a structure d verification process confirms everything is working correctly before you close the change record. Check the following on the production link: On the monitoring side: Update your network documentation with: Good documentation is what makes your second and third TAP deployments faster than the first. For passive fiber TAPs, the installation is typically non-disruptive on most fiber link designs, as you're only patching fiber connections. For copper Ethernet TAPs, a brief link interruption is required – usually under a minute with a well-staged installation. Bypass TAPs require the same brief interruption as copper TAPs, but once deployed they protect network continuity by automatically bypassing failed inline tools. Passive fiber TAPs use optical splitters to divide the light signal on fiber links. They have no electronic components in the data path, require no power, and introduce zero latency. Active Ethernet TAPs regenerate the electrical signal on copper links and require power, but offer additional capabilities such as aggregation, filtering, and traffic manipulation when deployed in a modular chassis. A basic TAP provides one or two monitor ports for direct tool connections. For feeding multiple tools from a single tap point, a hybrid TAP and packet broker solution (such as Network Critical's SmartNA or SmartNA-XL) combines the TAP access point with intelligent traffic distribution, letting you send the same traffic to multiple tools simultaneously with per-tool filtering. Modular chassis-based TAPs make expansion straightforward. Network Critical's SmartNA series supports hot-swap TAP modules, letting you add tapping capacity by inserting a new module into an available chassis slot. No re-cabling of the chassis itself is required. Passive fiber TAPs have no electronics in the data path, so there's nothing to fail in a way that disrupts network traffic. Active copper TAPs from Network Critical use failsafe designs (Fastfail™ modules) that maintain the network link even if the TAP loses power, with no batteries required. Bypass TAPs are purpose-built for this scenario, automatically rerouting traffic around any failed inline component. Deploying network TAPs correctly from the start saves significant time and reduces risk over the lifetime of your visibility infrastructure. We've been helping organizations achieve complete network visibility since 1997, and our product range covers every deployment scenario from simple single-link tapping to complex multi-site visibility architectures. Our passive fiber TAPs deliver always-on monitoring with zero power dependency and insertion loss as low as 1.3 dB, making them ideal for high-speed production fiber links where disruption cannot be tolerated. For copper environments, our active Ethernet TAPs use failsafe Fastfail™ technology to protect network uptime, and our modular chassis designs mean you can expand your TAP footprint simply by adding hot-swap modules. For teams managing TAPs at scale, the SmartNA-XL™ combines TAP access with full packet broker functionality in a single 1RU chassis, supporting 1G/10G/40G speeds with advanced features including filtering, aggregation, load balancing, and the Drag-n-Vu™ management interface. Whether you're deploying your first TAP or building out a complete visibility architecture across multiple sites, our team can help you design an approach that delivers complete coverage with the least possible impact on your production network.
Why TAP Deployment Planning Matters
Know Your Network Before You Start
Identify the Right TAP Type for Each Link
How to Plan Your Maintenance Window
Calculate Your Actual Downtime Requirement
Stage Everything Before the Window Opens
Passive Fiber TAP Installation: A Step-by-Step Guide
Step 1: Verify Optical Power Budget
Step 2: Install the TAP Inline on the Fiber Link
Step 3: Verify Traffic on the Monitor Port
Active Ethernet TAP Installation: A Step-by-Step Guide
Step 1: Prepare the TAP and Cables in Advance
Step 2: Execute the Cable Swap During the Maintenance Window
Step 3: Verify Link and Monitor Traffic
Bypass TAP Deployment for Inline Security Tools
Understanding the Heartbeat Mechanism
Deployment Steps for Inline Tool Protection
Managing Multiple TAPs with a Central Interface
The Challenge of Scale
Using Drag-n-Vu for TAP Management
Common Installation Mistakes and How to Avoid Them
Incorrect Split Ratio Selection
Mismatched Speed or Duplex Settings
Insufficient Rack Space or Cable Length
No Pre-Verification of Monitoring Tool Readiness
Post-Deployment Verification Checklist
Verify the Network Link
Verify the Monitor Port
Document the Completed Deployment
Frequently Asked Questions
Does Installing a Network TAP Cause Network Downtime?
What's the Difference Between a Passive Fiber TAP and an Active Ethernet TAP?
How Many Tools Can I Connect to a Single TAP?
Can I Add More TAPs Without Re-Cabling?
What Happens to Network Traffic if the TAP Fails?
How Network Critical Can Help