






3.1 相关概念
3.1.1 单机 & 集群
单台 Elasticsearch 服务器提供服务,往往都有最大的负载能力,超过这个阈值,服务器性能就会大大降低甚至不可用,所以生产环境中,一般都是运行在指定服务器集群中。
除了负载能力,单点服务器也存在其他问题:
配置服务器集群时,集群中节点数量没有限制,大于等于 2 个节点就可以看做是集群了。一般出于高性能及高可用方面来考虑集群中节点数量都是 3 个以上。
3.1.2 集群 Cluster
一个集群就是由一个或多个服务器节点组织在一起,共同持有整个的数据,并一起提供索引和搜索功能。一个 Elasticsearch 集群有一个唯一的名字标识,这个名字默认就
是”elasticsearch”。这个名字是重要的,因为一个节点只能通过指定某个集群的名字,来加入这个集群。
3.1.3 节点 Node
集群中包含很多服务器,一个节点就是其中的一个服务器。作为集群的一部分,它存储数据,参与集群的索引和搜索功能。
一个节点也是由一个名字来标识的,默认情况下,这个名字是一个随机的漫威漫画角色的名字,这个名字会在启动的时候赋予节点。这个名字对于管理工作来说挺重要的,因为在
这个管理过程中,你会去确定网络中的哪些服务器对应于 Elasticsearch 集群中的哪些节点。
一个节点可以通过配置集群名称的方式来加入一个指定的集群。默认情况下,每个节点都会被安排加入到一个叫做“elasticsearch”的集群中,这意味着,如果你在你的网络中启动了
若干个节点,并假定它们能够相互发现彼此,它们将会自动地形成并加入到一个叫做“elasticsearch”的集群中。
在一个集群里,只要你想,可以拥有任意多个节点。而且,如果当前你的网络中没有运行任何 Elasticsearch 节点,这时启动一个节点,会默认创建并加入一个叫做“elasticsearch”的
集群。
3.2 Windows 集群
3.2.1 部署集群
1) 创建 elasticsearch-cluster 文件夹,在内部复制三个 elasticsearch 服务

2) 修改集群文件目录中每个节点的 config/elasticsearch.yml 配置文件
#节点 1 的配置信息:
#集群名称,节点之间要保持一致
cluster.name: my-elasticsearch
#节点名称,集群内要唯一
node.name: node-1001
node.master: true
node.data: true
#ip 地址
network.host: localhost
#http 端口
http.port: 1001
#tcp 监听端口
transport.tcp.port: 9301
#discovery.seed_hosts: ["localhost:9301", "localhost:9302","localhost:9303"]
#discovery.zen.fd.ping_timeout: 1m
#discovery.zen.fd.ping_retries: 5
#集群内的可以被选为主节点的节点列表
#cluster.initial_master_nodes: ["node-1", "node-2","node-3"]
#跨域配置
#action.destructive_requires_name: true
http.cors.enabled: true
http.cors.allow-origin: "*"
#节点 2 的配置信息:
#集群名称,节点之间要保持一致
cluster.name: my-elasticsearch
#节点名称,集群内要唯一
node.name: node-1002
node.master: true
node.data: true
#ip 地址
network.host: localhost
#http 端口
http.port: 1002
#tcp 监听端口
transport.tcp.port: 9302
discovery.seed_hosts: ["localhost:9301"]
discovery.zen.fd.ping_timeout: 1m
discovery.zen.fd.ping_retries: 5
#集群内的可以被选为主节点的节点列表
#cluster.initial_master_nodes: ["node-1", "node-2","node-3"]
#跨域配置
#action.destructive_requires_name: true
http.cors.enabled: true
http.cors.allow-origin: "*"
#节点 3 的配置信息:
#集群名称,节点之间要保持一致
cluster.name: my-elasticsearch
#节点名称,集群内要唯一
node.name: node-1003
node.master: true
node.data: true
#ip 地址
network.host: localhost
#http 端口
http.port: 1003
#tcp 监听端口
transport.tcp.port: 9303
#候选主节点的地址,在开启服务后可以被选为主节点
discovery.seed_hosts: ["localhost:9301", "localhost:9302"]
discovery.zen.fd.ping_timeout: 1m
discovery.zen.fd.ping_retries: 5
#集群内的可以被选为主节点的节点列表
#cluster.initial_master_nodes: ["node-1", "node-2","node-3"]
#跨域配置
#action.destructive_requires_name: true
http.cors.enabled: true
http.cors.allow-origin: "*"
3.2.2 启动集群
1) 启动前先删除每个节点中的 data 目录中所有内容(如果存在)
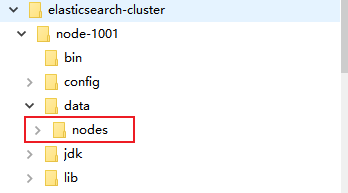
2) 分别双击执行 bin/elasticsearch.bat, 启动节点服务器,启动后,会自动加入指定名称的集群

3.2.3 测试集群
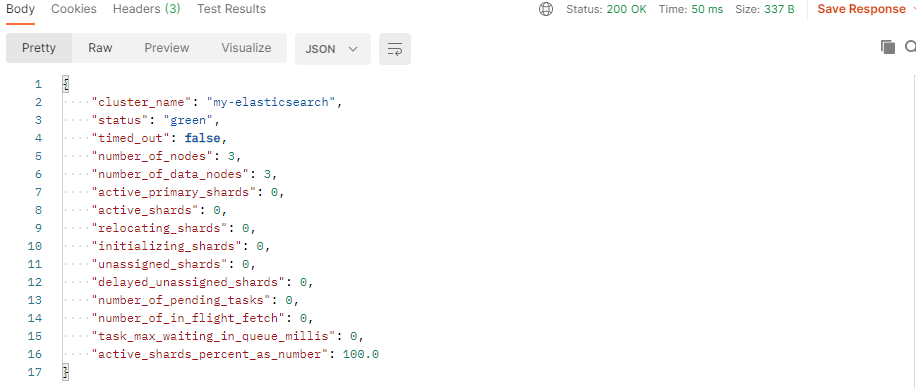
查看集群状态


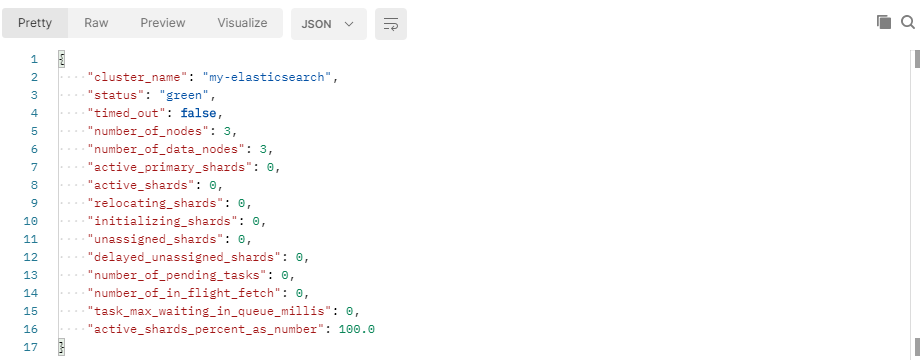

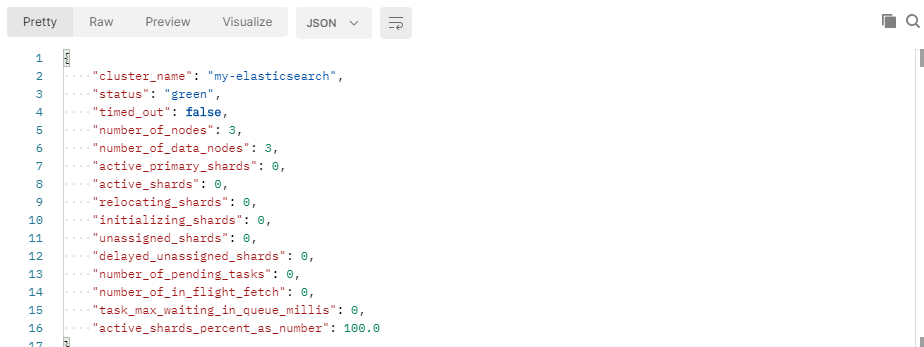
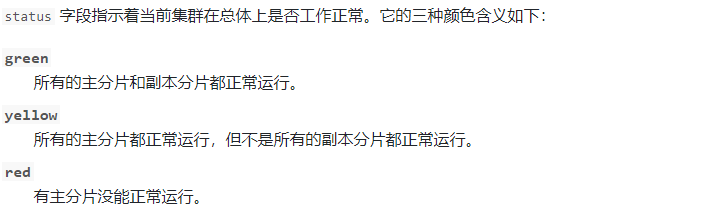
向集群中的 node-1001 节点增加索引


向集群中的 node-1002 节点查询索引



3.3.2 软件安装
1) 解压软件
将下载的软件解压缩
# 解压缩
tar -zxvf elasticsearch-7.8.0-linux-x86_64.tar.gz -C /opt/module
# 改名
mv elasticsearch-7.8.0 es
2) 创建用户
因为安全问题,Elasticsearch 不允许 root 用户直接运行,所以要创建新用户,在 root 用户中创建新用户
useradd es #新增 es 用户
passwd es #为 es 用户设置密码
userdel -r es #如果错了,可以删除再加
chown -R es:es /opt/module/es #文件夹所有者
3) 修改配置文件
修改 /opt/module/es/config/elasticsearch.yml 文件
# 加入如下配置
cluster.name: elasticsearch
node.name: node-1
network.host: 0.0.0.0
http.port: 9200
cluster.initial_master_nodes: ["node-1"]
修改/etc/security/limits.conf
# 在文件末尾中增加下面内容
# 每个进程可以打开的文件数的限制
es soft nofile 65536
es hard nofile 65536
修改/etc/security/limits.d/20-nproc.conf
# 在文件末尾中增加下面内容
# 每个进程可以打开的文件数的限制
es soft nofile 65536
es hard nofile 65536

# 操作系统级别对每个用户创建的进程数的限制
* hard nproc 4096
# 注:* 带表 Linux 所有用户名称
修改/etc/sysctl.conf
# 在文件中增加下面内容
# 一个进程可以拥有的 VMA(虚拟内存区域)的数量,默认值为 65536
vm.max_map_count=655360
重新加载
3.3.3 启动软件
使用 ES 用户启动
cd /opt/module/es/
#启动
bin/elasticsearch
#后台启动
bin/elasticsearch -d
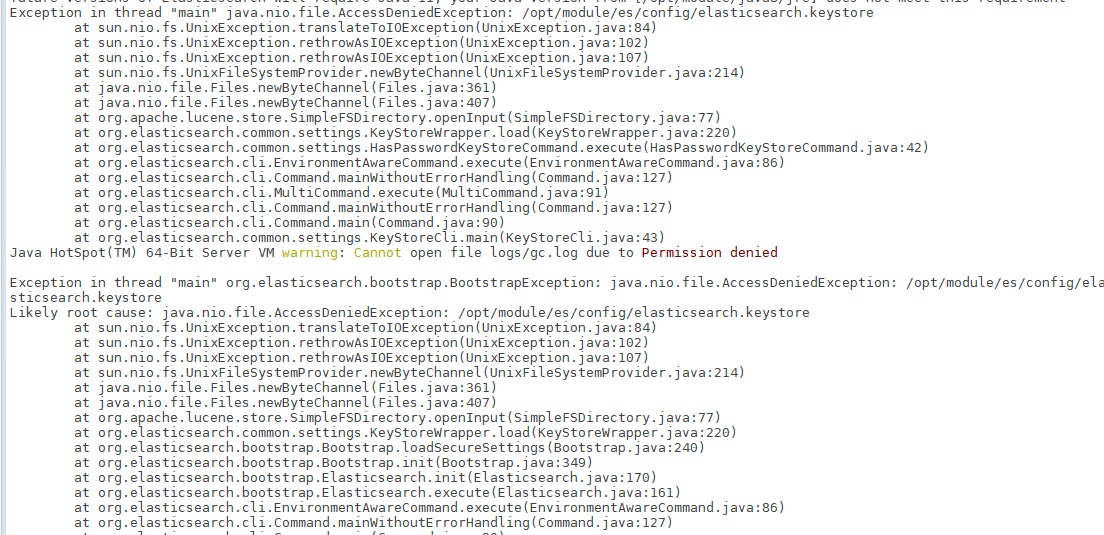
启动时,会动态生成文件,如果文件所属用户不匹配,会发生错误,需要重新进行修改用户和用户组
关闭防火墙
#暂时关闭防火墙
systemctl stop firewalld
#永久关闭防火墙
systemctl enable firewalld.service #打开放货抢永久性生效,重启后不会复原
systemctl disable firewalld.service #关闭防火墙,永久性生效,重启后不会复原
3.3.3 测试软件
浏览器中输入地址:http://linux1:9200/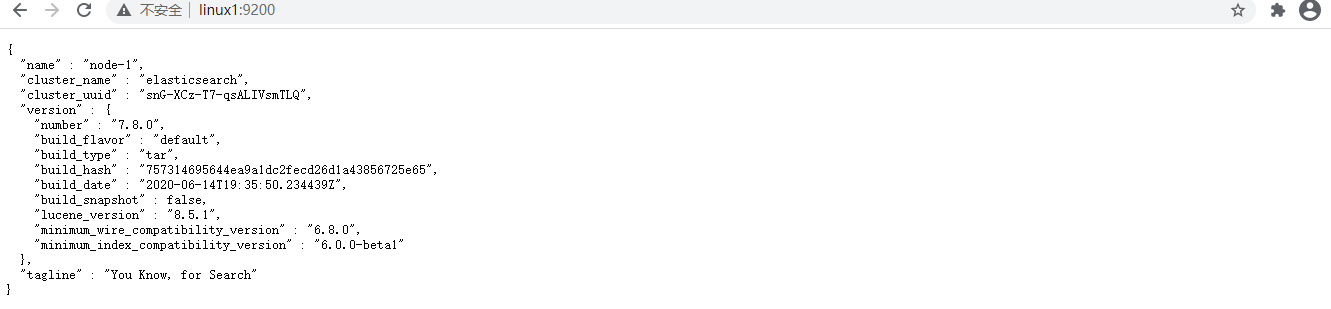
3.4 Linux 集群
3.4.1 软件下载
软件下载地址:https://www.elastic.co/cn/downloads/past-releases/elasticsearch-7-8-0

3.4.2 软件安装
1) 解压软件
将下载的软件解压缩
# 解压缩
tar -zxvf elasticsearch-7.8.0-linux-x86_64.tar.gz -C /opt/module
# 改名
mv elasticsearch-7.8.0 es-cluster
将软件分发到其他节点:linux2, linux3
2) 创建用户
因为安全问题,Elasticsearch 不允许 root 用户直接运行,所以要在每个节点中创建新用户,在 root 用户中创建新用户
useradd es #新增 es 用户
passwd es #为 es 用户设置密码
userdel -r es #如果错了,可以删除再加
chown -R es:es /opt/module/es-cluster #文件夹所有者
3) 修改配置文件
修改/opt/module/es/config/elasticsearch.yml 文件,分发文件
# 加入如下配置
#集群名称
cluster.name: cluster-es
#节点名称,每个节点的名称不能重复
node.name: node-1
#ip 地址,每个节点的地址不能重复

network.host: linux1
#是不是有资格主节点
node.master: true
node.data: true
http.port: 9200
# head 插件需要这打开这两个配置
http.cors.allow-origin: "*"
http.cors.enabled: true
http.max_content_length: 200mb
#es7.x 之后新增的配置,初始化一个新的集群时需要此配置来选举 master
cluster.initial_master_nodes: ["node-1"]
#es7.x 之后新增的配置,节点发现
discovery.seed_hosts: ["linux1:9300","linux2:9300","linux3:9300"]
gateway.recover_after_nodes: 2
network.tcp.keep_alive: true
network.tcp.no_delay: true
transport.tcp.compress: true
#集群内同时启动的数据任务个数,默认是 2 个
cluster.routing.allocation.cluster_concurrent_rebalance: 16
#添加或删除节点及负载均衡时并发恢复的线程个数,默认 4 个
cluster.routing.allocation.node_concurrent_recoveries: 16
#初始化数据恢复时,并发恢复线程的个数,默认 4 个
cluster.routing.allocation.node_initial_primaries_recoveries: 16
修改/etc/security/limits.conf ,分发文件
# 在文件末尾中增加下面内容
es soft nofile 65536
es hard nofile 65536
修改/etc/security/limits.d/20-nproc.conf,分发文件
# 在文件末尾中增加下面内容
es soft nofile 65536
es hard nofile 65536
* hard nproc 4096
# 注:* 带表 Linux 所有用户名称
修改/etc/sysctl.conf
# 在文件中增加下面内容
vm.max_map_count=655360
重新加载
3.4.3 启动软件
分别在不同节点上启动 ES 软件
cd /opt/module/es-cluster
#启动
bin/elasticsearch
#后台启动
bin/elasticsearch -d
3.4.4 测试集群

此内容由惯性聚合(RSS阅读器)自动聚合整理,仅供阅读参考。 原文来自 — 版权归原作者所有。