











以Android高级编程一书中的一个例子为例:
1, 创建一个ContactPicker项目,其中包含一个ContactPicker Activity
package com.paad.contactpicker;

import android.app.Activity;
import android.content.ContentUris;
import android.content.Intent;
import android.database.Cursor;
import android.net.Uri;
import android.os.Bundle;
import android.provider.ContactsContract;
import android.provider.ContactsContract.Contacts;
import android.view.View;
import android.widget.AdapterView;
import android.widget.ListView;
import android.widget.SimpleCursorAdapter;

public class ContactPicker extends Activity {
  @Override
  public void onCreate(Bundle icicle) {
    super.onCreate(icicle);
    setContentView(R.layout.main);

//创建一个新的Cursor来遍历存储在联系人列表中的联系人,并使用SimpleCursorArrayAdapter把它绑定到List View上,更好的做法应该使用Cursor Loader
final Cursor c = getContentResolver().query(
        ContactsContract.Contacts.CONTENT_URI, null, null, null, null);

      String[] from = new String[] { Contacts.DISPLAY_NAME_PRIMARY };
      int[] to = new int[] { R.id.itemTextView };

      SimpleCursorAdapter adapter = new SimpleCursorAdapter(this,R.layout.listitemlayout,c,from,to);
      ListView lv = (ListView)findViewById(R.id.contactListView);
      lv.setAdapter(adapter);

//返回选择的联系人信息给调用的Activity
      lv.setOnItemClickListener(new ListView.OnItemClickListener() {
        public void onItemClick(AdapterView<?> parent, View view, int pos,
                                long id) {
          // Move the cursor to the selected item
          c.moveToPosition(pos);
          // Extract the row id.
          int rowId = c.getInt(c.getColumnIndexOrThrow("_id"));
          // Construct the result URI.
          Uri outURI = ContentUris.withAppendedId(ContactsContract.Contacts.CONTENT_URI, rowId);
          Intent outData = new Intent();
          outData.setData(outURI);
          setResult(Activity.RESULT_OK, outData);
          finish();
        }
      });

  }
}
2,修改main.xml布局资源来包含一个ListView控件,后面将使用这个控件显示联系人
<?xml version="1.0" encoding="utf-8"?>
<LinearLayout xmlns:android="http://schemas.android.com/apk/res/android"
  android:orientation="vertical"
  android:layout_width="match_parent"
  android:layout_height="match_parent">
  <ListView android:id="@+id/contactListView"
    android:layout_width="match_parent"
    android:layout_height="wrap_content"
  />
</LinearLayout>
3, 创建一个新的包含一个单独的TextView控件的listitemlayout.xml布局资源,它将用来在ListView中显示每一个联系人
<?xml version="1.0" encoding="utf-8"?>
<LinearLayout xmlns:android="http://schemas.android.com/apk/res/android"
  android:orientation="vertical"
  android:layout_width="match_parent"
  android:layout_height="match_parent"
  >
  <TextView
    android:id="@+id/itemTextView"
    android:layout_width="match_parent"
    android:layout_height="wrap_content"
    android:padding="10dp"
    android:textSize="16dp"
    android:textColor="#FFF"
  />
</LinearLayout>
4, 修改应用程序的manifest文件,并更新Activity的intent-filter标签以添加在联系人数据上对action_pick动作的支持
<?xml version="1.0" encoding="utf-8"?>
<manifest xmlns:android="http://schemas.android.com/apk/res/android"
    package="com.paad.contactpicker">
    <uses-permission android:name="android.permission.READ_CONTACTS"/>
    <application android:icon="@drawable/ic_launcher">
      <activity android:name=".ContactPicker" android:label="@string/app_name">
        <intent-filter>
<action android:name="android.intent.action.PICK"></action> <category android:name="android.intent.category.DEFAULT"></category> <data android:path="contacts" android:scheme="content"></data>
        </intent-filter>
      </activity>
     </application>
</manifest>
到此子Activity完成,下面创建一个调用此子Activity的Activity
package com.paad.contactpicker;

import android.app.Activity;
import android.content.Intent;
import android.database.Cursor;
import android.net.Uri;
import android.os.Bundle;
import android.provider.ContactsContract;
import android.view.View;
import android.view.View.OnClickListener;
import android.widget.Button;
import android.widget.TextView;

public class ContactPickerTester extends Activity {

  public static final int PICK_CONTACT = 1;

//隐式调用联系人列表Activity
  @Override
  public void onCreate(Bundle savedInstanceState) {
    super.onCreate(savedInstanceState);
    setContentView(R.layout.contactpickertester);

    Button button = (Button)findViewById(R.id.pick_contact_button);

    button.setOnClickListener(new OnClickListener() {
     public void onClick(View _view) {
        Intent intent = new Intent(Intent.ACTION_PICK,
          Uri.parse("content://contacts/"));
        startActivityForResult(intent, PICK_CONTACT);
      }
    });
  }
//处理从子Activity返回的数据
  @Override
  public void onActivityResult(int reqCode, int resCode, Intent data) {
    super.onActivityResult(reqCode, resCode, data);

    switch(reqCode) {
      case (PICK_CONTACT) : {
        if (resCode == Activity.RESULT_OK) {
          Uri contactData = data.getData();
          Cursor c = getContentResolver().query(contactData, null, null, null, null);
          c.moveToFirst();
          String name = c.getString(c.getColumnIndexOrThrow(
                          ContactsContract.Contacts.DISPLAY_NAME_PRIMARY));
          c.close();
          TextView tv = (TextView)findViewById(R.id.selected_contact_textview);
          tv.setText(name);
        }
        break;
      }
      default: break;
    }
  }

}
对应的布局文件包括一个按钮和一个用来显示用户选择的Textbox
<?xml version="1.0" encoding="utf-8"?>
<LinearLayout xmlns:android="http://schemas.android.com/apk/res/android"
  android:orientation="vertical"
  android:layout_width="match_parent"
  android:layout_height="match_parent"
  >
  <TextView
    android:id="@+id/selected_contact_textview"
    android:layout_width="match_parent"
    android:layout_height="wrap_content"
  />
  <Button
    android:id="@+id/pick_contact_button"
    android:layout_width="match_parent"
    android:layout_height="wrap_content"
    android:text="Pick Contact"
  />
</LinearLayout>
些Demo运行效果如下:
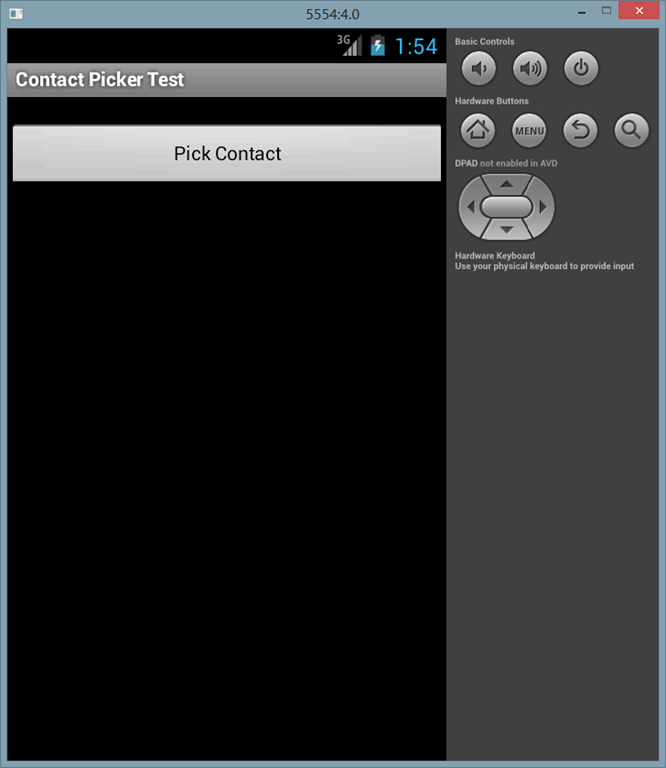
选择联系人
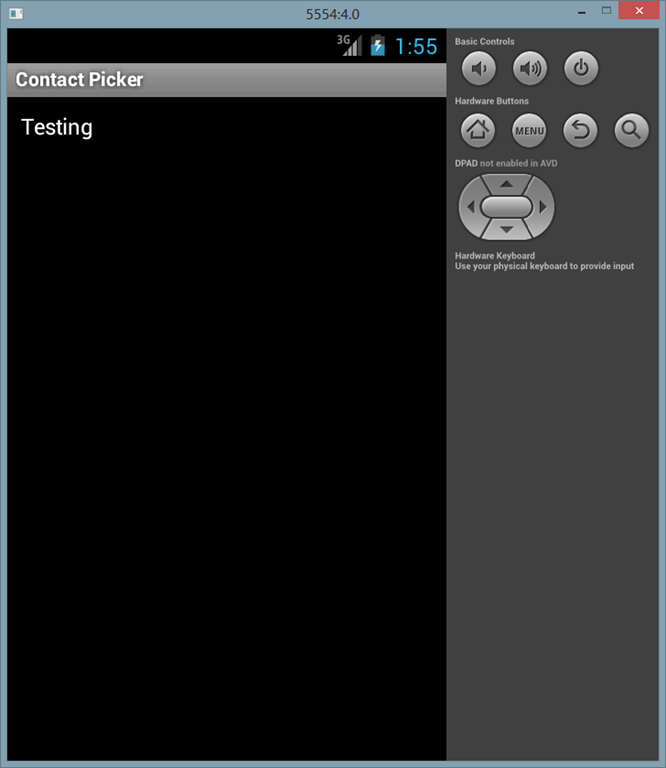
显示在TextBox上
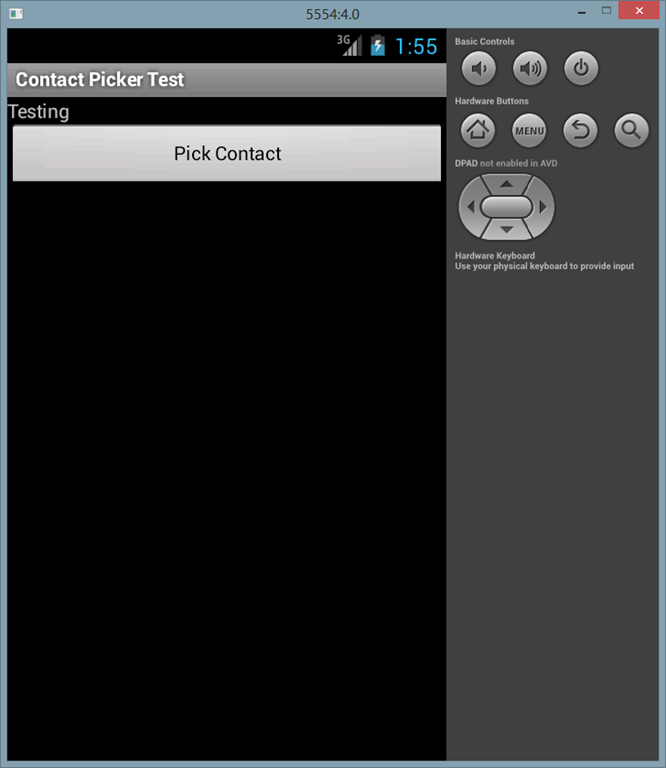
引例子代码:Contact_Picker.rar
此内容由惯性聚合(RSS阅读器)自动聚合整理,仅供阅读参考。 原文来自 — 版权归原作者所有。